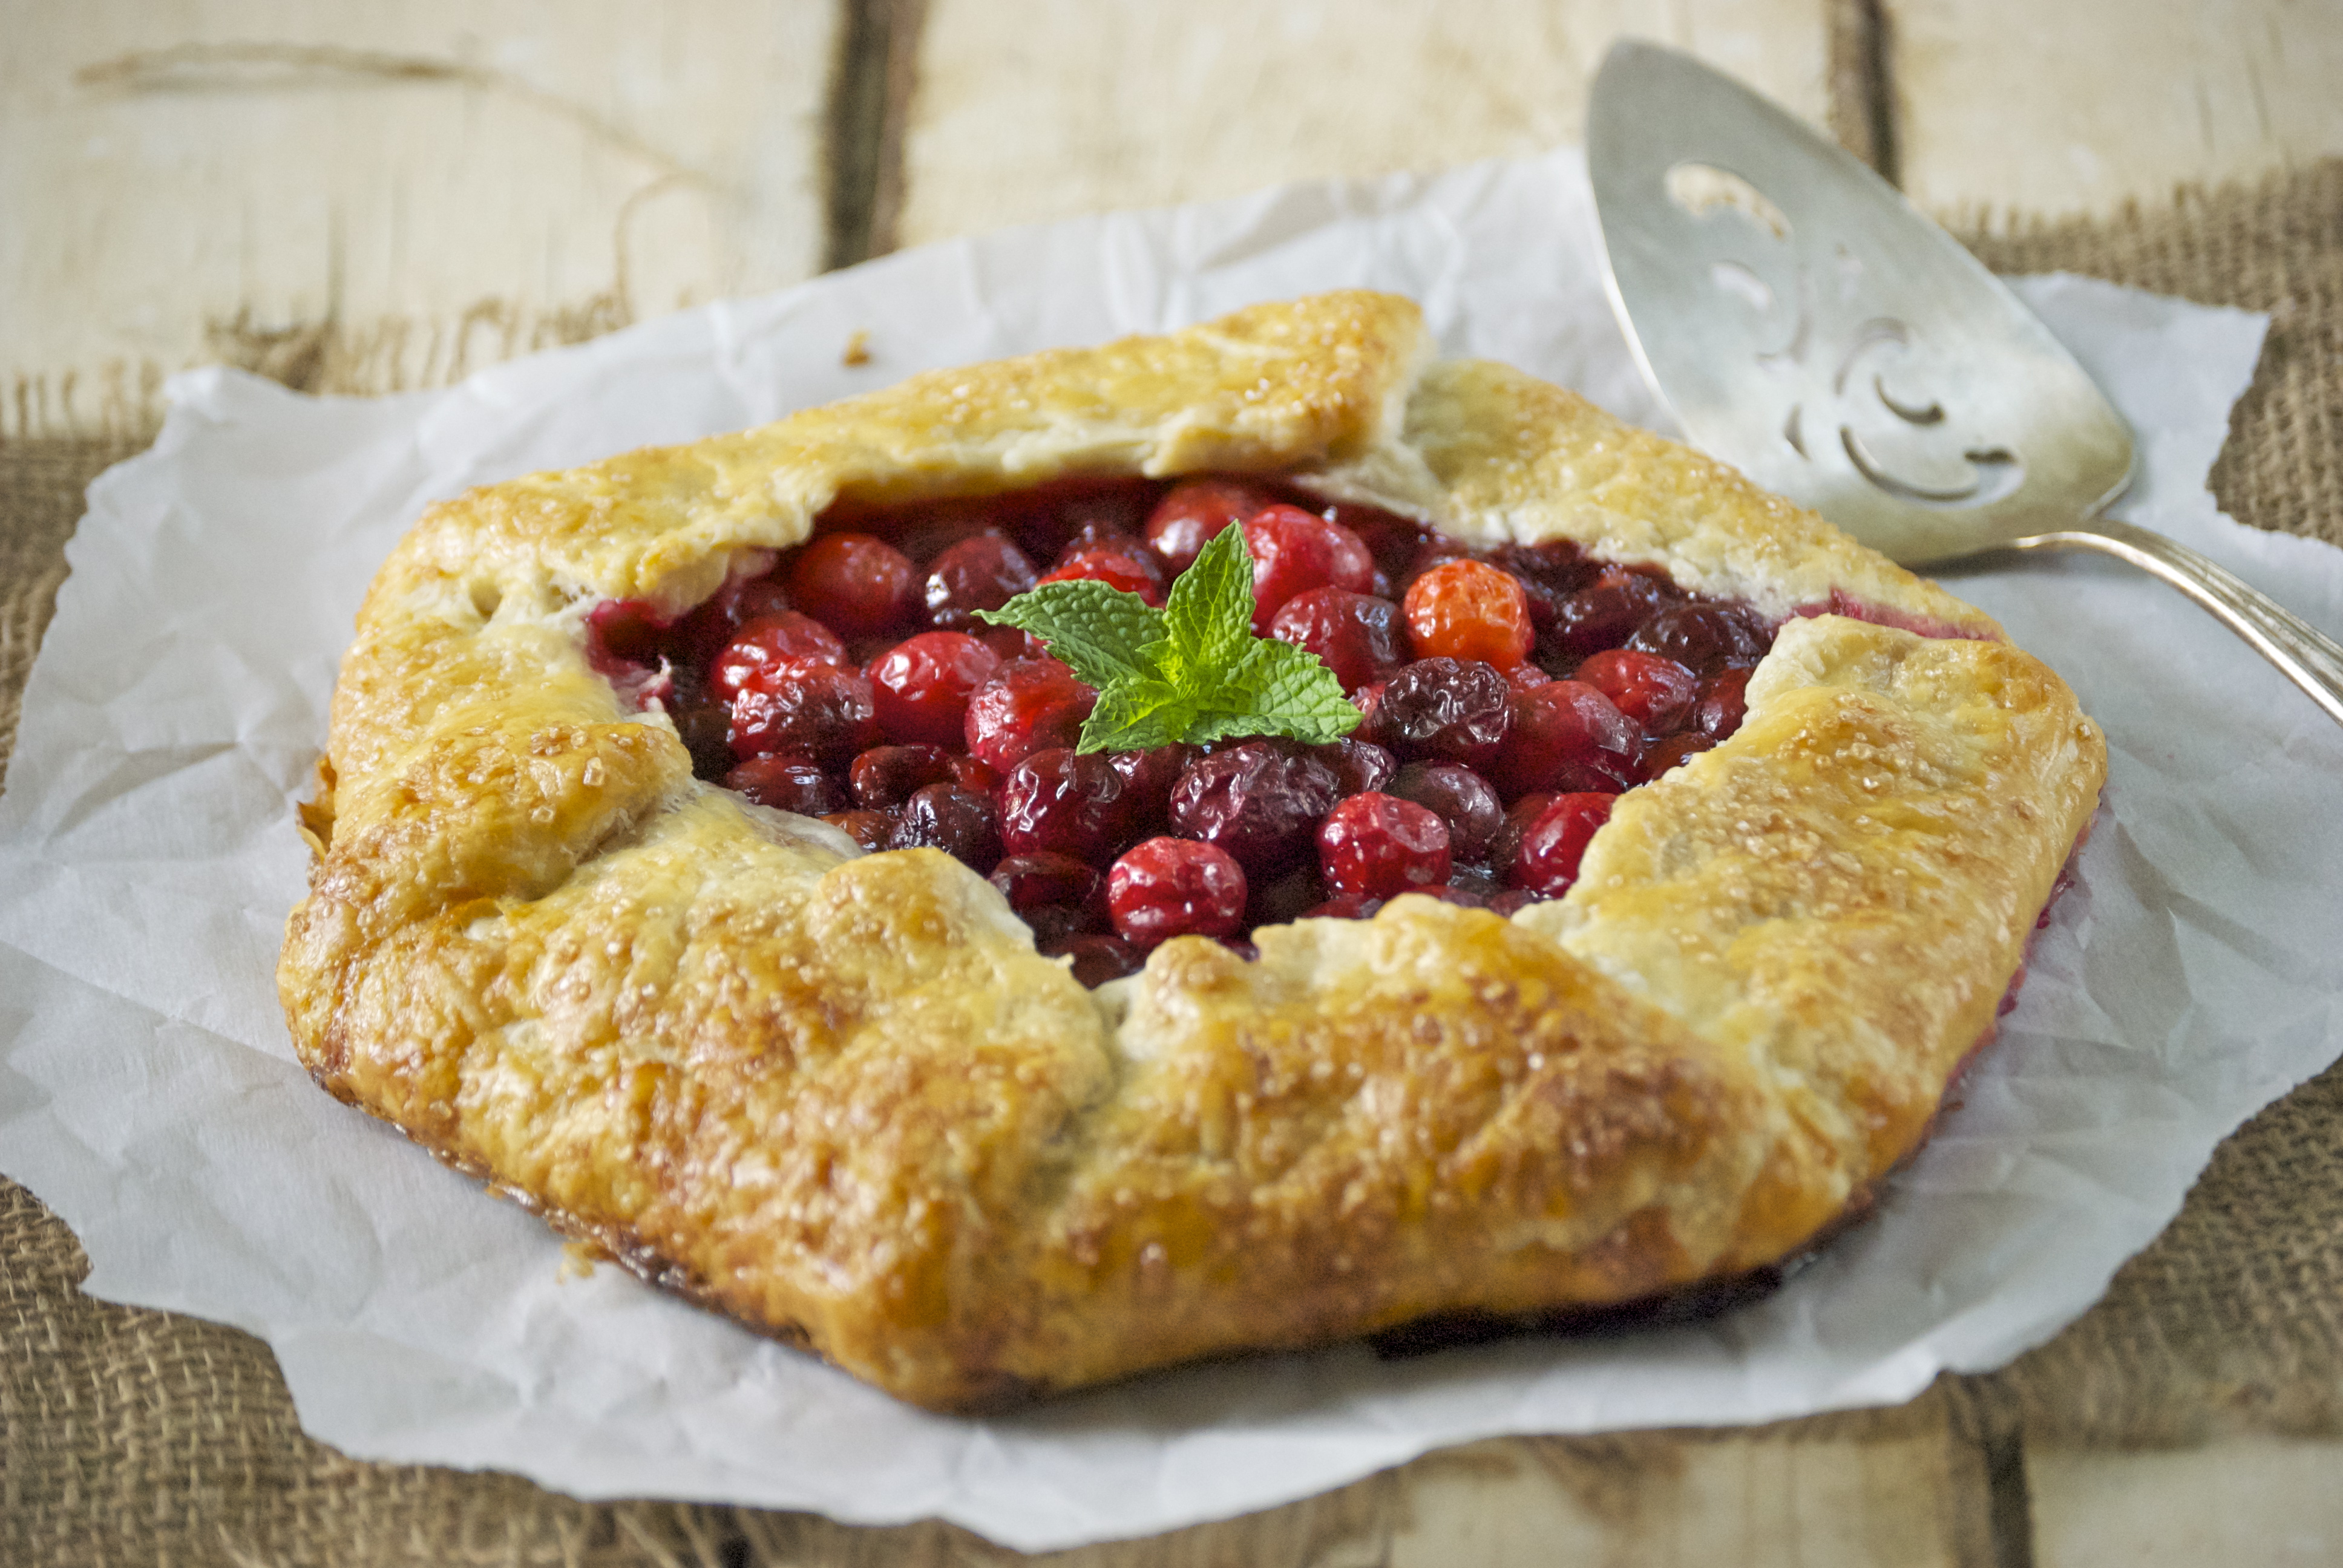
I wait all year long for sour cherries to come into season. They are my absolute favorite fruit to bake with, just nudging out blueberries. Sour cherries have such a unique flavor– that brilliant tartness which I soften with a bit of sugar. Today’s recipe is a wonderful sour cherry galette that is perfect for capping a summer dinner on the patio. If you can get your hands on a few baskets of sour cherries, I can’t think of a better way to showcase them than in this dessert (or breakfast– no judging).

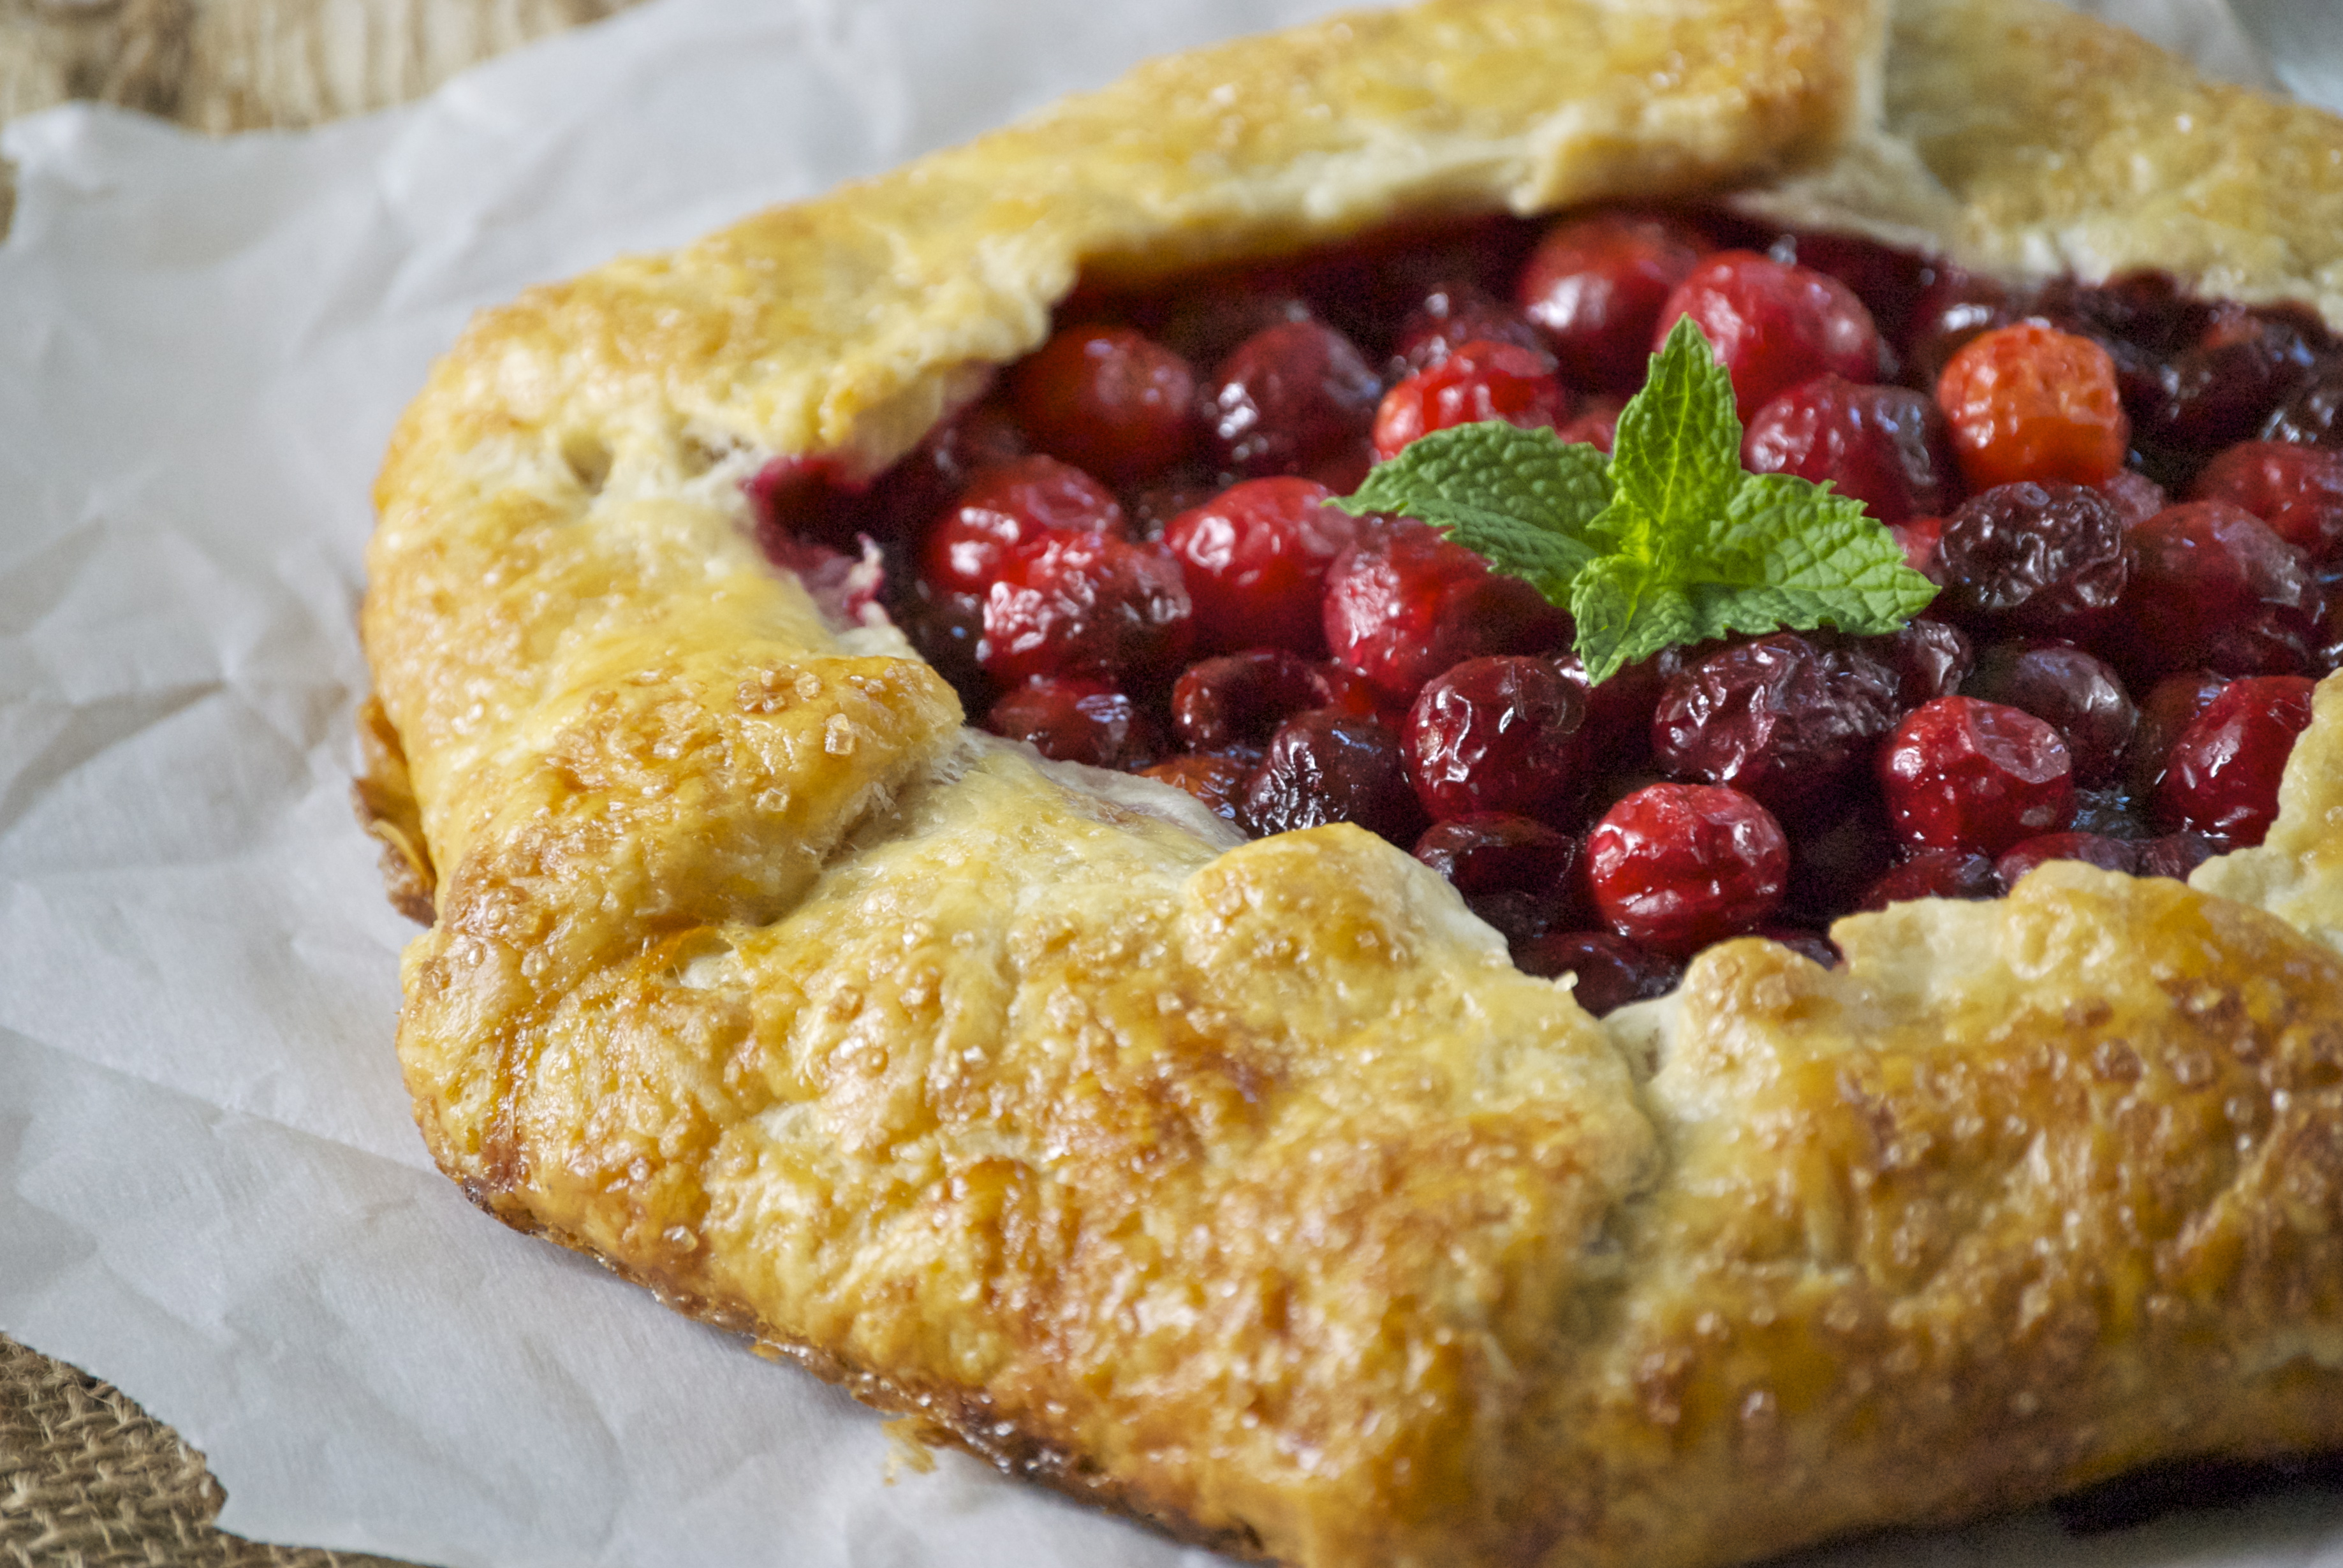
I love the simplicity of the galette–there’s just something genuine about it’s rustic look. And the fruit-to-crust ratio is perfect. Galettes have another advantage– they’re virtually foolproof. The crust is my go-to all purpose pie crust. It’s an all butter crust, so there’s no shortening or lard. I know that some folks incorporate other fats into their crust because they say it makes it a bit crispier. However, this one is perfectly crisp, and I try to avoid cooking with those sorts of fats.

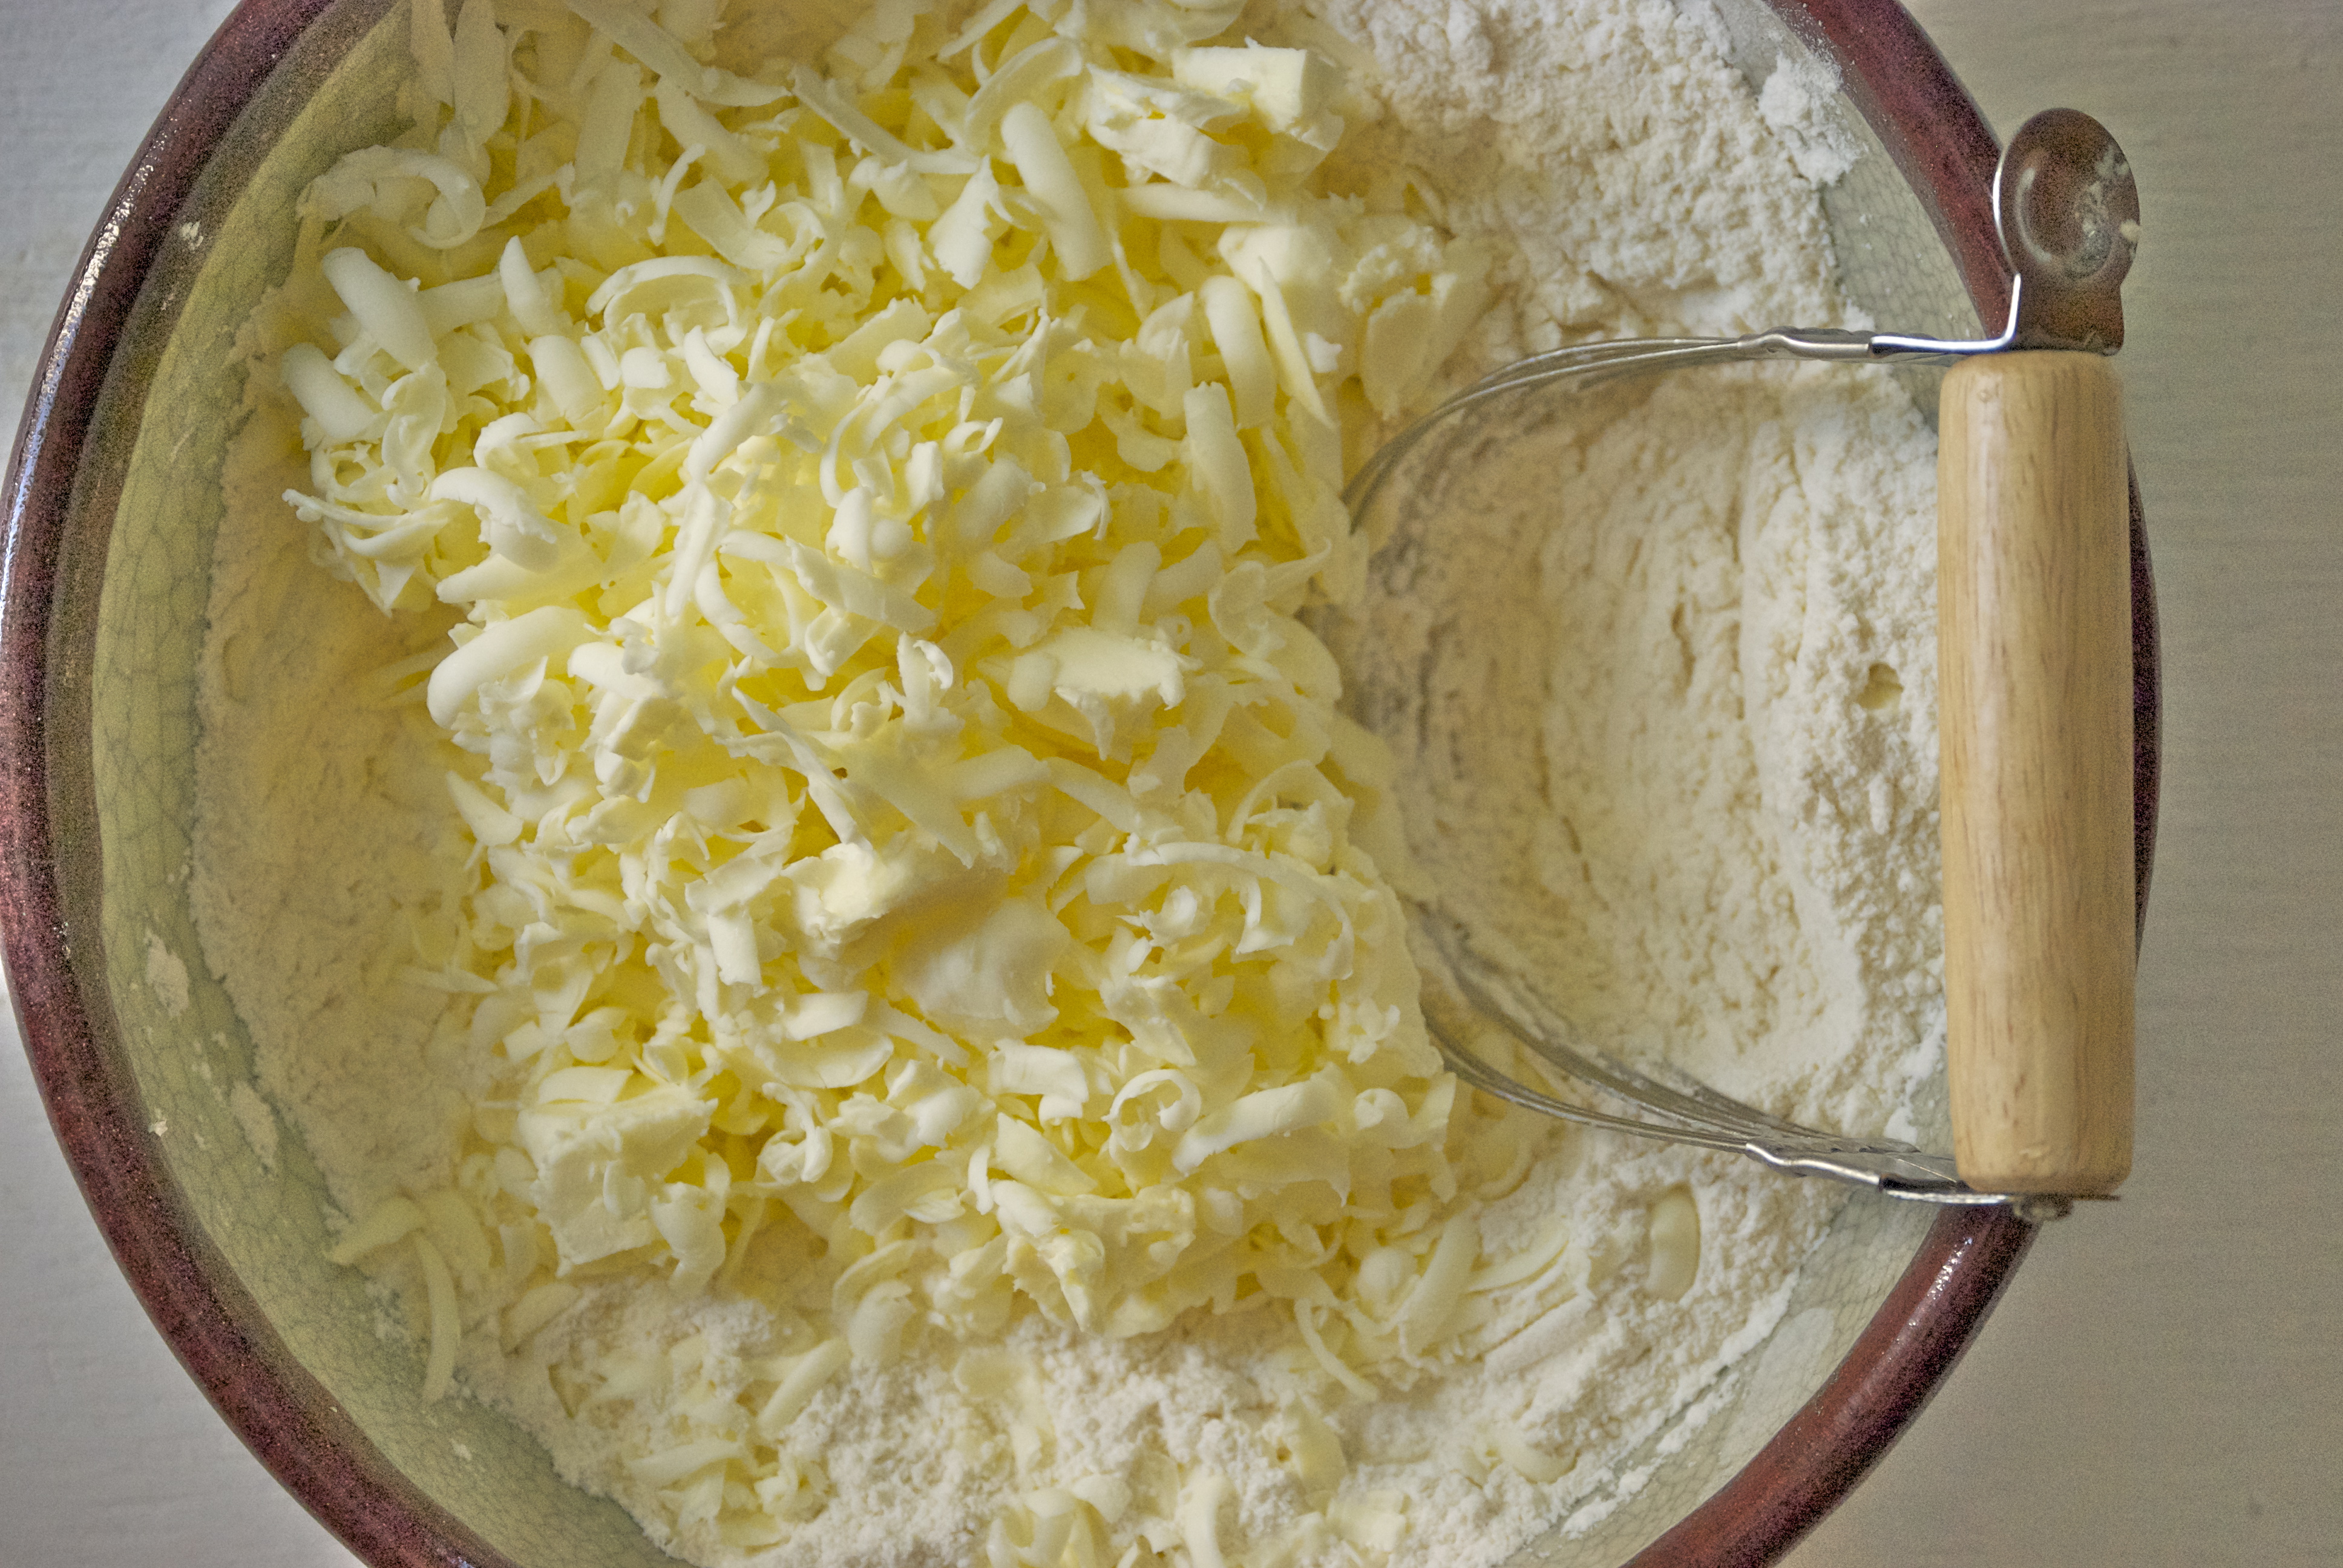


The trick here is to use very, very cold butter. So cold, in fact, that most times I use frozen butter that has been run through a large box grater. The other key here– whether it’s in a galette, pie, scones, or biscuits– is to not overwork the dough. Yes, you still have to use your muscles a bit, but the less you work it, the better it tends to be. My food processor gets a break when I make pie crust. I feel more in control if I do it by hand using my pastry blender. If the butter becomes too soft, just pop it in the freezer for a few minutes. You get the idea. If you haven’t made a galette before, this is a great place to start. It’s also easy to make with fresh blueberries– just dial back the sugar to 1/4 cup. Enjoy!


A couple of other fruit desserts you may enjoy: Blueberry Galette and Sour Cherry Hand Pies
The Recipe: Sour Cherry Galette with an All Butter Pie Crust
(serves 4-6)
For the All Butter Pie Crust
(Makes enough for 2 galettes, one double-crusted pie, or two single-crusted pies)
315 grams of all-purpose flour (2 1/2 cups)
2 sticks of frozen, unsalted butter (1 cup)
1 tablespoon granulated sugar
1 teaspoon kosher salt
1/2 cup, plus about 3 tablespoons ice cold water
For the Sour Cherry Pie Filling
2 cups sour cherries, pitted
1 tablespoon cornstarch
1/3 cup granulated sugar
pinch of salt
1 egg mixed with 1 teaspoon water (for egg wash)
about 1 tablespoon turbinado sugar, for sprinkling
To make the pie dough: Pour the water into a large measuring cup. Add a couple of ice cubes. Set aside. In a large bowl, whisk together the flour, salt, and sugar. Set aside. Using the large holes of a box grater, quickly grate the frozen butter. Place the butter into the bowl with the flour mixture. Using a pastry blender, quickly work the butter into the flour until the mixture resembles small peas. Feel the butter, if it doesn’t feel very cold, you can place it into the freezer for a few minutes. Continuing, measure out 1/2 cup of ice water (careful not to add the ice cubes) and using a rubber spatula incorporate the water into the butter/flour mixture by folding it in. Add more water, if necessary, a tablespoon at a time. Three tablespoons does the trick for me. The mixture will look like a shaggy mess. Press it together and if it sticks, but isn’t sticky– it is ready. You don’t want it wet, but you don’t want it dry either. Knead it together with your hands a couple of times to form a ball shape. Divide the dough into half and wrap each half into plastic wrap. Refrigerate for at least 1-2 hours before using. Or freeze for months and thaw in the refrigerator. For this recipe, you will use only 1 of the balls of dough. Save the other one for another time.
Preheat the oven to 375°F. In a medium-sized bowl, stir the cherries, sugar, cornstarch, and salt together. On a large piece of parchment paper that will fit onto a large baking sheet, sprinkle a tiny amount of flour onto the paper and onto your rolling pin to help it roll out more easily. Roll out 1 ball of pie dough into a 12-inch circle on the parchment paper. Place the cherry mixture into the center, and carefully fold the sides over each other. Press them together so they adhere– this will help prevent too much cherry juice from leaking when it bakes. Gently slide the galette and the parchment paper onto a large baking sheet. Using a pastry brush, lightly paint the egg wash onto the dough. Then sprinkle with the turbinado sugar. Place the baking sheet into the oven and bake for about 45 minutes, or until the crust is a deep golden brown and the cherry juices are bubbling a bit and possibly oozing out. Let cool before eating. Keeps well in an airtight container. Enjoy!
Thanks so much for stopping by today!
xo
Laurie

Mmmm, I love sour cherries! I think I’d love them even more in this galette!
Thanks, Stephanie!
This looks absolutely delightful! Wow.
Thanks, Lady. 🙂
Rustic tarts are so gorgeous! This looks tasty 🙂
Thank you! I agree, full heartedly. Thanks for all of the sweet comments on my blog– so glad you stumbled upon it!
[…] by this recipe from Relishing It, one of my favorite food blogs, written by a fellow […]