Feeds:
Posts
Comments

Posts Tagged ‘parsley’

Chickpea and Black Rice Salad via Relishing It

So now that school is out, I’m trying to get my bearings straight.  We are four days into summer vacation, and while I am more than thrilled to have my son home all day long, it’s not without its…complications.  Aanen has this amazing contagious personality– he is truly a joy to be around.  He and his sister get along swimmingly.   And I love not having to pack his lunch every morning and rush him off to school.  Mornings around our house are brilliant.  However…it’s the rest of the day that gets a bit more hectic.  We’re I’m missing my schedule.  I knew exactly how much I could squeeze into a day and how much I could get done.  Now play dates, outings, parks, and pools have all taken its place.  And though I absolutely love all of these things, it’s hard to get any real work done.  I know I’m not unique in this situation or these feelings, but it sure feels good to ramble on about it.

Chickpea and Black Rice Salad via Relishing it

So how does that tie-in to today’s post?  Well, in the hustle and bustle of our summers we tend to eat much simpler food.  It’s easy to do with all of the fresh produce, so I’m absolutely fine with it.  I’ll often make a huge salad or two at the beginning of the week from legumes and grains and we’ll nibble on it for a few days.  It works well when we’re constantly running out the door.  This salad in particular keeps well.  And it’s absolutely perfect to pack for picnics.

Chickpea and Black Rice Salad via Relishing It

Chickpea and Black Rice Salad via Relishing It

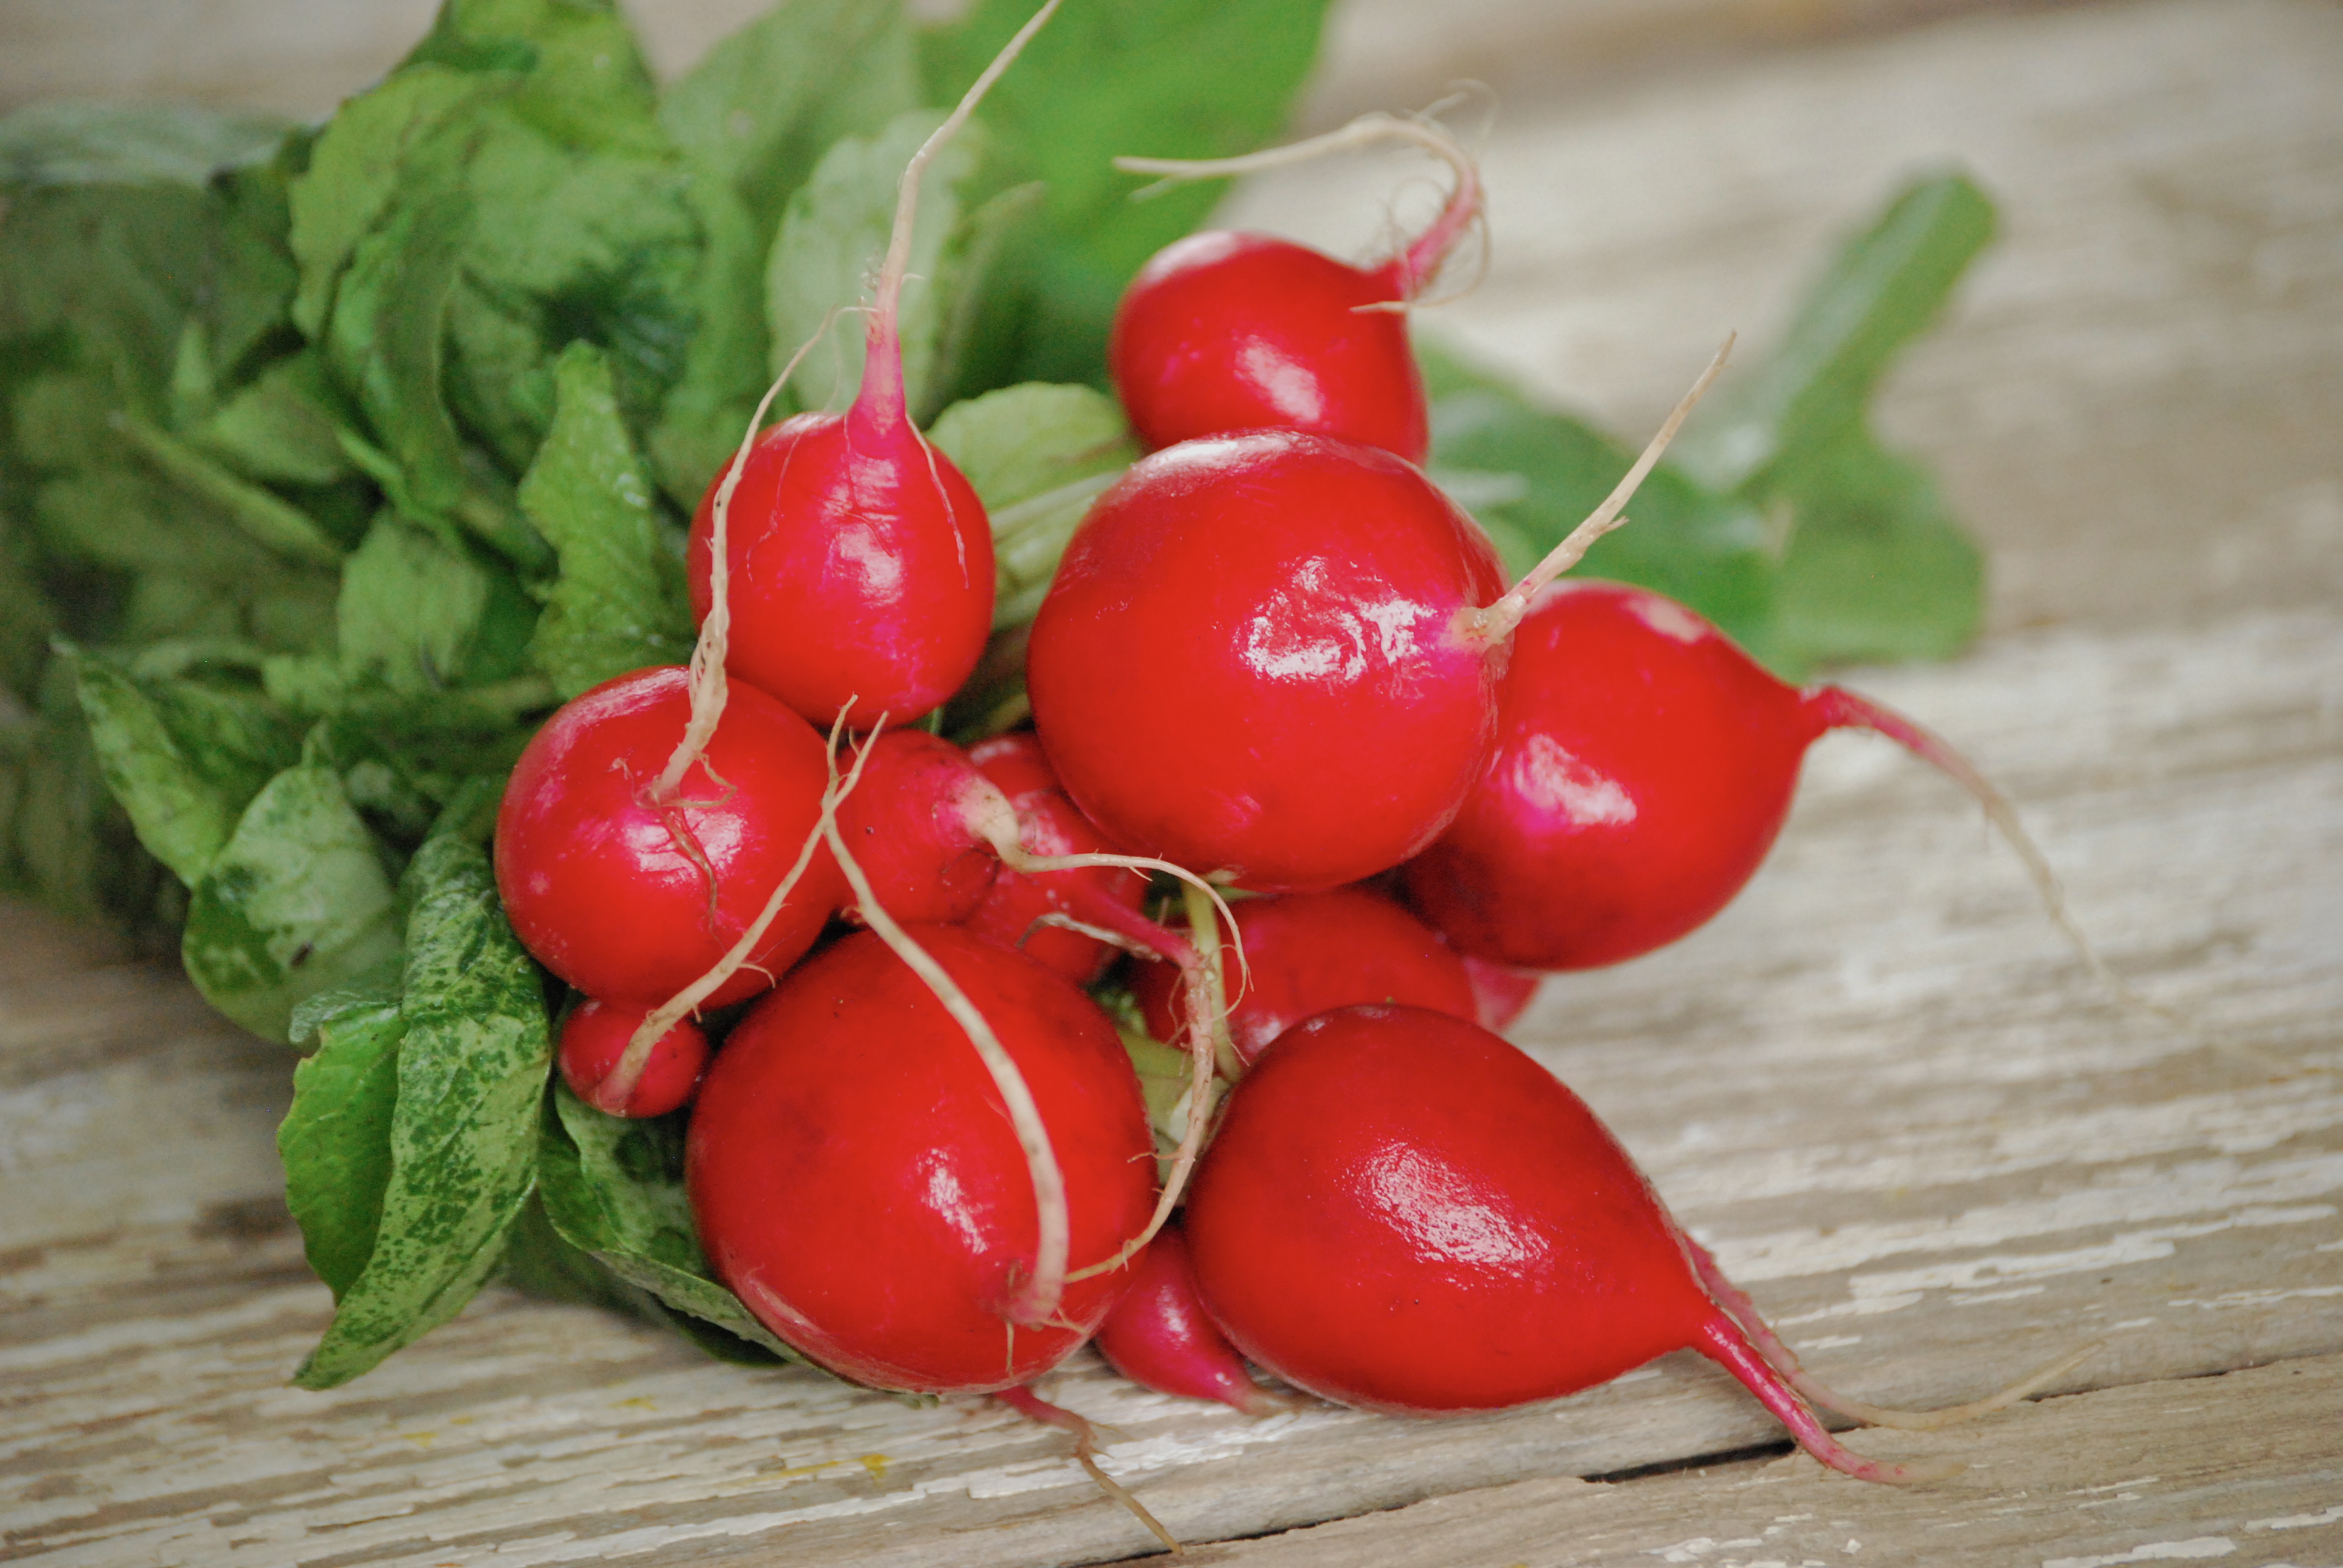
I’ve always been a fan of chickpeas.  They’re loaded with protein, and they’re substantial enough to turn a salad into a meal.  If you’re not familiar with black rice, give it a chance.  Here’s a previous dish that I made using it.  I love black rice, sometimes called “forbidden rice”.   It’s nutty and similar in taste to wild rice.  It’s loaded with antioxidants, vitamins, minerals, and fiber.  You can read more about it here.  I realize that some of you may not the able to find black rice and that’s ok.  Quinoa is also a wonderful substitute and is loaded with its own health benefits.  Radishes give this meal a nice little crunch and they are so wonderful this time of year.  The preserved lemon adds a burst of brightness that makes you smile every time you bite into a tiny piece.  If you haven’t made preserved lemons yet, do it now.  They add so much to summer salads.  Here’s a recipe from my blog.  Or you can do the salt pack method, which is how I made this last batch.  This is a recipe for that method.  Obviously, if you don’t have preserved lemons on hand, you should still give this salad a try.  The parsley and subtle shallot vinaigrette bring all of the flavor together and I love the fact that it’s so healthy!  Makes me feel better about all of the ice cream that my kids are devouring.  Hope you enjoy!

Chickpea and Black Rice Salad via Relishing It

The Recipe:  Chickpea and Black Rice Salad with a Shallot Vinaigrette

2 cups dried chickpeas, cooked (see note)

1 cup black rice, cooked  (see note)

1 bunch radishes, chopped

2 tablespoons finely chopped preserved lemon

1 bunch Italian parsley, chopped

For the Shallot Vinaigrette:

1 -2 tablespoons finely chopped shallot, or red onion

2 tablespoons fresh lemon juice, from 2 small lemons

1 tablespoon white wine vinegar (champagne or plain rice vinegar can also be substituted)

about 1/3 cup extra virgin olive oil, or a bit more

sea salt and cracked pepper, to taste

Note:  To cook dried chickpeas, place in a large saucepan covered with cold, salted water.  Bring to a boil.  Let boil for a few minutes.  Cover and turn off the heat.  Let sit for 1-2 hours.  Bring to a boil again and cook for a few more minutes until they are your desired tenderness.  To make the black rice, place in a large saucepan and cover with cold, salted water by a couple inches.  Bring to a boil, then reduce heat just a bit.  Let cook until the rice is tender (about 25 minutes).  Drain the water.

To make the Shallot Vinaigrette:  Place the chopped shallot in a bowl, or jar, and sprinkle with a little salt.  Pour the vinegar and lemon juice on top and let soften for about 15 minutes.  Then whisk in the olive oil, or give the jar a shake.  Season to taste with salt and pepper.  Place in the refrigerator, let it warm up for a few minutes before you plan to use it.

Place the rice and chickpeas into a large serving bowl along with the parsley, radishes, and preserved lemon.  Pour as much dressing over the salad as you like.  Start with a little and add more, you will not need to use the entire amount that you made.  Toss the ingredients together and let the flavors meld for a bit.  You can even refrigerate it and let it warm a bit before serving.  This salad will keep well for days.  Enjoy!

Thanks for stopping by Relishing It!

xo

Laurie

Read Full Post »

Homemade Harissa via Relishing It

If you’ve spent much time reading food blogs or magazines, you probably know what harissa is, but for those of you that don’t (Hi Dad!), let me fill you in.  Harissa is a North African condiment made mostly from peppers and spices.  And it is amazing.  Like a punch-of-flavor-to-your-tongue amazing.  It’s often found on Moroccan tagines, but I’ve found so many more day-to-day uses for it.  I love to slather it on sandwiches.  Try it on this meatloaf with a bit of mayonnaise and some hot peppers.  Heavenly.  It’s also fantastic on an egg sandwich where the yolk is still a bit oozy.  Crunchy salads, or paired with carrots– harissa transforms an ordinary meal into something divine.

Homemade Harissa via Relishing It

Lemon for Homemade Harissa via Relishing It

Homemade Harissa via Relishing It

Homemade Harissa via Relishing It

If you’ve been visiting Relishing It for awhile, or taken a stroll through the ‘menu’ section, you know that I love to make my own condiments.  It’s not difficult, and to be honest, they just taste better than those bottled versions that are mass manufactured and sit on the shelf for months.  This mustard, ketchup, and red curry paste are a few of my favorites.  Harissa isn’t quite so common, but there really are a ton of recipes out there, and they are all a bit different.  Some use tomatoes, some don’t.  Some use fresh herbs, others stick with dried spices.  For this harissa, I was looking for something a bit smokey, but not too spicey.  I also wanted it to have a fresh, herb flavor.  If you want more of a kick, you can simply add more cayenne pepper or choose a hotter variety of dried peppers for the base.  One nice thing about this recipe is that you can easily manipulate it to suit your own tastes.  For my  part, I think this one turned out perfectly, so I won’t be changing a thing.  Top your Harissa with a bit of olive oil to store in the refrigerator for an extended period of time, it should last a few months this way.  But…it won’t.  You’ll eat it up in no time.  It’s that good.  Hope you enjoy!

Homemade Harissa via Relishing It

Cheddar and Stout Meatloaf via Relishing It

The Ultimate Meatloaf Sandwich with Homemade Harissa via Relishing It

The Recipe:  Homemade Harissa

(Makes about 1 cup)

5 dried Ancho chile peppers

5 dried Guajillo chile peppers

3 cloves garlic, chopped

1 teaspoon cumin seed, toasted and ground with a mortar and pestle (or use the flat side of a large knife to smash them)

1 teaspoon coriander seed, toasted and ground with a mortar and pestle

2 teaspoons fresh lemon juice

2 tablespoons fresh parsley, chopped

2 tablespoons fresh cilantro, chopped

pinch of ground cayenne pepper, more to taste

3 tablespoons extra virgin olive oil

3 tablespoons champagne vinegar (white or red wine vinegar will also work)

1 tablespoon tomato paste

sea salt, cracked black pepper, to taste

3 tablespoons soaking liquid, or more, if needed

Place the dried peppers into a medium sized bowl.  Pour enough boiling water over them so they are covered.  Place a small plate on top of them to keep them submerged.  Cover the entire bowl with another larger plate, to keep the heat in.  Let sit for 1 hour.

When the peppers are soft, begin by reserving some of the soaking liquid.  Remove the peppers from the water.  Remove the stem and carefully dump out the seeds.  Place the peppers and the remaining ingredients into a food processor.  Process for a few minutes until completely smooth.  Taste.  Adjust seasonings and thickness, if necessary.  Store in a jar with a lid in the refrigerator.  Cover with a layer of olive oil, if intending to keep for an extended period of time (several months).  I don’t cover mine with olive oil, but I generally use it within a few weeks.  Enjoy the heck out of this!

Thanks for stopping by today, friends! xo

Laurie

Read Full Post »

Here’s a little insight into what’s going on in my head– and I realize this is not normal– but the highlight of my week usually involves hitting the local farmers’ markets with my family.  Aria, my two-year-old daughter, loves it as much as I do.  We pretty much have to drag the home-body boys (Aanen and Radd), who protest all the way.  Well, maybe not all the way.  Once they’re out of the  house, I think they enjoy it, too.    

Anyway, late Summer is when the market really shines– so many different varieties of produce to choose from!  Last weekend I snagged these gorgeous purple potatoes.  Look at how vibrant they are!  This is nature.  This is food.  And it still amazes me.  Despite what some sources say– and I know it’s probably just in my head– I feel like purple potatoes have a more earthy flavor that a plain-old white ones.  If not, well then they’re just more interesting.

This potato salad keeps it simple, yet looks fantastic.  The point is to let the beautiful colors and fresh flavors be the center of attraction, rather than cover everything up with a glop of mayo.  The addition of the herbs (especially the mint, do NOT omit the mint!) make this salad taste like Summer.  The subtle flavor of creme fraiche lets the produce shine, yet adds that creaminess you expect in a potato salad.  The radishes give a contrasting delightful crunch.  If you don’t have creme fraiche, you can use sour cream, but you’ll notice a bit more of a tang.  I love to finish this salad with a drizzle of olive oil and a squeeze of lemon juice.  It just works and it’s one of my favorite potato salads.

The Recipe:  Creme Fraiche, Herb, and Purple Potato Salad

1 – 1 1/2 pounds new purple potatoes

handful of parsley, mint, and basil chopped (around 3/4 cup total)

5-6 green onions, chopped

6  large radishes, chopped

1/2  lemon

1/3 – 1/2 cup creme fraiche

3-4 tablespoons extra-virgin olive oil

kosher salt and cracked blacked pepper, to taste

To steam the potatoes:  I prefer steaming to boiling– the potatoes retain less water this way.  Put potatoes in a steamer basket placed in a saucepan with a tight lid.  Make sure to put enough water into it.  Steam potatoes until nearly done, then turn off heat and let them sit for 10 more minutes.  The potatoes will continue to cook with the heat turned off.  The cooking time will vary based upon the size of your potatoes, so be sure to check it.  I steamed mine for 25 minutes, and let them sit for another 10 minutes.  Yours may take less time.  Just be sure to check them by inserting a sharp knife into them.  Be sure your saucepan doesn’t run out of water.

Sprinkle potatoes with a bit of salt and let them cool.  Meanwhile, chop the herbs, radishes,  and green onions.  Add them to the cooled potatoes, along with the creme fraiche, olive oil, and a squeeze of the lemon juice.  Don’t squeeze the full amount right away.  Taste as you go along, and definitely feel free to adjust measurements to your liking.  You may want a bit more creme fraiche and olive oil.   Be sure to season with salt appropriately, as the salt really brings all of these flavors together.    Enjoy!

Thanks for stopping by Relishing It today.  Have a great weekend!

Laurie

Follow me on Twitter!

Read Full Post »

Ramp Pesto

Spring is here!  I know, I know– it was official a while back.  But, it’s really official now because ramps have arrived! I look forward to ramp season every year– so much so that my husband eventually ridicules how often I mention “ramps.”  Unfortunately, they’re not available for long, which forces me to fit as many ramp recipes as I can into a brief amount of time.

For the uninitiated, a ramp is actually a wild leek.  Their flavor most closely resembles a cross between a green onion and garlic.  While this makes them versatile, I really love allowing their unique flavor to take center stage.  This pesto does just that.  The wonderful garlic notes from the ramps blend well with the parsley and parmesan without overpowering them.  And ramps and eggs are a heavenly match, whether scrambled (with chopped ramps) or poached, as in this version of Eggs Benedict.

There are many ways to get the most out of this pesto.  It’s a fantastic sauce for pasta with a sprinkle of parmesan, add it as a topping to a rich risotto, or spread some on a toasted baguette with roasted tomatoes.  As the ramp season is so short, you can make extra pesto and freeze it– it keeps well.  Then, when tomatoes peak later this summer, you can bring some out and really get the best of this combination.  I can’t wait!

The Recipe:  Ramp Pesto

1/2 cup toasted walnuts pieces

1 cup Italian parsley (packed, then loosely chopped)

1 bunch ramps, (white and red parts only), chopped

1/4 cup grated Parmesan or Grana Padano cheese

1/2 cup extra virgin olive oil

kosher salt and cracked black pepper, to taste

red pepper flakes, to taste

Begin by toasting the walnuts in a small frying pan for a couple of minutes until they become aromatic.  Stirring and being very careful not to burn them.   They don’t need to be fully toasted, just enough to bring out their nutty flavor.  Remove from pan, and set aside.

Next, in a small food processor, combine the ramps, parsley, walnuts, parmesan, red pepper flakes, and a sprinkle of salt and cracked black pepper.  Pulse the mixture for a few seconds until it is somewhat mixed.  Turn the food processor on and slowly stream the olive oil through the liquid hole on top of the lid.  When the pesto looks homogeneous, after a minute or two, turn off the machine and  adjust seasonings, if necessary.  The pesto will keep covered in the refrigerator for around 3 days.  Enjoy!

I hope you all have a wonderful week!  Thanks for stopping by!

Laurie

Follow me on Twitter! 

Read Full Post »

%d bloggers like this: