I have to confess, I didn’t grow up eating soda bread. Instead, my mother always had those huge tupperware containers filled with bread dough, covered with a white dishtowel, strategically placed near the warm registers of our farmhouse so it would rise. But some time in my 20’s I discovered this fantastic alternative to the yeasted bread. It doesn’t require any time at all to rise, which makes it nice for those spur of the moment meals when you would like to serve a loaf of warm bread, but just don’t have the time to mix up a batch of regular dough. It’s easy to mix together– much like that of mixing scones.

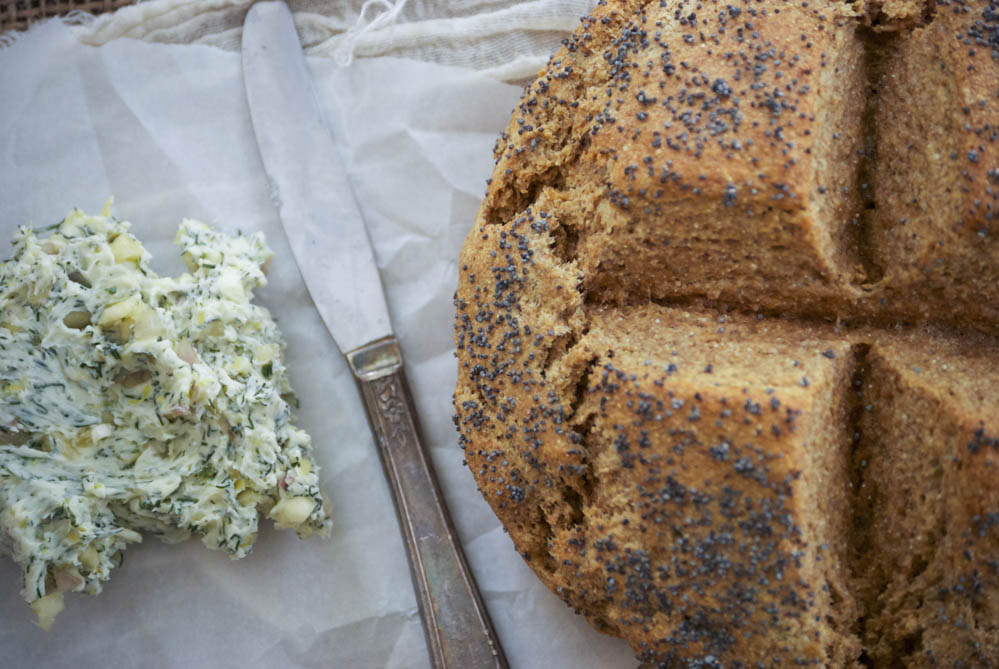
Soda bread is somewhat dense and can be made into something deliciously sweet or savory. More common Irish soda bread is sweet and laced with raisins. And though I love that, I gravitate towards the savory variety. I love combining rye and white whole wheat together in a bread. The white whole wheat gives it a lighter texture, and the rye has a remarkable flavor. It is a simple, hearty bread that is waiting to be smothered with a delicious spread.

For this batch, I decided to use dill butter. For some reason, it doesn’t seem fashionable to love dill anymore. I’m not sure why, but all the other herbs are getting the attention lately. I’m still in the dill camp, though, and always will be. There is something so fresh and bright about it’s scent and flavor. I pair it with shallots, garlic, and lemon zest for this compound butter and it is truly amazing. Simple delicious food– the way it should be. For something even more delectable, make your own homemade cultured butter!
St. Patrick’s Day is just around the corner and I think this soda bread would be a lovely addition to your meal. Double the recipe for the butter and you can use it on your boiled potatoes! You still have time to gather your ingredients and start a brine if you plan to make homemade corned beef. Bake up a batch of these fantastic mint grasshopper bars for dessert. And of course, I hope you wash it all down with a pint of ale. Cheers, friends!

The Recipe: Rye Soda Bread with Dill Butter
(serves 4-6)
For the Rye Bread:
1 cup rye flour (5 ounces)
1 cup white whole wheat flour (5 ounces)
1 teaspoon baking soda
1 teaspoon granulated sugar
1 teaspoon kosher salt
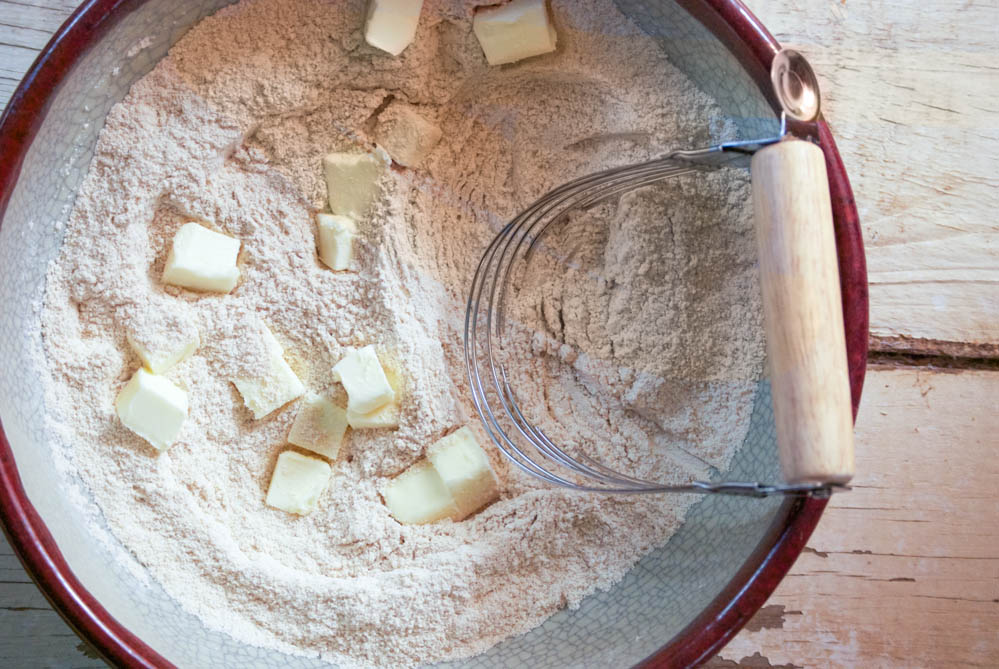
4 tablespoons cold, unsalted butter (grated with the large holes of a box grater, if frozen OR cut into small cubes and use a pastry blender or fork, if cold)
3/4 cup buttermilk (3/4 cup regular milk mixed with 2 teaspoons white vinegar can be substituted if you don’t have buttermilk)
For the Dill Butter:
4 tablespoons unsalted sweet cream butter at room temperature
1 clove garlic, finely minced
1 tablespoon finely minced fresh dill
zest of one small organic lemon
1/2 tablespoon finely minced shallot
1/2 teaspoon kosher salt
1 egg mixed with 1 teaspoon water, for egg wash
1 teaspoon poppyseeds, for sprinkling on top
Preheat oven to 375°F. Place the rack in the middle position of the oven. Line a baking sheet with parchment paper. Set aside.
To make the butter: In a medium bowl combine the softened butter, garlic, dill, lemon zest, shallot and kosher salt. Set aside to let the flavors develop.
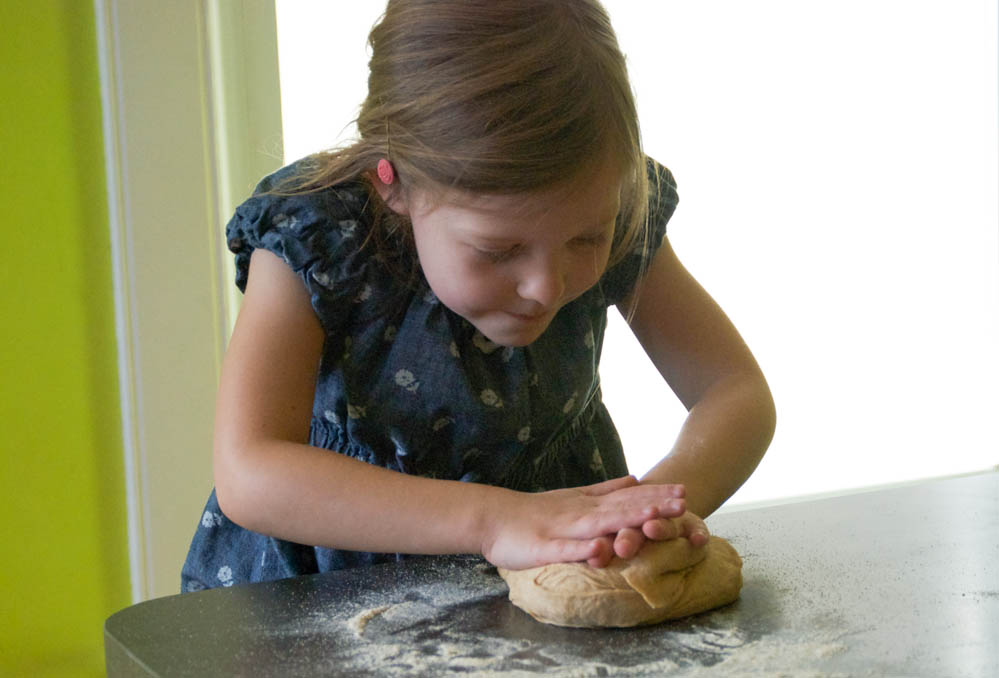
In a large bowl, whisk together the rye flour, white whole wheat flour, baking soda, salt, and sugar. I prefer to use frozen, grated butter. Mix together using your hands, being careful to cover all of the butter with the flour mixture. If using cold, cubed butter– use a pastry blender or fork to incorporate the butter into the flour. You are looking for a result of pea-sized pieces. Then, using a fork, mix in the buttermilk until the mixture is wet. Using your hands, knead the dough a few times in the bowl until it is uniform. Form the dough into a 6-inch flattened circle. Place the dough on the lined baking sheet and score it with a large “X” in the middle using a sharp knife or razor blade. Make it about 1/2″-3/4″ deep. Using a pastry brush, apply the egg wash and then sprinkle with poppyseeds. Bake for about 30-32 minutes, or until it is golden brown and the center looks done. Remove from oven and let cool on a cooling rack. The bread will keep well for a couple days in an airtight container, but is best eaten the first day. Enjoy!
Thanks for stopping by Relishing It!
Laurie