Feeds:
Posts
Comments

Archive for December, 2013

Homemade Tortillas | Relishing It

Well, I’ve finally solved “The Great Taco Dilemma” in our house.  You see, there’s been a long-running disagreement over which tortillas to use.  The kids like those big, floppy, mass-produced white tortillas, while I’ve always favored the smaller, more authentic corn tortillas that are so good when served at the local tacquerias.  But as my husband usually points out while grappling with a rapidly-disintegrating taco, the store-bought versions just crumble in half.  Now, I’ve had a revelation– homemade tortillas that strike that perfect balance.  Soft and pliable because they’re made with wheat, yet with the homemade feel of authentic tortillas.   I hadn’t tried making my own before because I wasn’t convinced that there could be much difference in quality.  The fact is, store-bought tortillas don’t even come close.  And you can roll them out and fry them up in about 10 minutes flat.  That is 10 minutes well spent, my friends.

Homemade Tortillas | Relishing It

Homemade Tortillas | Relishing It

Homemade Tortillas | Relishing It

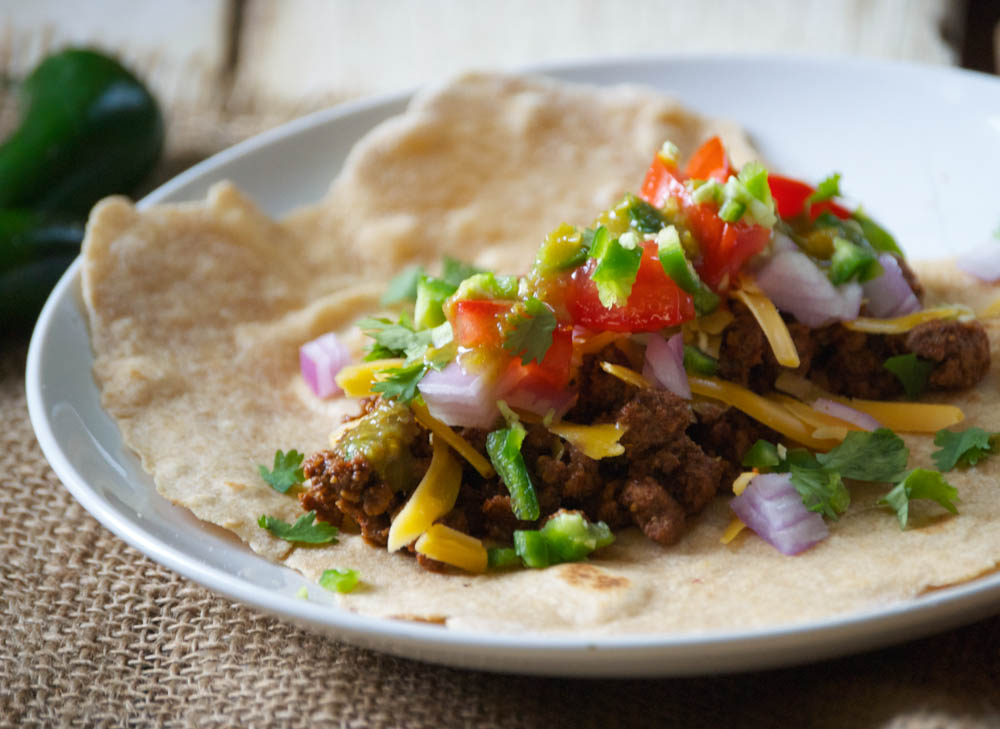
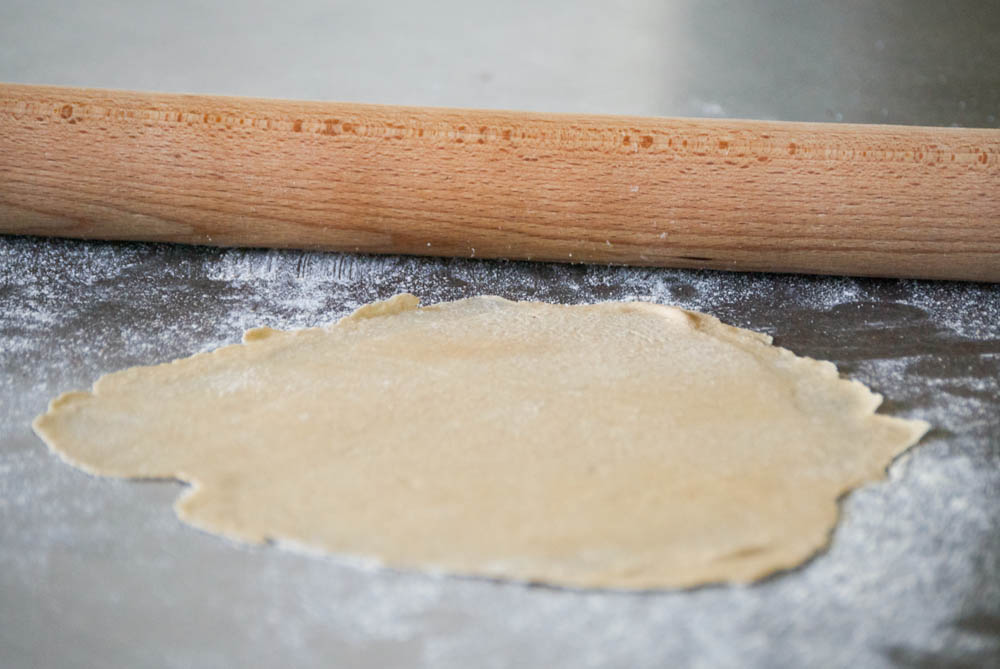
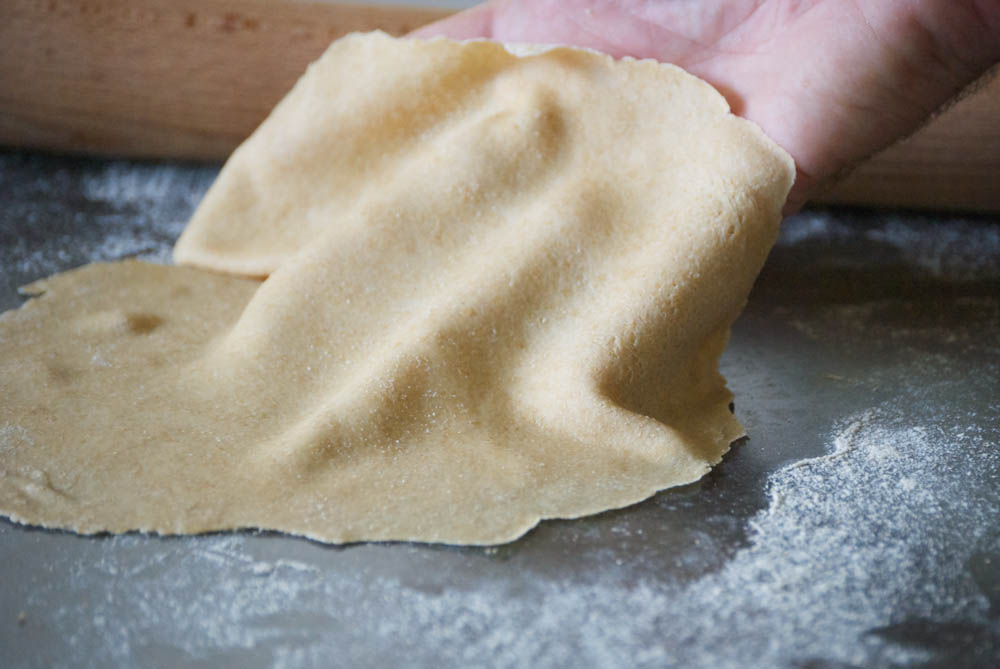
Now that the tortilla situation is resolved, we’ve been enjoying the heck out of homemade tacos.  In the time it takes me to roll one dough ball out, another tortilla has completed the frying process.   It’s quick– just 30 seconds on each side.   The ones seen here are a delicious classic Americanized version.  We used this fresh tomatillo salsa and this homemade taco mix.  If you’re up for a more a little more variety, this or this recipe are fabulous options.  Whichever you end up trying, these tortillas are the perfect canvas to showcase amazing flavors.  I also love the fact that I can make these as healthy as I want.   Traditionally, tortillas are made with lard, but I like to use grass-fed butter along with organic white whole wheat flour.  Feel free to use shortening or lard and all-purpose flour, if you want.  One note about rolling the dough out– roll it as thin as you possibly can (see the photograph).  The tortillas also keep very well in the refrigerator for several days, as long as they’re in an airtight bag.  Freezing them is also a great option.  Enjoy!

Homemade Tortillas | Relishing It

Homemade Tortillas | Relishing It

Homemade Tortillas | Relishing It

The Recipe:  Homemade Tortillas

(makes 11)

9 ounces (2 cups) white whole wheat flour (all-purpose can be substituted)

1 1/4 teaspoon kosher salt

1/4 teaspoon baking powder

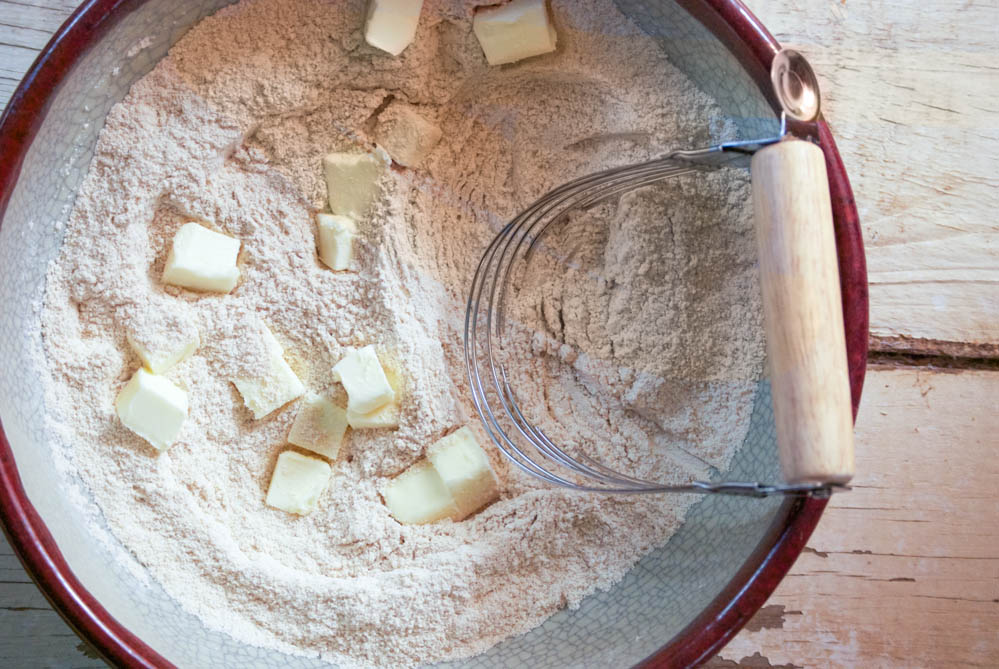
1/4 cup cold unsalted butter, cut into cubes (shortening or lard can be substituted)

2/3 cup warm water (not fully hot)

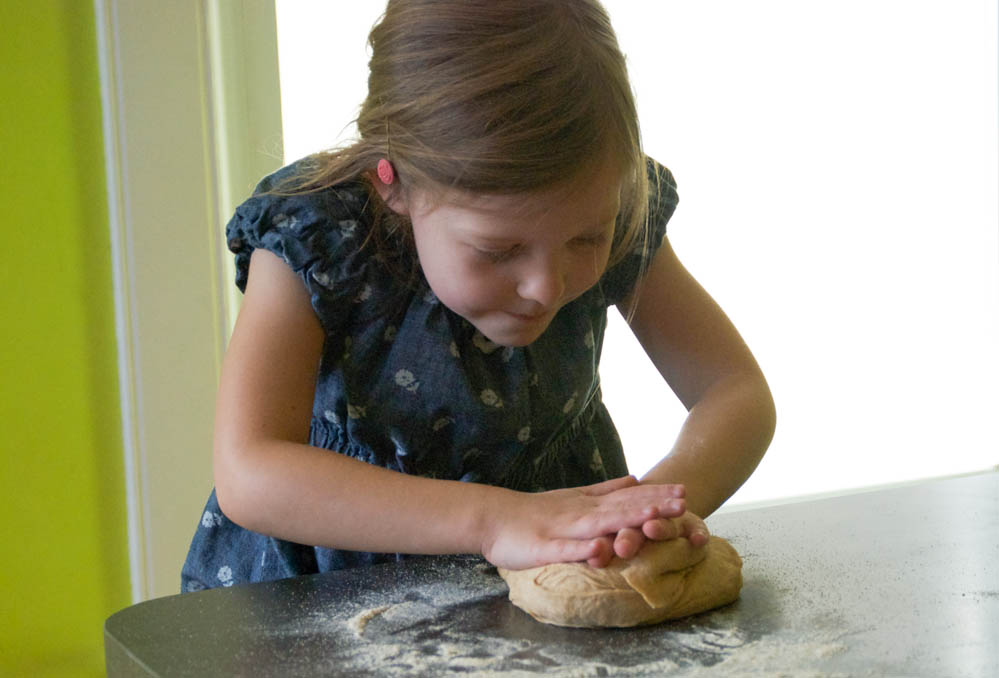
In a large bowl, whisk the dry ingredients together.  Cut in the butter with a pastry blender or a fork.  Mix in the warm water with a fork.  The mixture will be a shaggy mess at this point.  Knead on a lightly floured surface for 3-4 minutes, or until smooth. Adding more flour to the surface as necessary.  Roll into 1 1/2 ounce balls.  Place on parchment paper and cover with a kitchen towel for 1-2 hours.

On a lightly floured surface, roll the dough balls out until they are paper thin.  Try to maintain a circle, but it doesn’t have to be perfect.  Heat a dry cast-iron skillet on medium-high heat.  When hot, place the tortilla in the pan and cook each side for about 30 seconds, or until the tortilla begins to lightly brown in some spots.  Keep a watchful eye so it does not burn.

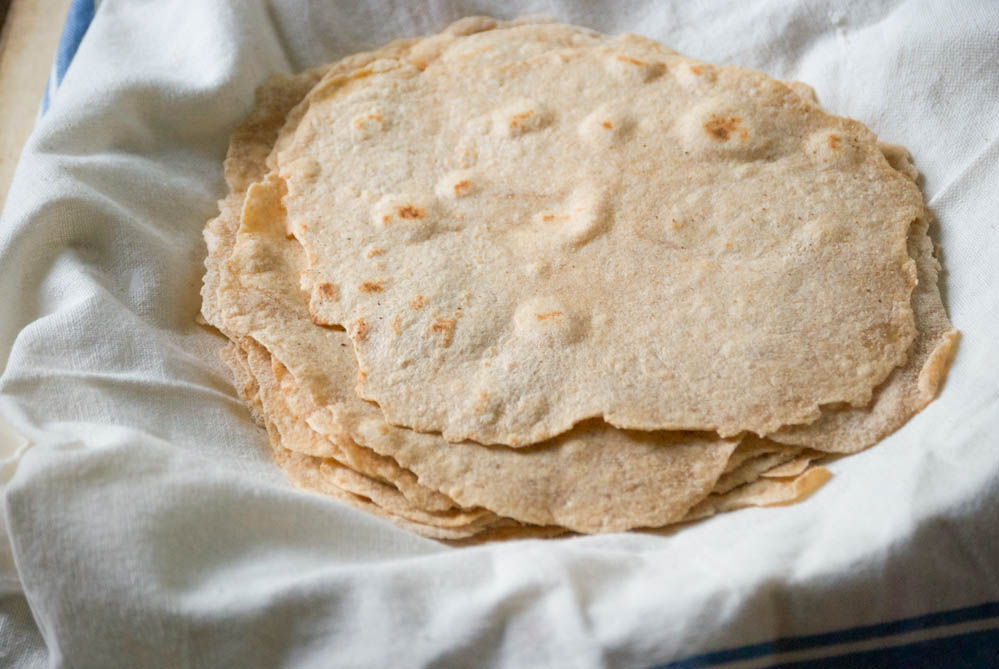
Meanwhile, roll out another dough ball and place in pan when the current one is done cooking.  Continue the process until all the tortillas are made.  As each tortilla is done, place and cover them in a towel lined basket to keep them warm. Enjoy!

Thanks for stopping by Relishing It today!

xo

Laurie

Read Full Post »

Deconstructed Stuffed Peppers | Relishing It

I’m willing to place a sizable bet that most of you are a little tired of turkey leftovers.  Well let’s switch it up then, with this little dish to revive your tastebuds.  This is one of those quick, healthy meals that I promised you a few weeks ago.  It’s loaded with healthy ingredients and the combination of flavors is one of my favorites– sauerkraut and beef.  (Remember this galette?)  This time I’ve also added the tang of tomatoes and the ever-so-slight crunch of green peppers.  Lovely.

Deconstructed Stuffed Peppers | Relishing It

A few comments on how I’ve titled this dish.  Let me go on record as saying I’m not a huge fan of the word “deconstructed” when it come to food.  It’s often misleading, pretentious, or both.  I know others have the same gripe about describing oneself as a “foodie”.  (Personally, I’m fine with foodie).  Anyway…here I couldn’t really come up with another way to describe this dish.  The fact is, it takes all of the wonderful components of stuffed peppers, and, well, deconstructs them.  There’s really no other way to describe it unless I decided to go with “pile of peppers, rice, ground beef, sauerkraut, and tomatoes”.  And for some reason that just doesn’t seem quite as appealing.

Deconstructed Stuffed Peppers | Relishing It

Just because this variation comes together more quickly, don’t for a moment think they aren’t as good as the original.  That would be a huge mistake, because this dish is about 10 times better than any traditional version.  Here’s why– you know that moment when you cut into what used to be a vibrant green pepper, and the liquid just floods out on to your plate because the pepper has baked far too long to ensure the filling reached the right temp?  Yeah, that doesn’t happen here.  No disappointing mushiness to the green pepper, no pieces of hamburger submerged in puddles of tomato-y water.  Here, the green peppers retain their vibrant green color and a bit of their crunch, because you decide what texture you’d like them to be.  The tomato sauce (or crushed tomatoes), whichever you choose to use, are the perfect base for the rice and ground beef.  The whole dish is finished with a healthy dose of really good sauerkraut to add that wonderful zip.  Use this saurkraut recipe to make your own, or buy a good quality version.  Bubbies has wonderful fermented products.  The entire dish takes only the amount of time that you need to make the brown rice.  So…get going, time’s a ‘wasting!   Enjoy!

Deconstructed Stuffed Peppers | Relishing It

The Recipe: Deconstructed Stuffed Peppers

(makes enough for 4 people)

1 cup dry long grain brown rice, rinsed

1 pound grass-fed ground beef

2 large green bell peppers, cut into large bite-size chunks

1 small white onion, diced

1/2 quart homemade tomato sauce, or a bit more  (your favorite purchased sauce or crushed tomatoes will work, too)

1 cup good quality sauerkraut

fresh parsley, for garnish

salt and pepper, to taste

Place the rinsed brown rice in a large saucepan with 2 cups of cold water and a sprinkle of salt.  Cover and bring to a boil, then reduce to a medium simmer and let rice cook for about 30 minutes or until it is tender and the water has been absorbed.  Fluff with fork.

Meanwhile, when the rice is about halfway through it’s cooking time, begin to brown the beef  over medium-high heat in a large skillet.  For this dish, I like to leave the beef in somewhat big chunks.  When it is cooked, drain and discard the grease.  Season the beef with salt and pepper and add add the onion to the pan.  Cook the onion until it begins to get tender, just 2-3 minutes.  Add the green peppers and cook just a few minutes until they are a bit tender, but still have a slight crunch to them.  Add the tomato sauce and warm through.  When the rice is ready, add it to the skillet and stir.  If the dish is hot enough, add the sauerkraut and stir just enough to warm the kraut, but not enough to cook it.  It’s lovely when it has a bit of a crunch to it.  Re-season with salt and pepper, if necessary.  Garnish with freshly chopped parsley.  Enjoy!

If you’re looking for gift ideas for the favorite foodie in your life, I’ve compiled a list of my favorites.  Stop over to Becki’s site, “Shopping’s My Cardio” and have a look!  Thanks for stopping by Relishing It today.  xo

Image 2

Read Full Post »