Feeds:
Posts
Comments

Posts Tagged ‘Lacto-Fermented’

Simple Homemade Kimchi | Relishing It

Last week my little blog had an anniversary!  I’ve been occupying this small corner of the internet for three years now.  Goodness time has flown by!  I’m so very thankful for the friends it has brought into my life.  It is such an amazing feeling to find people that share my interests– people that give a damn where their food comes from and believe that it makes a difference.  Making food does more than just nurture my body, it nutures my soul.  Thank you for stopping back week after week to see what I’ve been doing– I am truly grateful.

Homemade Kimchi | Relishing It

Homemade Kimchi | Relishing It

Homemade Kimchi | Relishing It

Homemade Kimchi | Relishing It

I suppose you’re expecting a celebratory cake recipe, but no, today I’m marking the occassion with…kimchi!  You know I’m a sucker for fermented foods (they are so ridiculously healthy for you)– this  homemade sauerkraut gets made ever month in our house.  Kimchi is along the same lines– it’s also lacto-fermented– but it’s made with a different type of cabbage and a couple of other vegetables. The red color comes from a Korean ground red pepper called gochugaru.  It has a wonderful flavor.  Finding gochugaru can be a bit of a hunt, even in a large city.  Definitely check an Asian specialty store.  I found mine at United Noodles in Minneapolis.  You can also order in online at Amazon.  A package will last you awhile, so you won’t have to reorder very often. Kimchi is easy to make and doesn’t take very long to ferment.  It’s as simple is mixing up a flavorful paste with garlic, ginger, and the gochugaru and tossing it with the vegetables.  If you love kimchi, there is absolutely no reason not to make your own.

Simple Homemade Kimchi | Relishing It

Homemade Kimchi | Relishing It

Simple Homemade Kimchi | Relishing It

The big question is, what do you do with kimchi once you’ve made it?  The possibilities are endless, really.  Toss some into a batch of fried rice, throw some into your stir-fry, put it into soups, eat it with dumplings, or straight out of the jar.  I love to eat it on a pizza with spicy ground pork.  It adds that extra “oomph” that some dishes need.  Make it.  You’ll be happy that you did!

Homemade Kimchi | Relishing It

The Recipe: Homemade Kimchi

(makes nearly 2 quarts)

1 /3 cup kosher salt

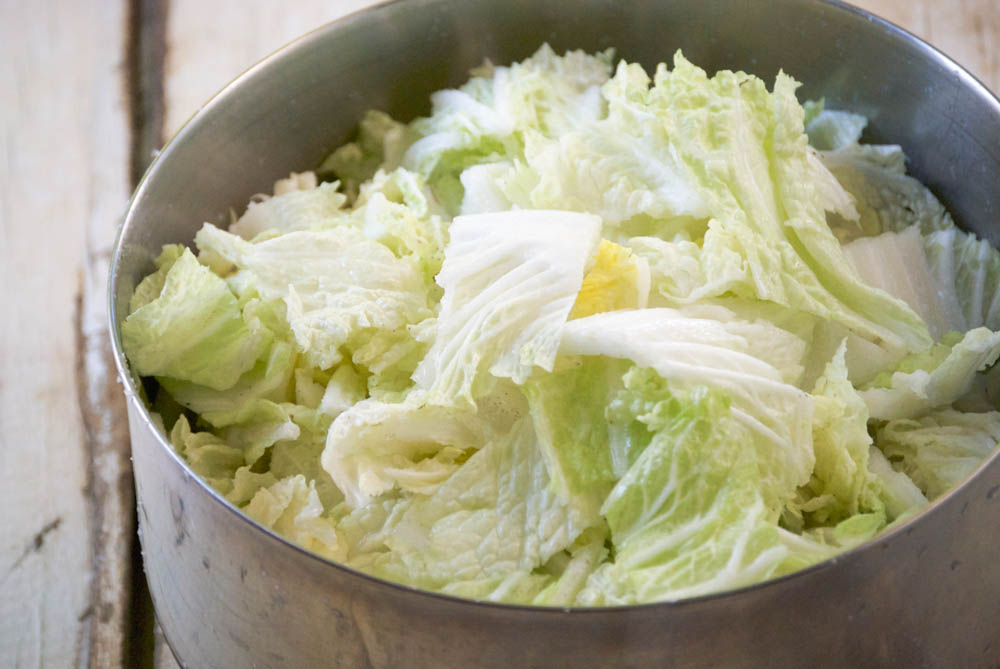
1 (3 1/2 pound) head napa cabbage, remove core and cut cabbage into 2-inch strips

water

7 green onions, cut into 1-inch pieces

12 ounce daikon (white radish) peeled and cut into matchsticks

7 garlic cloves, smashed

3 tablespoons fish sauce (or water, if making vegetarian)

1 1/2 teaspoon minced fresh ginger

1 1/4 teaspoon granulated sugar

5 tablespoons gochugaru (less to taste)

To prepare the cabbage:  Place the cut cabbage in a large bowl and sprinkle with salt.  Massage well so the the cabbage starts to soften and become watery.  Then add enough filtered water to cover the cabbage.  Weigh it down with a plate and then place something heavy on the plate.  Let it stand for 1-2 hours.

Meanwhile, make the red pepper paste.  In a small bowl, add the ginger, garlic, fish sauce, sugar, and gochugaru.  Mix until uniform.  Set aside.

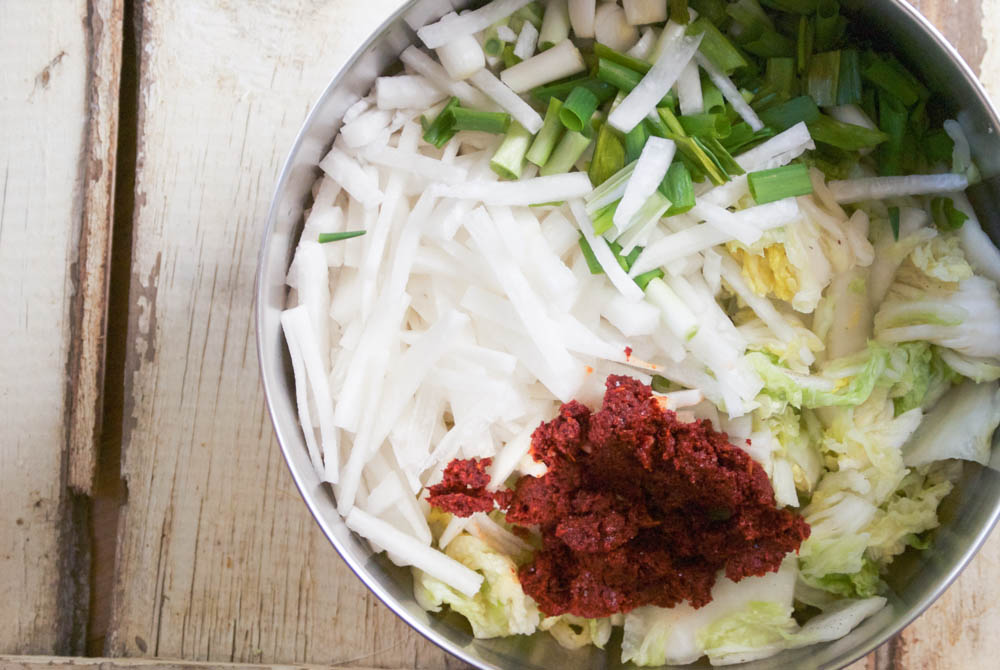
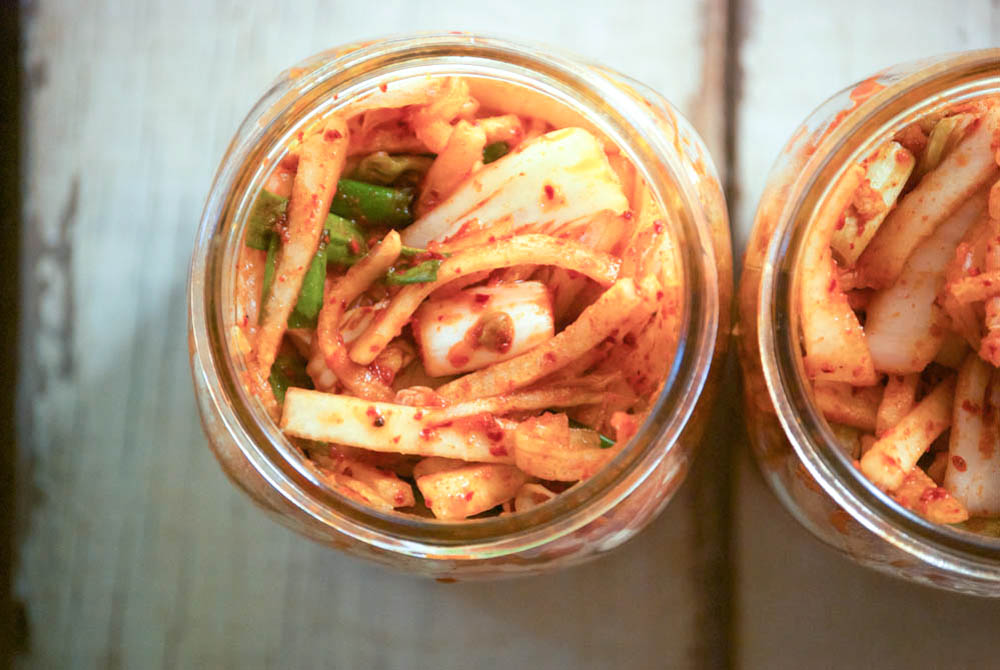
When the cabbage is ready, rinse it with cold water about 3 times.  You want to thoroughly wash the salt off of it.  Then drain in a colander for 15 minutes and gently squeeze out any remaining water.  Return to the bowl that has since been cleaned.  Add the daikon, green onions, and red pepper paste and gently mix with your hands (use gloves, if you want) to coat all of the vegetables.  Pack the kimchi into clean jars and press down until the brine covers the vegetables.  Leave about an 1-inch space at the top of the jars (you will just be shy of 2 quarts for this recipe, so space shouldn’t be an issue).

Let the jars stand at room temperature for 1-5 days ( I generally do 5 days, but it’ll depend upon the temperature of your house).  There may be some bubbling action and you may want to open the jar to release some of the gas, so it doesn’t bubble over and create a mess.  Taste it along the way, when it is fermented to your liking, put it into the refrigerator.  The flavors will continue to enhance when it’s been in the refrigerator for a while.  Enjoy!

Source:  Adapted from The Kitchn

Thanks for stopping by!

Laurie

Read Full Post »

Easy Homemade Sauerkraut | Relishing It

I grew up in a small town in western North Dakota settled way-back-when mostly by German immigrants. Not surprisingly, sauerkraut has always been a part of my family’s meals. My grandmothers, aunts, and my mom have always made their own.  I can’t tell you how many times in my childhood I had to trudge down the stairs to the cool basement to retreive another jar of kraut from the shelves packed with canned goods. It was always there– an endless supply. I loved sauerkraut as a kid, and still do. I’m that person who orders it on pizza any chance I get.  My favorite way to eat it is simply really cold, in a bowl.  I like my sauerkraut to have a lot of crunch to it.

Easy Homemade Sauerkraut | Relishing It

I don’t exactly make my sauerkraut the same way the rest of my family does.  My version tastes the same– I’ve nailed down the technique that gives that deliciously tangy and crunchy sauerkraut.  But, I don’t can my batches. There are so many good, healthy things happening when you ferment food, that I just can’t bring myself to ruin those benefits by heating it up too much. Instead, I make small batches and let it ferment for a few weeks at room temperature, and then refrigerate.  If you’re not familiar with fermentation and the health benefits, be sure to look into it.

Easy Homemade Sauerkraut | Relishing It

I’ve made saurkraut in a traditional crock in th past, which though seemingly fun, didn’t give me the results I was looking for. I loved the idea of the crock sitting out and fermenting for all to smell and see, but there was no crunch when it was all said and done. I’ll find another use for that crock, though.

Easy Homemade Sauerkraut | Relishing It

Easy Homemade Sauerkraut | Relishing It

I’ve found that my sauerkraut turns out precisely how I want it when I pack it into mason jars and let it ferment on the counter for a couple of weeks.  It becomes deliciously tangy and stays crisp and crunchy.  Every few days in the beginning of the fermentation process, I’ll open the jar to release some of the gas.  It doesn’t take long for the cabbage to take on that tell-tale sauerkraut scent.  The first time or two that you do this, there will be quite a lot of bubbles and fizzing action.  Exciting! After about 2-3 weeks of sitting out at room temperature, I test it out and when it’s the perfect tanginess– I put it in the refrigerator, ready to eat. Then I start another batch, and the process just rolls along. I always have fresh sauerkraut to use in my favorite dishes, such as this Rustic Potato, Sauerkraut, and Beef Galette.  Or mix it into this beautiful Ham, Bean, and Sauerkraut Soup by Fresh Tart.   I hope you give this a try.  It’s ridiculously easy and the rewards are fantastic.

Easy Homemade Sauerkraut | Relishing It

The Recipe:  Easy Homemade Sauerkraut

(makes about 2 quarts)

5 pounds of fresh cabbage, cored and sliced into ribbons (not too thick, not too thin).  Reserve a couple of the large outer leaves to use later.

3 tablespoons kosher or sea salt  (nothing with chemicals, please)

2 sterilized mason jars with lids  (preferably regular mouth jars– the “shoulders” on the sides will keep the cabbage pressed down and submerged in the liquid better)

I’ve  found that if I slice my cabbage too thin, it doesn’t have the crunch that I’m looking for.  Too thick, and it’s awkward to chew.  Using a chef’s knife works the best for me.  Slice it into not-too-thin, but not-too-thick ribbons (use your best judgement and refer to the photos).

Place the sliced cabbage in a huge bowl and sprinkle with salt.  Use a masher, if you have one,  to mix the salt and cabbage together.  Bruising the cabbage a bit with the masher with soften the cabbage up and release some of the water from it.  Inevitably, I turn to my hands and massage the cabbage and salt together.  Let it sit for about an hour, or so.   Keep massaging it a couple of times throughout that hour, or place a plate directly on top of the cabbage and something heavy on the plate to weigh it down.  The pressure will release the water faster.  There should be a pool of liquid that has formed.  Pack it into the mason jars and push down– the liquid should come above the cabbage.  Next, fold the extra cabbage leaf and place on top of the cabbage.  This will push your cabbage down so it remains in the liquid to ferment.  Put the cover on the jar and wait.  After a day or two, open the jar and let the gas out.  There will be a lot of bubbles and fizzing action.  This is good!  It’s beginning to ferment.  Check it again every couple of days.  Occasionally, mold may form on top of the cabbage.  This is fine and normal.   Just scoop it out and continue to ferment.  I’ve found that mold occurs more often when using the crock method, as opposed to mason jars.

 After about 2-3 weeks (depending upon how tangy you like your sauerkraut), remove the cabbage leaf and place the jar in the refrigerator to use.  I’m not exactly sure how long it will last in the refrigerator, as we always use ours before it’s even a question.  It should be fine for a few weeks, possibly a couple months.  Enjoy!

Thanks for stopping by Relishing It!

Laurie

Read Full Post »

%d bloggers like this: