Feeds:
Posts
Comments

Posts Tagged ‘Cucumbers’


Crunchy Refrigerator Pickles with Dill + Garlic | Relishing It

You know what’s awesome?  Handing your daughter a pickle and having her proclaim (without knowing where it was from) “This is amazin’!”.  That, my friends, is what I call winning.  She didn’t see me make the first batch of refrigerator pickles this year, but she’s been helping me make every batch since.  She is fascinated by the fact that it doesn’t take very long to transform a cucumber into a wonderful pickle.

Crunchy Refrigerator Pickles with Dill + Garlic | Relishing It

Crunchy Refrigerator Pickles with Dill + Garlic | Relishing It

I decided to wing-it this year and make up my own pickle recipe.  After waiting rather impatiently for my mom to send me her recipe (you’re in trouble, mother), I decided to conjure up my own version.  Sure, I’ve made lots of refrigerator pickles in the past, but nothing that kept me wanting to make the same batch again.  I was reaching too far, to be honest– over-complicating things.  I kept looking for something “interesting” that would blow me away.  Last year I even tried a version with mint, and while they were fine, they just were not what I was looking for.  I realized that what I was really after wasn’t complicated at all.  I wanted something that was really crunchy, fresh, garlicy, and had a clean dill taste.  Simple. Classic.  So, I stopped searching and just made them the way I wanted.  Duh.

Crunchy Refrigerator Pickles with Dill + Garlic | Relishing It

Crunchy Refrigerato Pickles with Garlic + Dill | Relishing It

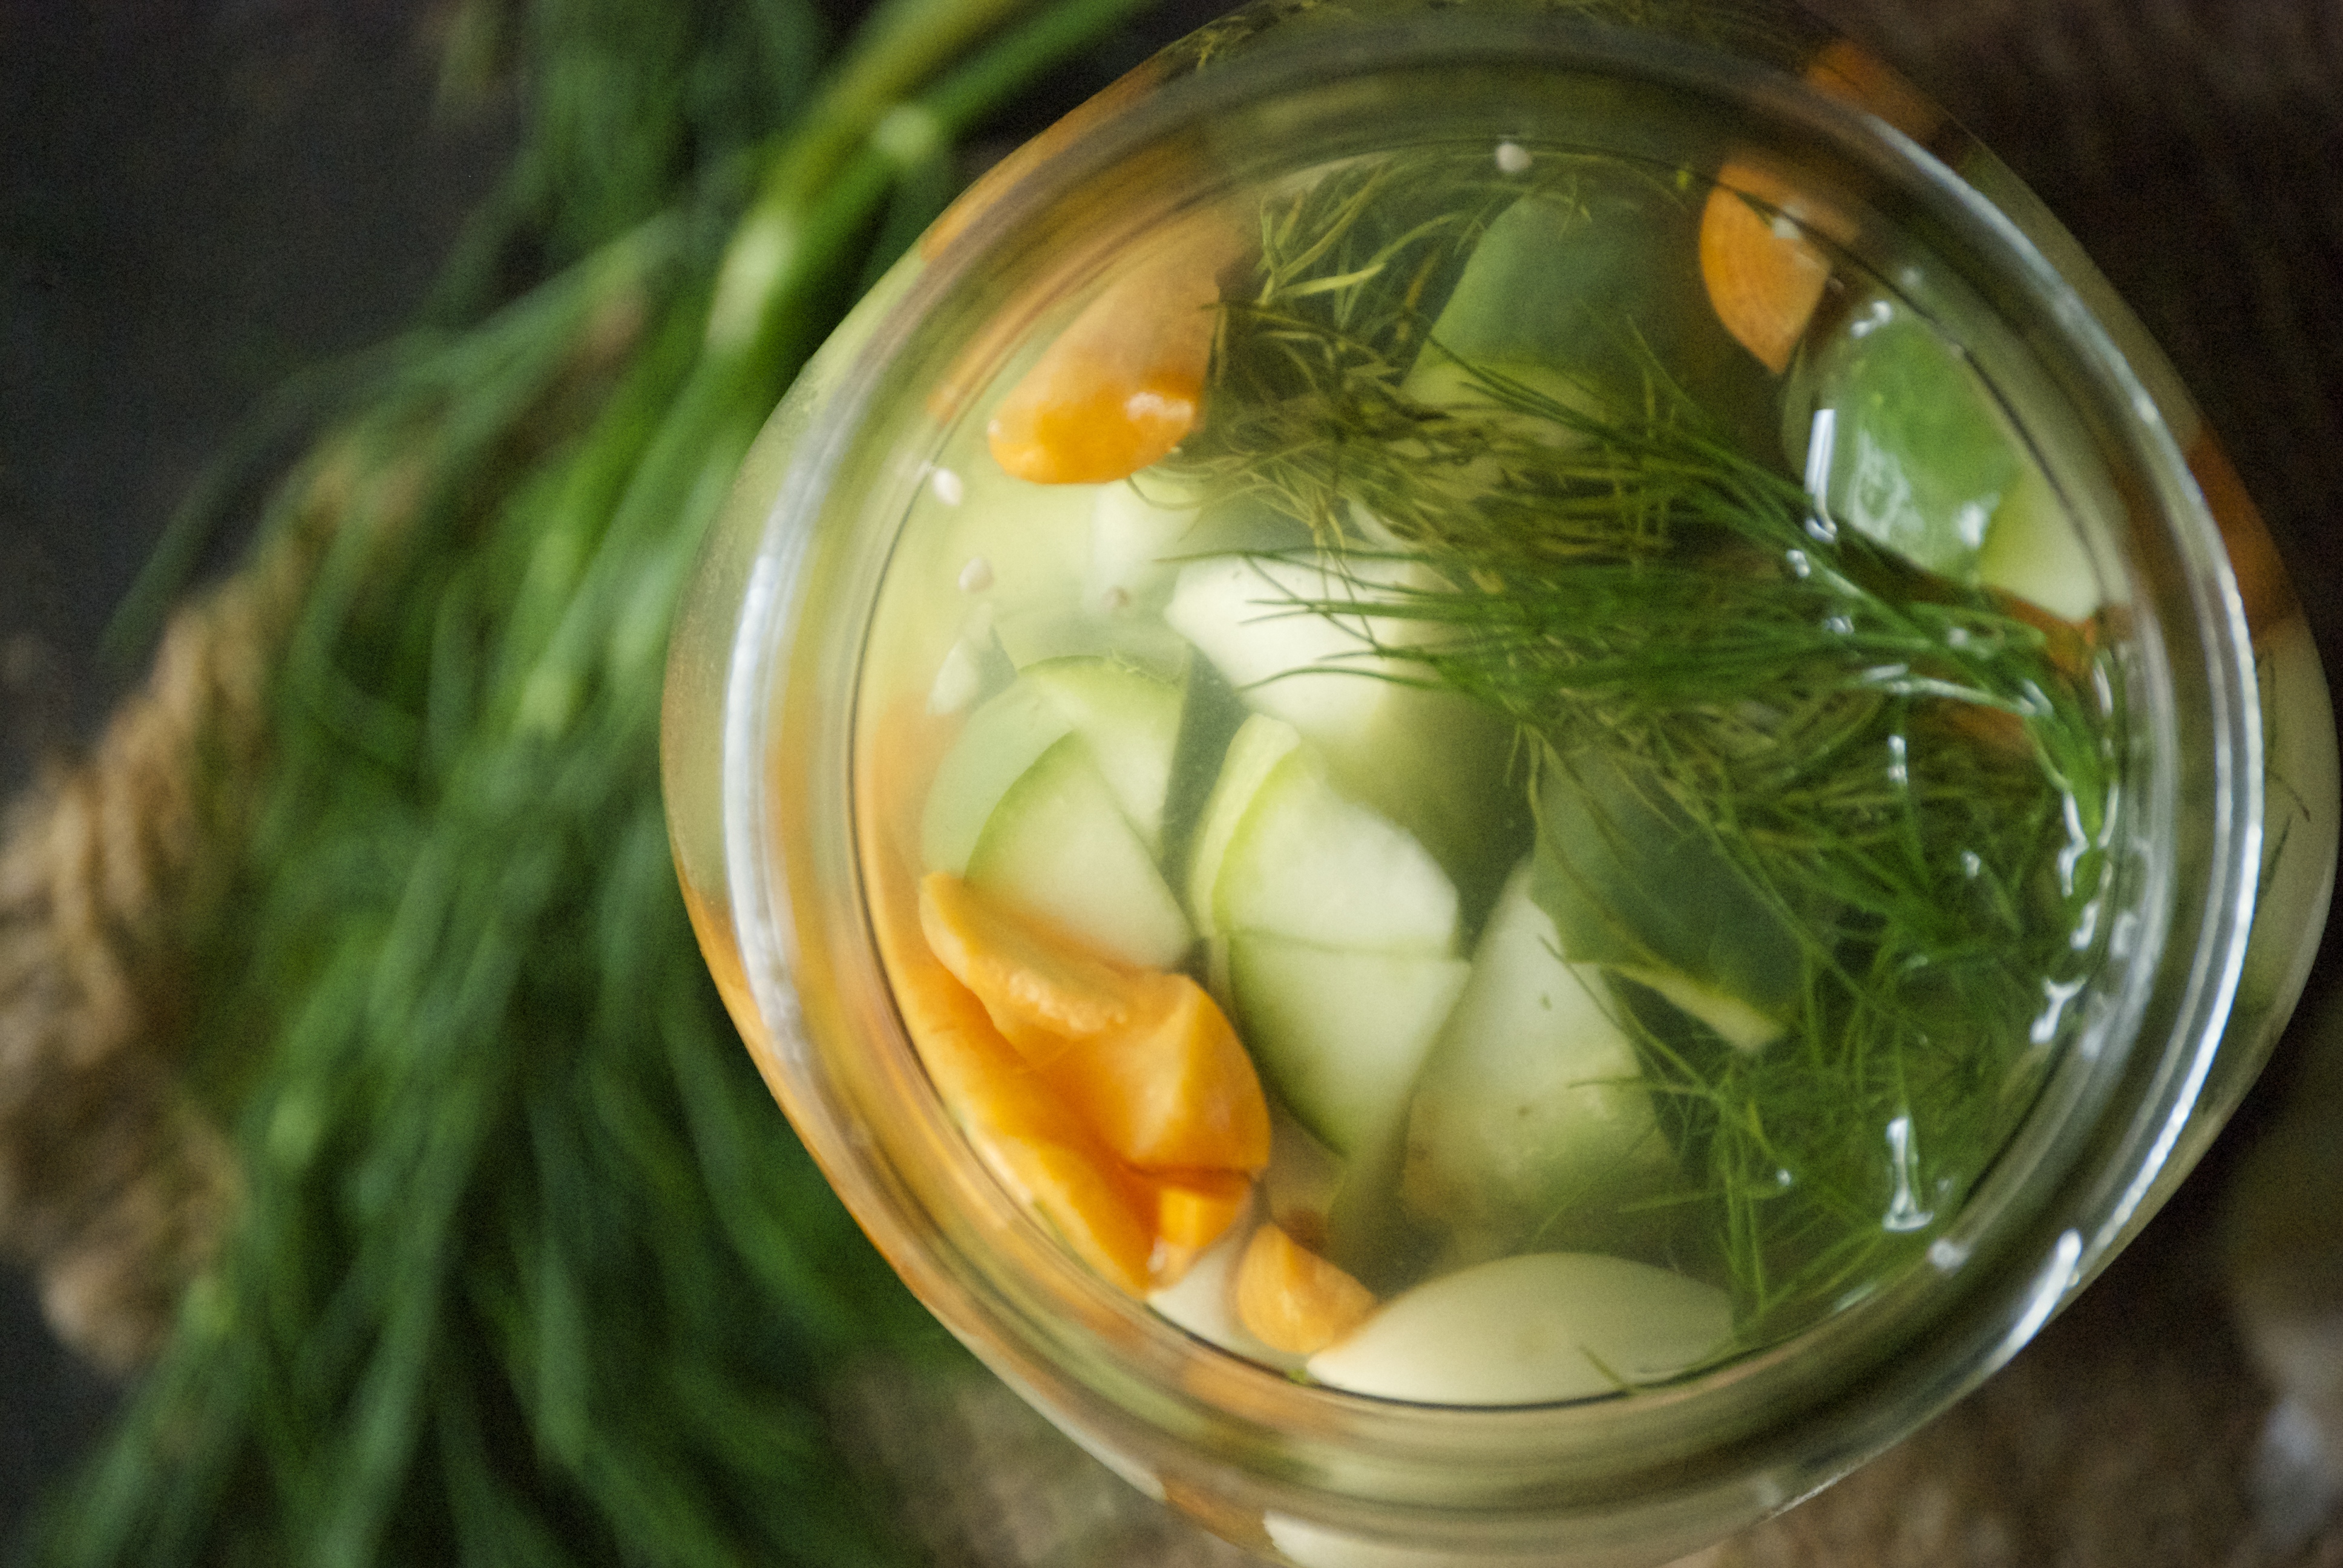
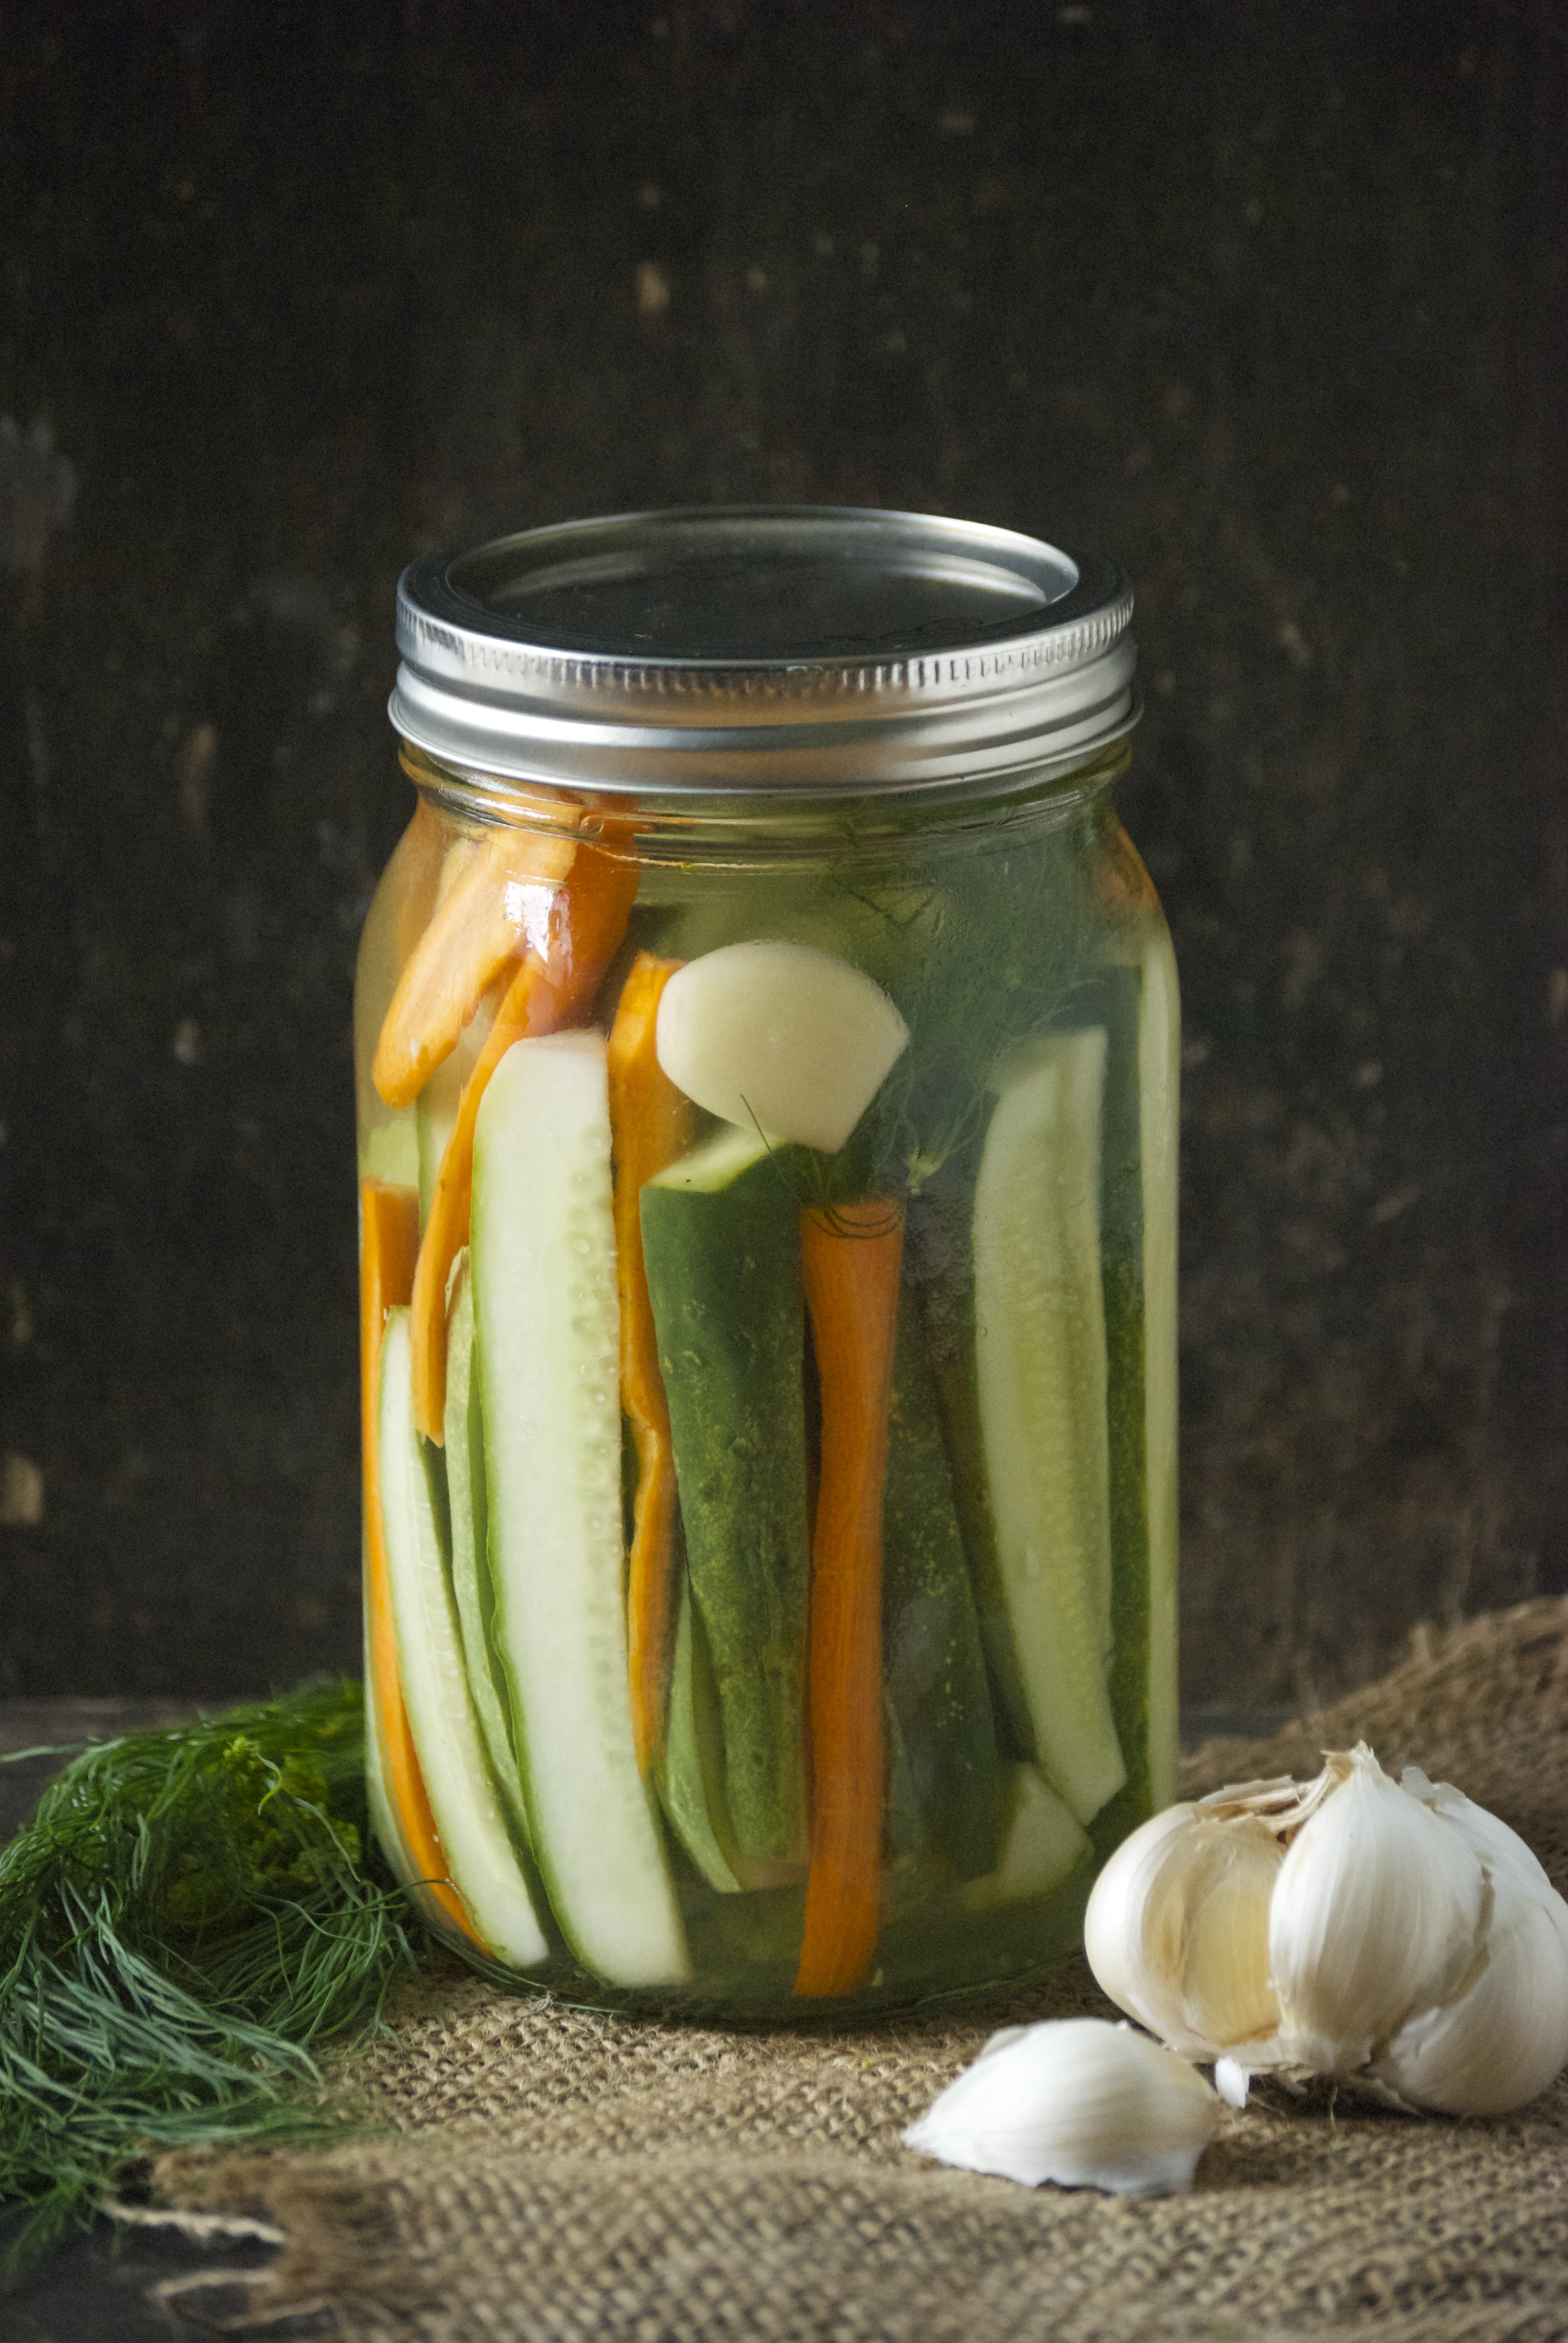
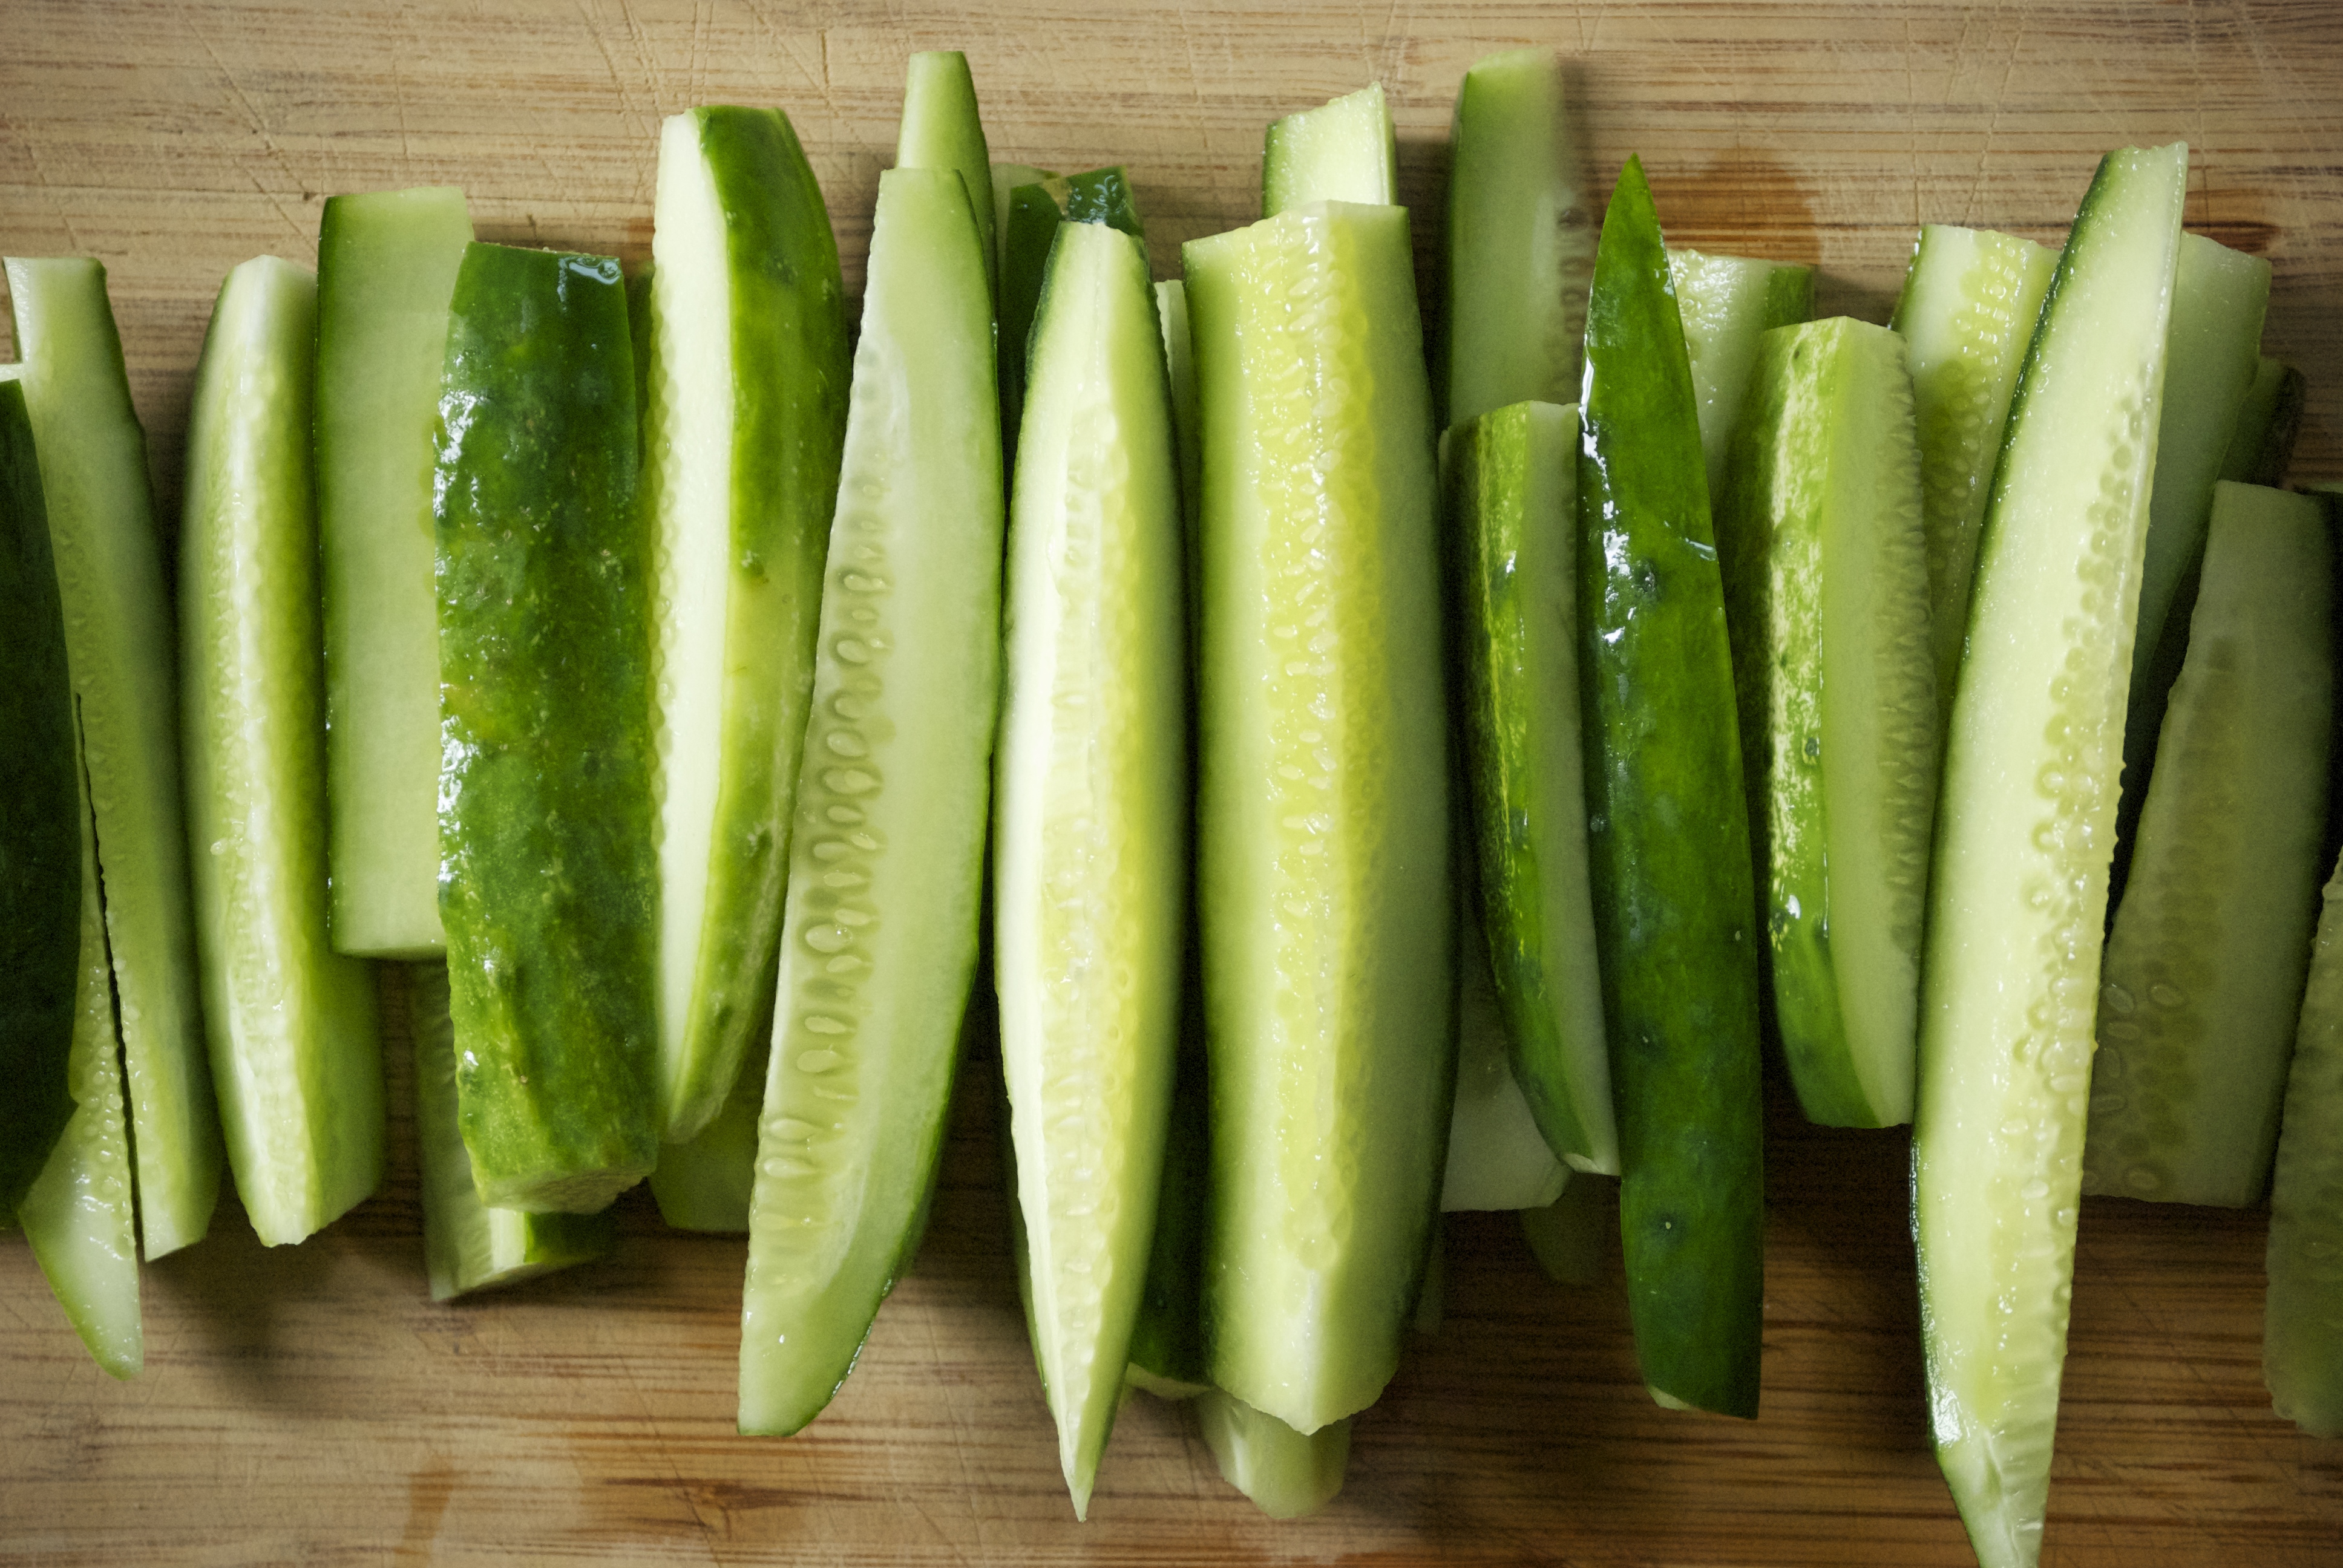
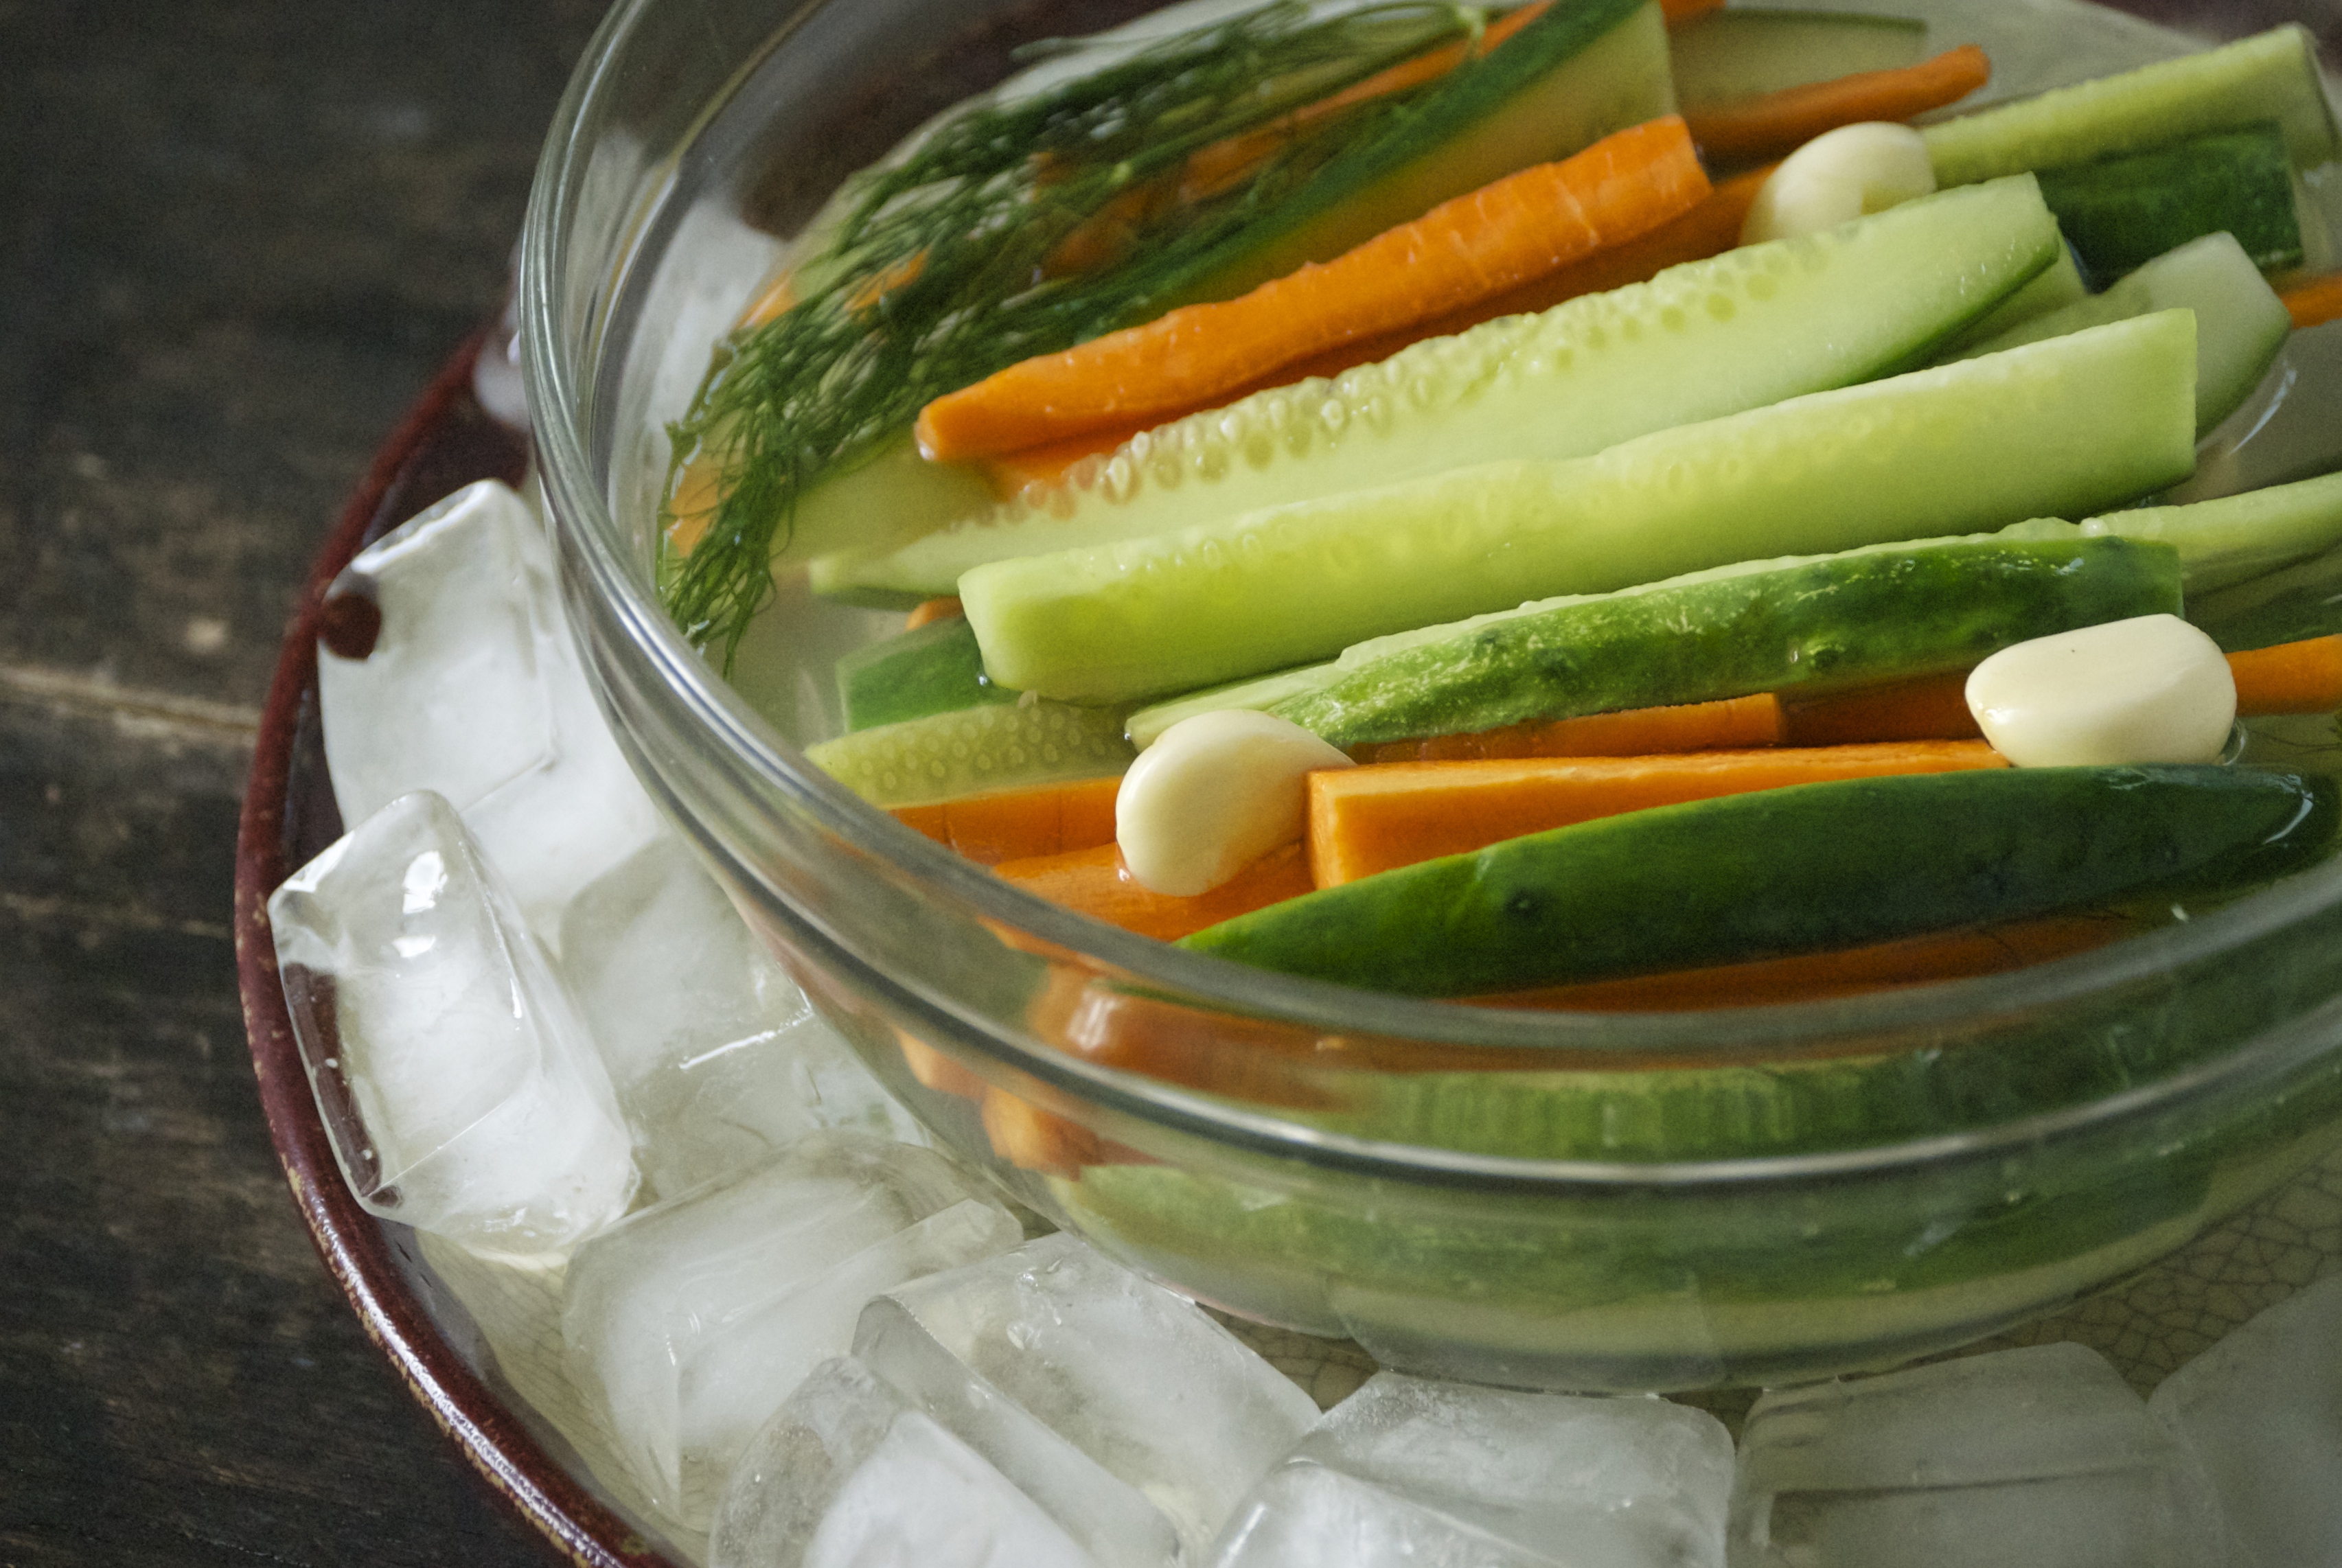
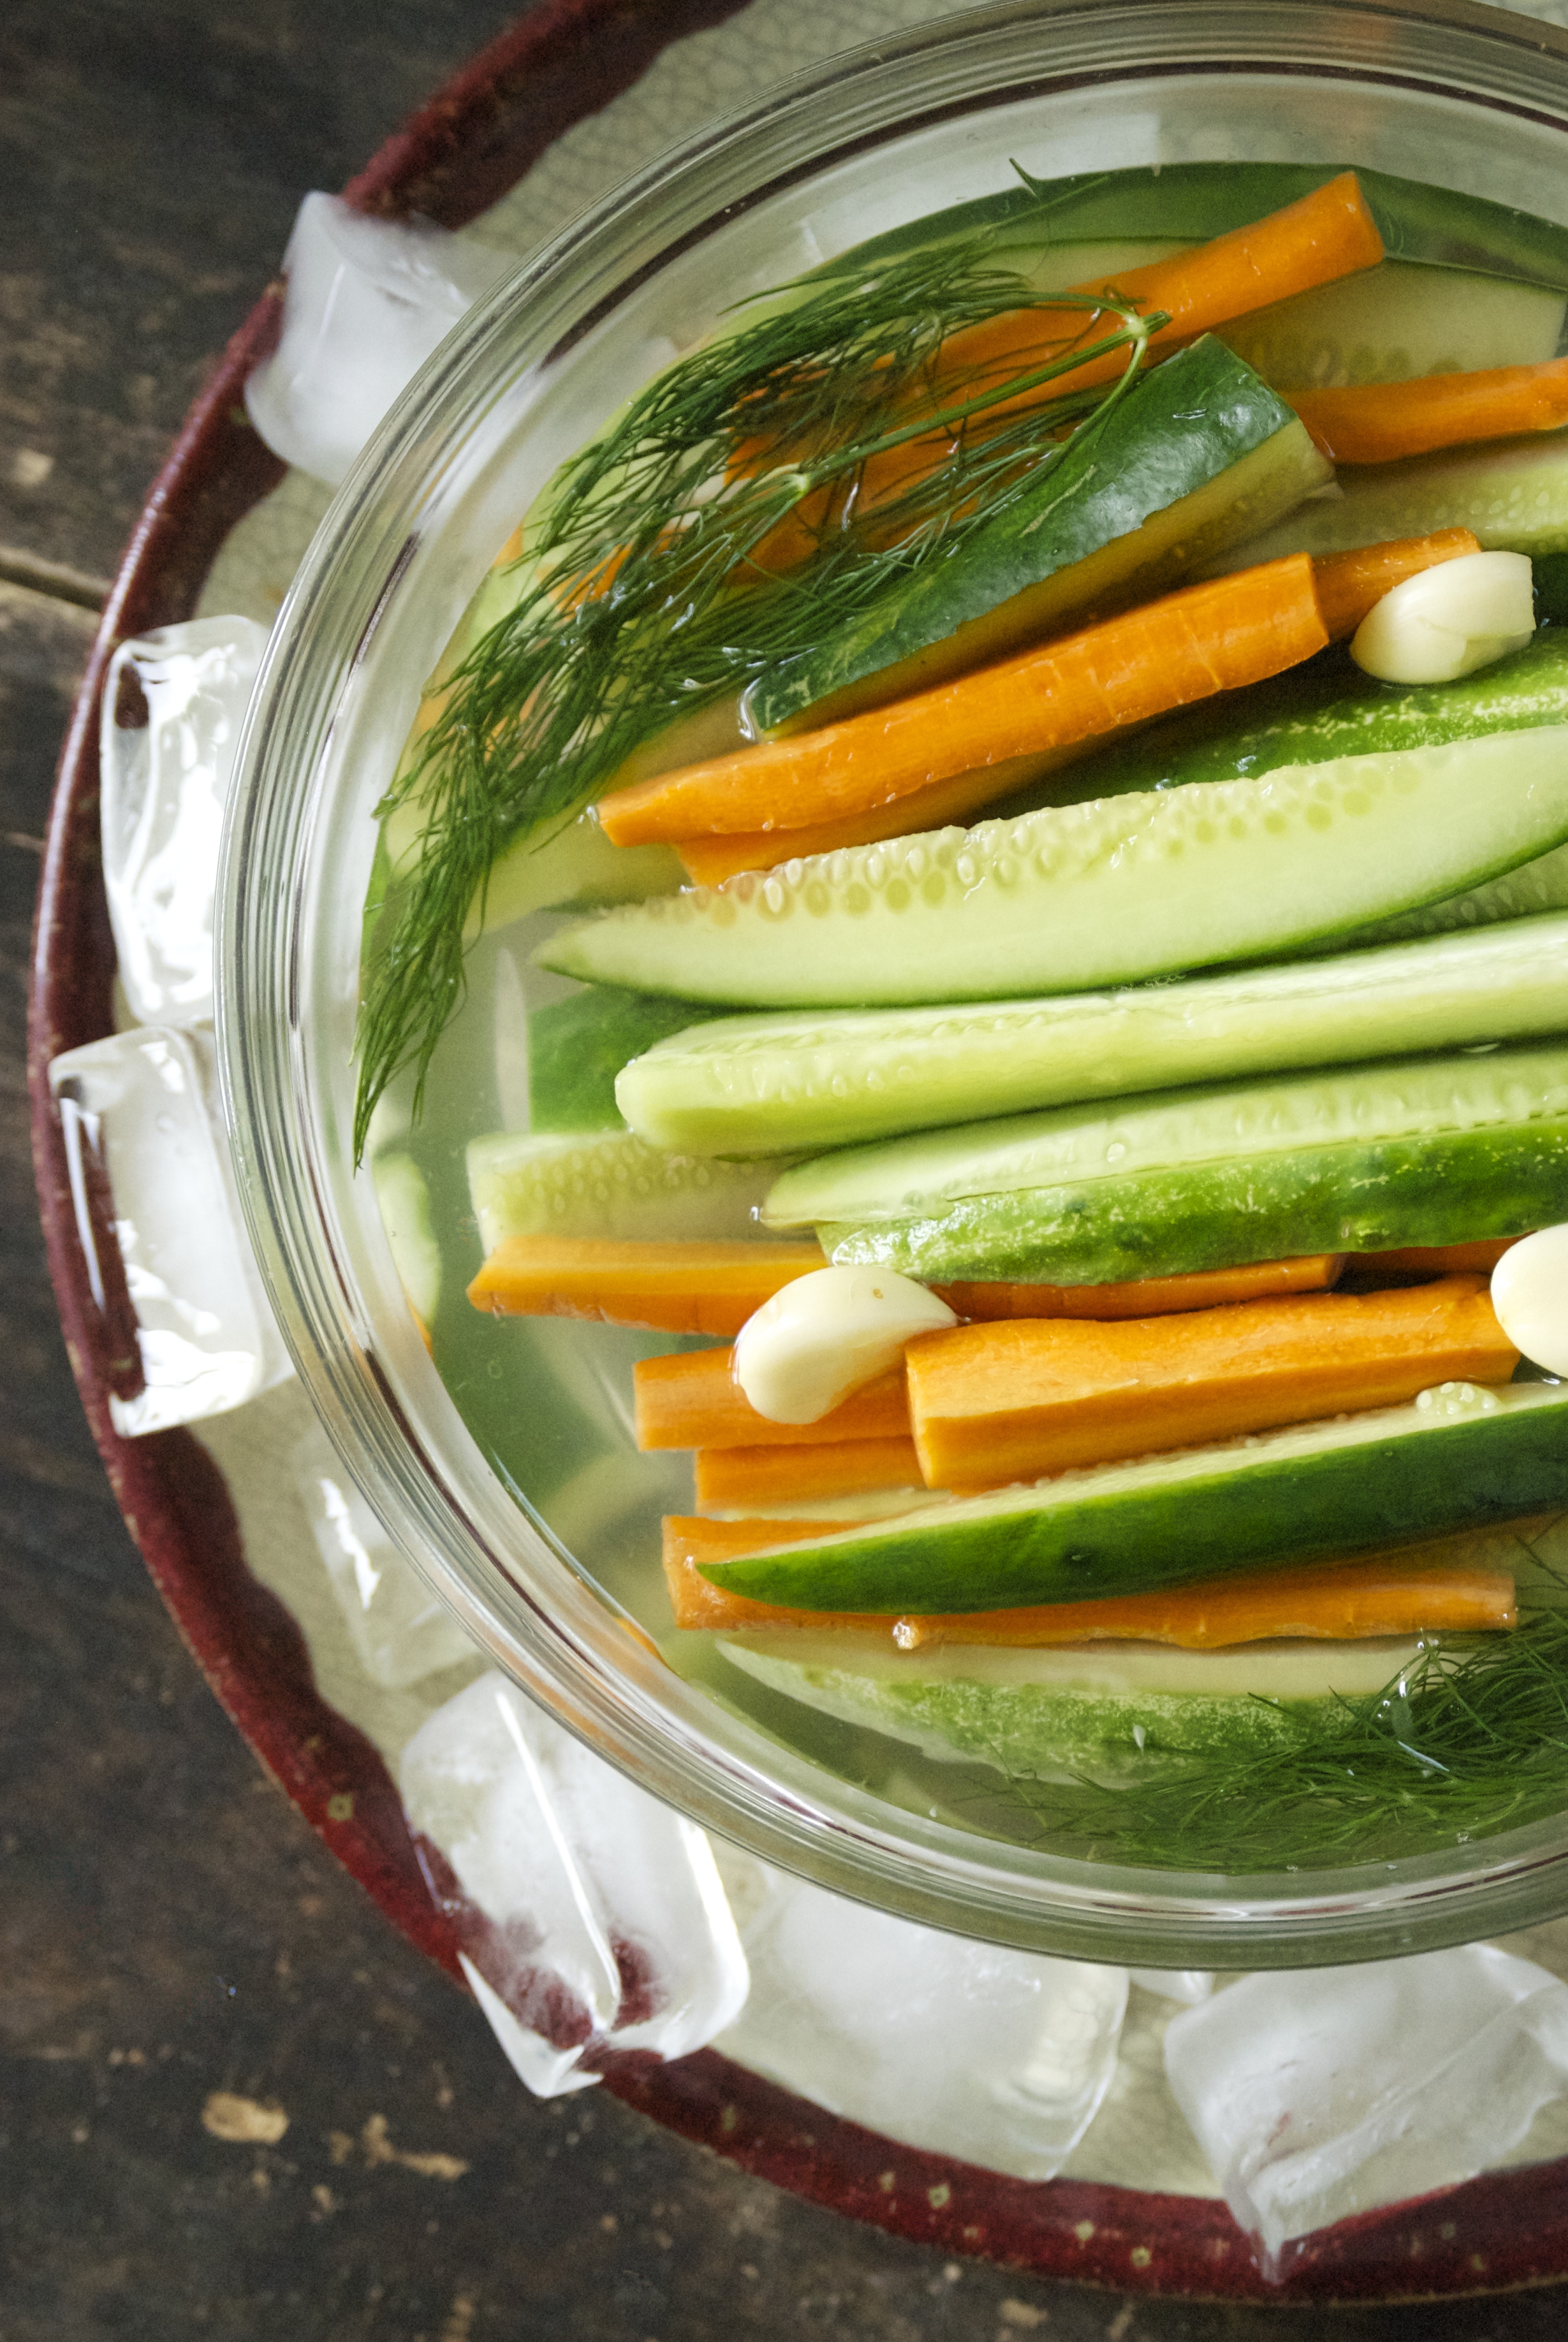
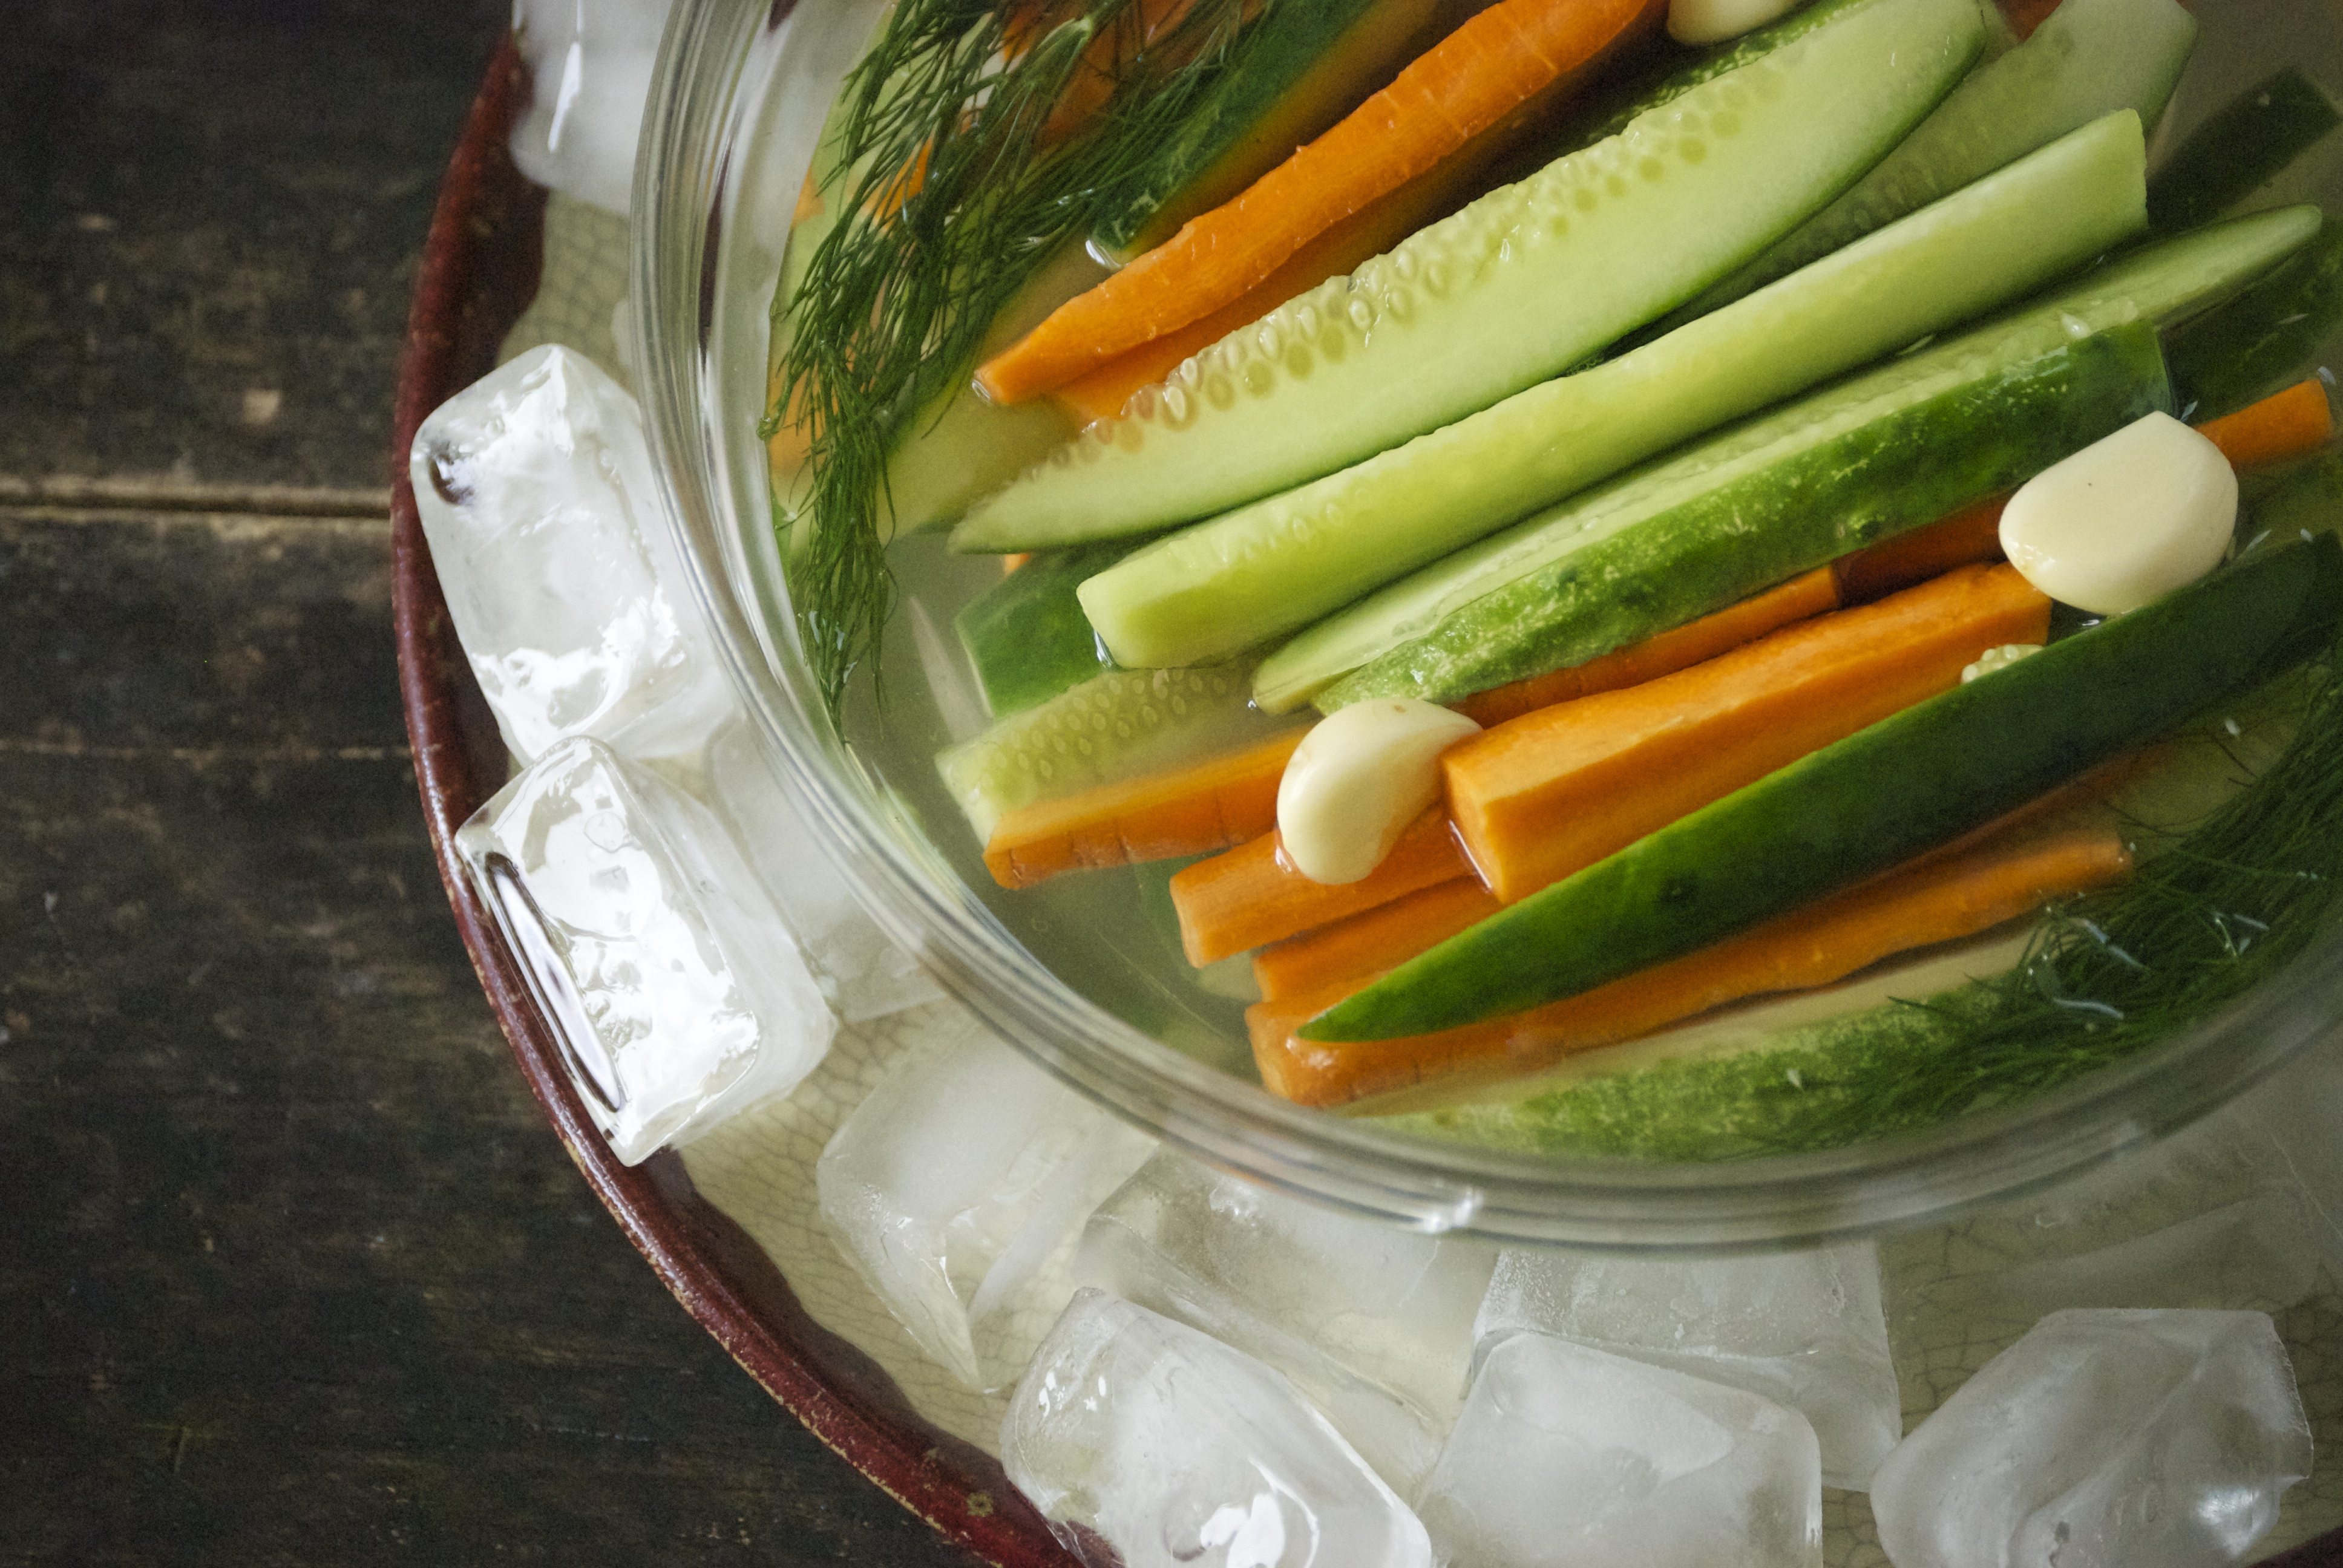
The key for me to keeping them refreshing is to lessen the salt and vinegar amount a bit.  I remember this trick from my mom, which is why I probably loved her pickles so much.  Add a little filtered water to the vinegar and it creates the most refreshing brine.  Too much salt makes me want to stop eating something in a hurry, but just the right amount– and I can chomp on these babies all day long.  The dill and garlic are just what you’d expect them to be– delicious.  No surprises here.  I always add carrots to my refrigerator dills– they’re fantastic.  They take a bit longer to pickle than the cucumbers do.  Using young small cucumbers is the key to a crunchy pickle, as is not heating up the brine mixture.  Keep everything cold and you’ll have a fantastic crunch– I promise you.

Crunchy Refrigerator Pickles with Dill + Garlic | Relishing It

Crunchy Refrigerator Pickles with Dill + Garlic | Relishing It

These pickles are perfect to bring to a barbecue or neighborhood gathering.  Bring a huge bowl of them– they’ll disappear quickly.   There is nothing better than sinking your teeth into a cold, crunchy pickle on a hot summer evening.  National Night Out is next Tuesday in the US.  I plan on bringing a big bowl of these crunchy dills, and I think you should do the same.  Or just make a jar or two to keep in your refrigerator for when you need that tangy, satisfying crunch.

Crunchy Refrigerator Pickles with Dill + Garlic | Relishing It

The Recipe: Crunchy Refrigerator Pickles with Dill + Garlic

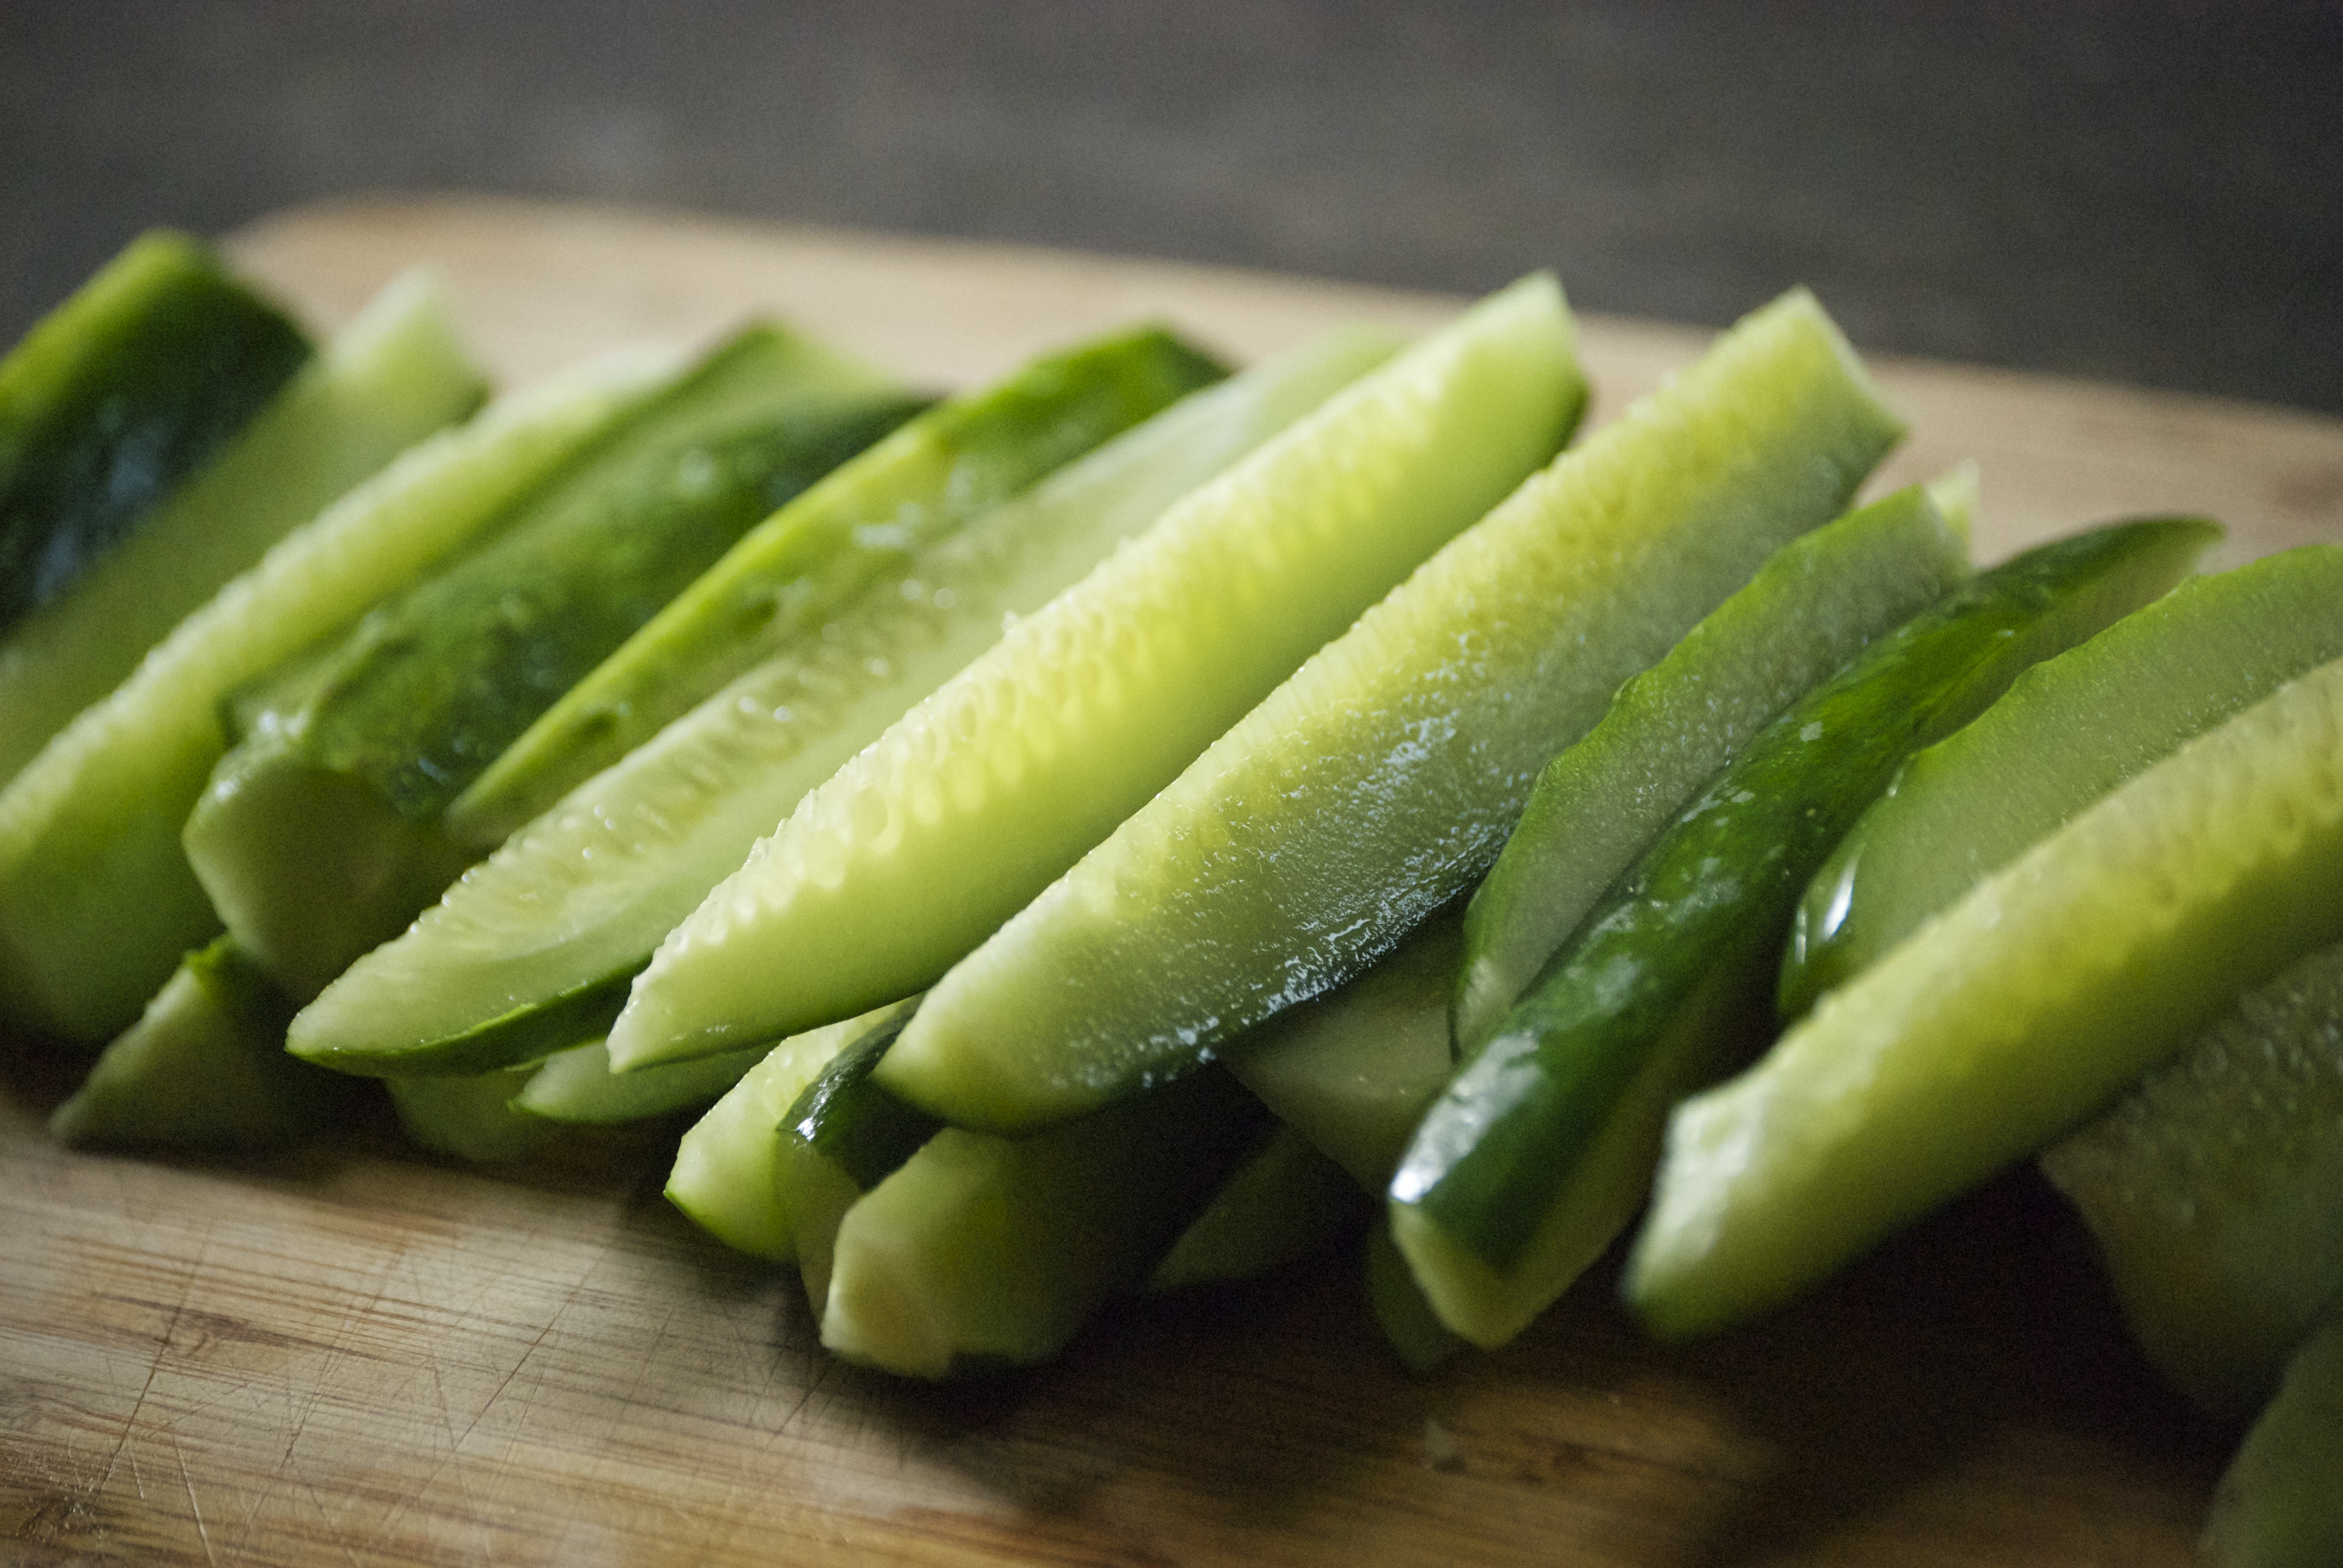
Smallish cucumbers, cut however you like– I prefer spears

carrots, cut into spears

3-4 cloves of garlic, peeled

1 1/2 teaspoons kosher salt ( I use Diamond Crystal–and weirdly this matters.  Different salt.  Different results.)

fresh dill

white vinegar

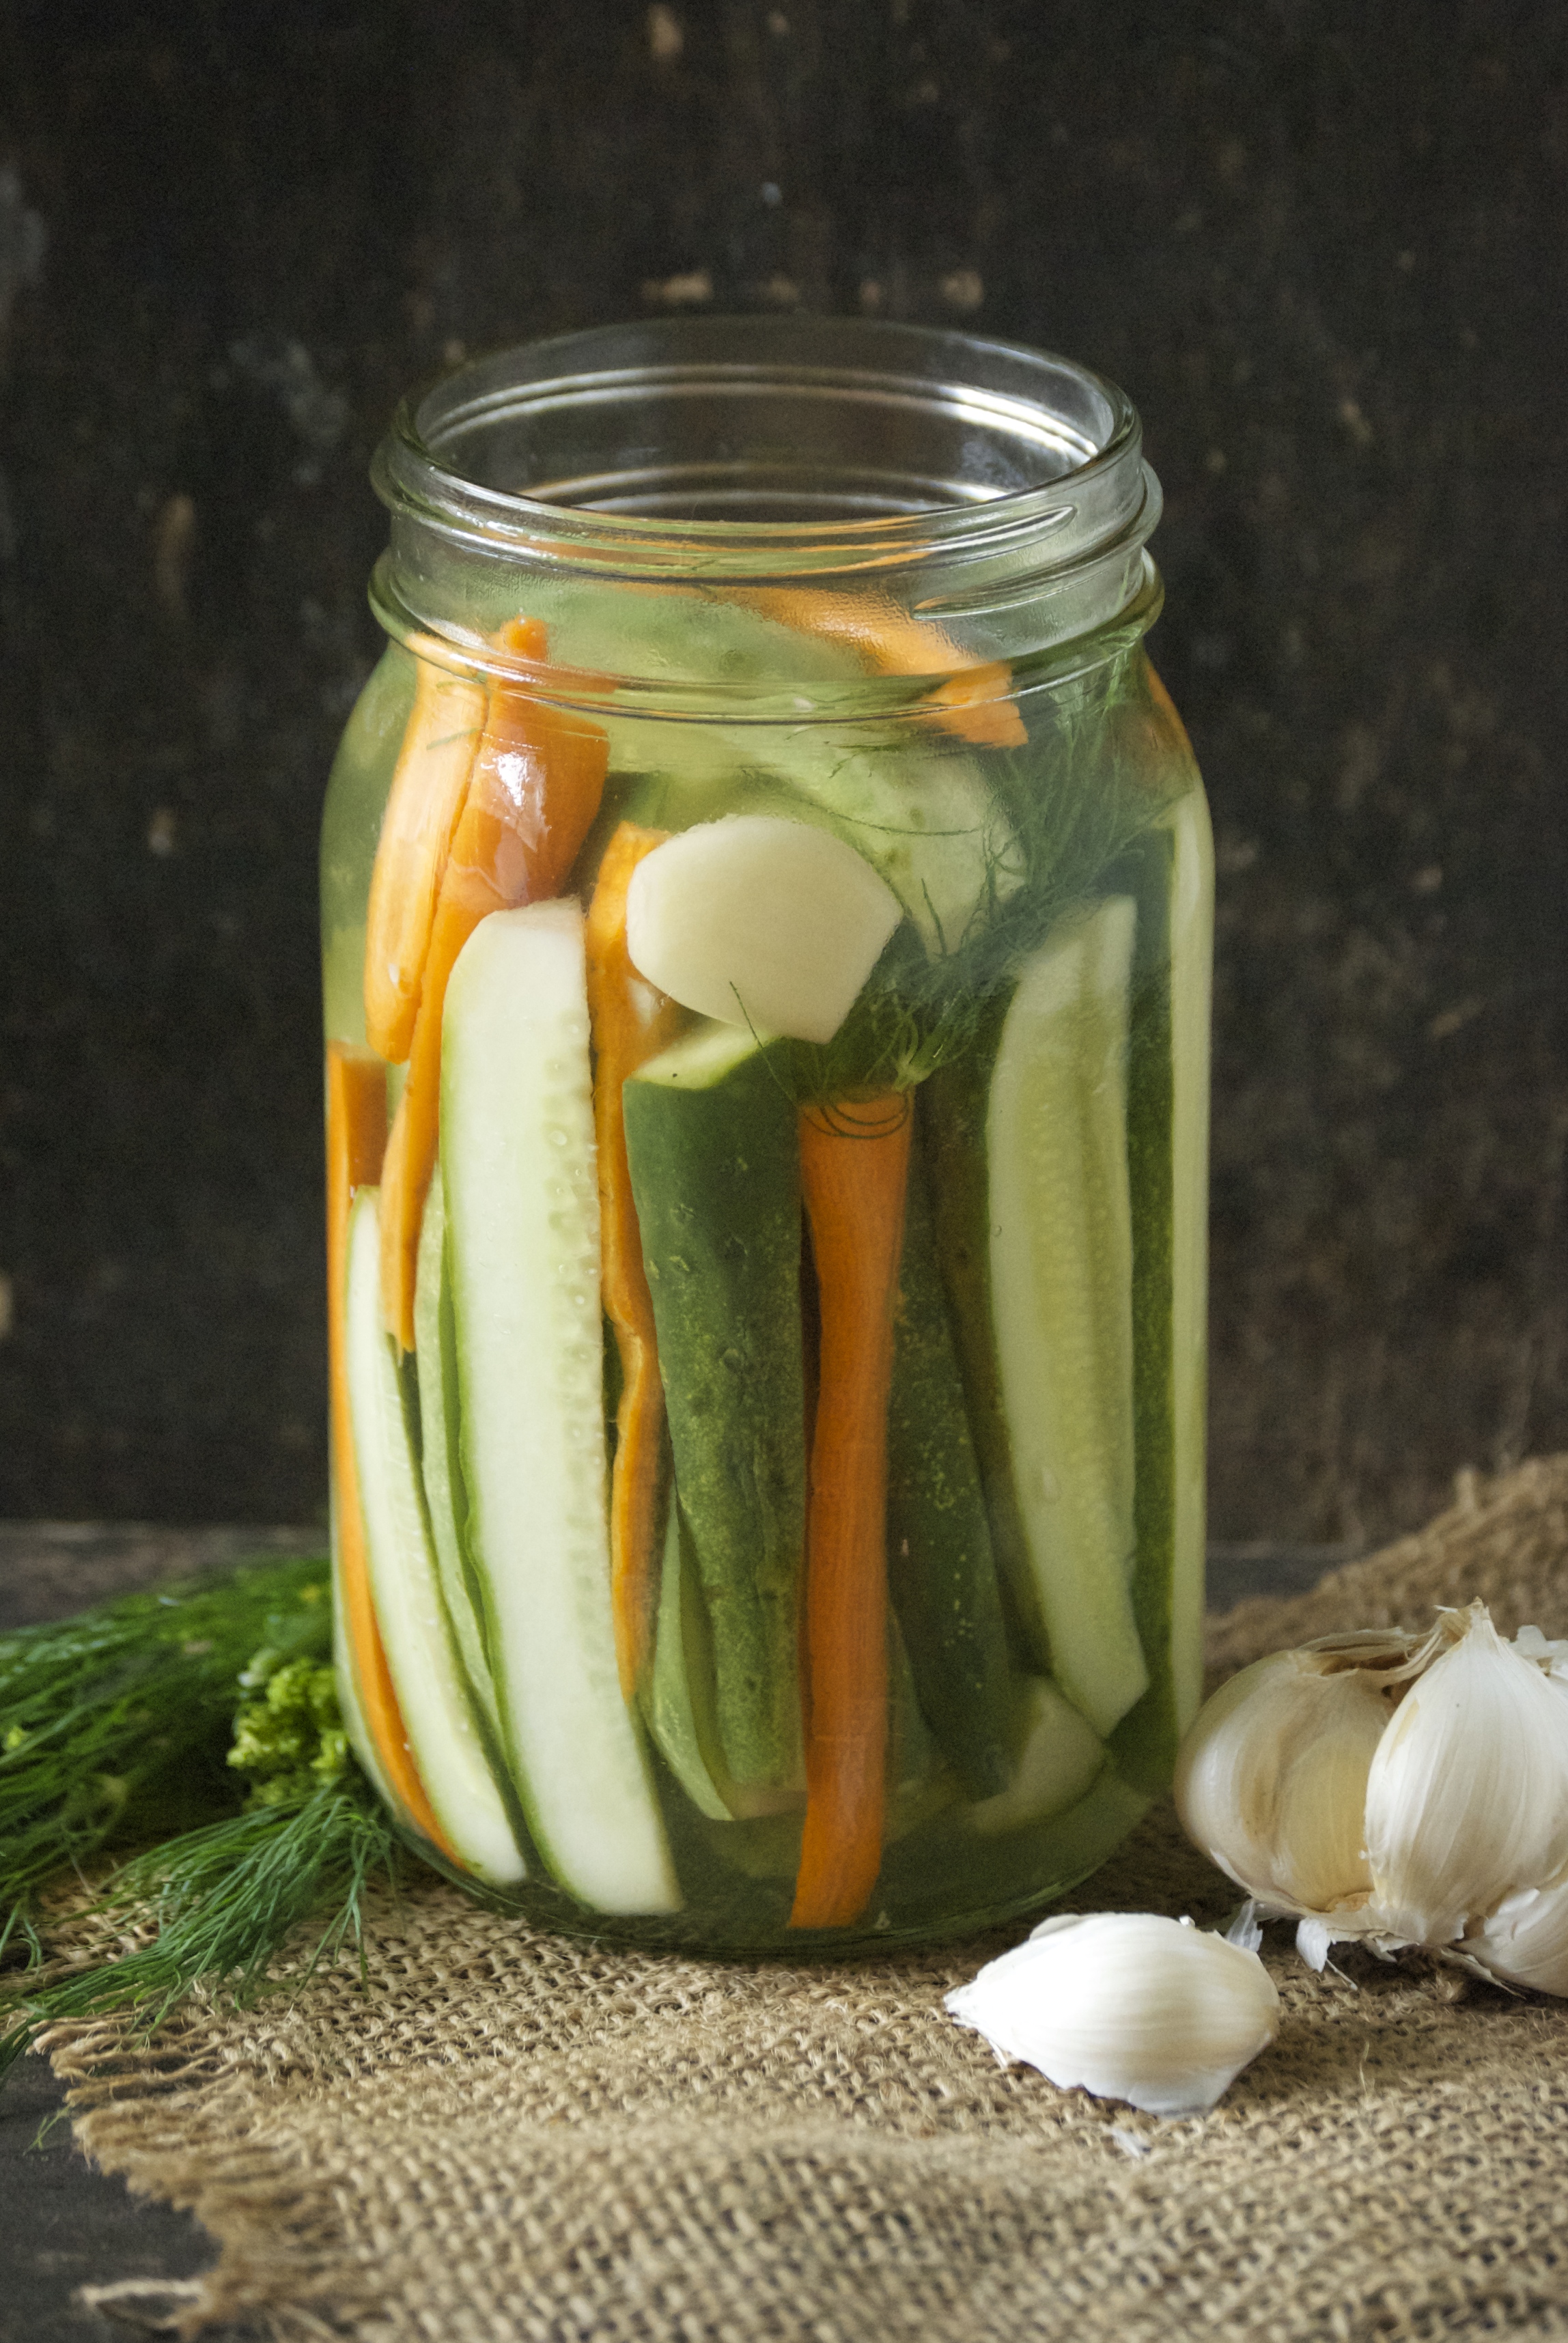
Make as many jars as you want.  Fill each clean quart jar with cucumber spears, carrots, 3-4 cloves of garlic, and fresh dill. Make sure everything is packed in there tightly.  Sprinkle with kosher salt.  Pour vinegar into the jar until it is  3/4 full.  Then finish filling the jar with filtered water, leaving about 1/2-inch space at the top.  Cover with lid and gently shake to combine.  Refrigerate.  Pickles will be ready within a few hours, but it’s best to wait at least a day for optimum results.  Carrots often take a bit longer to fully become pickled, but I generally eat them before the fact.  Enjoy!

Thanks for stopping by Relishing it!

Laurie


Read Full Post »

Healthy Brown Rice Noodle Salad | Relishing It

There is a lot to be excited about this week.  First, my kids come home from spending a few days in North Dakota with my Mom and Dad.  This is the second summer that they have spent time away without Radd and me.  It’s hard for me to be away from them, but to be honest, I think it’s important for kids to get to know their grandparents without parents (i.e. me)  interfering all the time.  They get to be properly spoiled and make their own memories and that’s wonderful.  There is nothing quite like the love of a grandparent.  I’m excited to see my little ones– I’ve missed them.  But, my gosh!  It’s amazing what I can accomplish with an entire day without distractions!  There’s just so much…time to get things done.

Healthy Brown Rice Noodle Salad | Relishing It

Healthy Brow Rice Noodle Salad | Relishing It

The other super exciting event this week is that our CSA (Community Supported Agriculture) starts delivery this week.  And I am thrilled!  It’s been a crazy June here in Minnesota– we’ve had record rainfalls and lots of flooding.  In fact, the farm that our CSA, Bossy Acres, resides on received almost 7-inches already this month.  Joining a CSA this year has had me feeling like a farm-girl all over again– stressing about the weather.  It’s exhilarating and terrifying.  At any rate– we’ll get our box of goodies on Thursday and I’m more that a little excited to create some meals with it.

Healthy Brown Rice Noodle Salad | Relishing It

Speaking of meals, today I’m sharing a quick one that you can put on your (hopefully outdoor) table in no time flat.  I know, two noodle salads in two weeks?!  I can’t help it– I’m addicted.  This one is cold, refreshing, and basically tastes like a giant spring roll, without the fuss of that rice paper.  I loaded it with cucumbers and radishes.  I would have added grated carrots, but we were out.  The cilantro and mint make the dish in my opinion, as do the peanuts–so load it up!  Mint is one of my favorite summertime additions to cold salads.  I’ve been fortunate enough to find delicious fresh bean sprouts at our farmers market and they are brilliant in this dish.  What a refreshing crunch!  The meal can be served without a meat, of course.  If you want to make it a bit more filling– chicken, shrimp, and especially grilled pork work extremely well.  The dressing is simple and subtle.  It’s not at all “saucy”, in that it pretty much disappears into the noodles leaving you with its subtle influence.  Feel free to make a tad more if you like a bolder flavor.  I hope you are enjoying many outdoor meals this summer and that this dish finds it’s way onto your table.  Enjoy!

Healthy Brown Rice Noodle Salad | Relishing It

Healthy Brown Rice Noodle Salad | Relishing It

The Recipe: Healthy Brown Rice Noodle Salad

(serves 4)

For the Sauce:

1/4 cup rice vinegar

2 tablespoons fresh lime juice

1 tablespoon fish sauce

1 tablespoon soy sauce

1 tablespoon hoisin sauce

1 teaspoon sesame oil

1 cucumber, thinly sliced (preferably with a mandolin)

5-6 radishes, thinly sliced (using a mandolin, as well)

2 red scallions, thinly sliced

large handful of fresh bean sprouts

about 1/3 cup chopped fresh mint

about 1/3 cup chopped fresh cilantro

about 2/3 cup chopped salted peanuts

8 ounces brown rice noodles

serrano peppers, thinly sliced, optional

lime wedges, for serving

grilled chicken, shrimp, or pork– optional

In a small bowl, combine the ingredients for the sauce.  Stir and set aside.

Cook the rice noodles according to the package directions (they will only take about 3-4 minutes).  Rinse immediately with cold water.  Reserve a bit of the cooking liquid to loosen pasta, if necessary.  Separate the rice noodles with your fingers, so they are loose and airy– this is a fun process.  Get your kids involved to help!

On a large platter or bowl, add the rice noodles, vegetables, herbs, and bean sprouts.  Pour the sauce over and toss with tongs.  Top with grilled meat, if using, peanuts, and a bit more cilantro, mint, and a squeeze of lime.  I used simple grilled chicken breasts with olive oil, salt and pepper.  Sliced serrano peppers would be lovely here, alas my son doesn’t love the heat from them.  This dish is best eaten on the day it is made.  Enjoy!

Thanks for stopping by Relishing It!

Laurie


Read Full Post »

Gazpacho

Gazpacho.  Cold soup.  Not much of a selling point is it?  But for those of you who have had gazpacho, you know just how refreshing it is.  Gazpacho is a Spanish tomato-based raw vegetable soup.  It originated in the sunny southern region of Andalusia as a fresh, cool meal to combat the summer heat.  There are many different versions, though this one is my favorite.  For those of you who are hesitant to eat a cool soup, I can only say this: give it a try– I guarantee you’ll make this one every summer as the temperatures get above 90 degrees.  It’s one of the most refreshing dishes you’ll ever taste.

The soup is a combination of the all the wonderful usual suspects from your late-summer garden or farmers’ market– cucumbers, red peppers, purple onion, garlic, and fresh tomatoes.  They’re finely chopped in a food processor and then combined with tomato juice,  a bit of white wine vinegar, and a really good olive oil.   For gazpacho, you’ll definitely want to go with the best olive oil you have as it’s flavor is central to the soup.  I also used my homemade, canned tomato juice, though as my stock is running low (canning tomatos will be available soon!) I can’t lend you an extra jar.  If you can juice, use it as you’ll notice the difference in the final flavors.  As an alternative, several grocery stores carry high-end juices which should work well.  If you instead use a nation-wide brand, use Sacramento.  I personally think it tastes better than any of the other well-known brands.

Gazpacho is the perfect make-ahead dish.  It tastes better the longer it sits– the flavors have a chance to meld together.  I like to make some homemade croutons to top it all off with.  Hope you enjoy!

The Recipe:  Gazpacho

2 medium-sized garden cucumbers, halved and seeded, but not peeled

2 red bell peppers, cored and seeded

5-6 Roma tomatoes

1 red onion

3 large garlic cloves

3 cups good quality tomato juice

1/4 cup white wine vinegar

scant 1/4 cup good extra-virgin olive oil

1/2 tablespoon kosher salt

1 teaspoon freshly ground black pepper

Add 1/4 teaspoon red pepper flakes for a little heat, if desired

For the Croutons:

2 – 3 cups crusty bread, such as a baguette, cut into 1-inch cubes

2 tablespoons olive oil

salt and pepper

To make the croutons: Preheat oven to 375°F.  Toss cubed bread pieces with the olive oil, salt and pepper.  Place on a baking sheet.  Bake for about 10-15 minutes or until they have reached your desired crunchiness.

Roughly chop the cucumbers, bell peppers, tomatoes, and red onions into small pieces, roughly a 1-inch cube.  Put each vegetable into a food processor fitted with a steel blade, separately.  This is important for texture.  Pulse until it is coarsely chopped.  Make sure not to over-process.

After each vegetable is processed, combine them in a large bowl and add the garlic, tomato juice, vinegar, olive oil, salt and pepper.  Mix well and chill before serving.  The longer it sits, the better it will be.  Before serving top each bowl of soup with a handful of homemade croutons and some torn basil, if desired.  Enjoy!

Source:  Adapted from Ina Garten’s The Barefoot Contessa Cookbook

Thanks for stopping by!

Laurie

Follow me on Twitter!

Read Full Post »

%d bloggers like this: