Feeds:
Posts
Comments

Posts Tagged ‘French’

Perfect Pavlovas via Relishing It

Hi friends!  I hope you are all well.  For my part, I’m suffering from a bit of a summer cold, so this post is a bit brief.  In my recent lemon curd ice cream post (which several of you mentioned you were going to make!  Yay!), I referred to these brilliant little pavlovas.  What better time than now to show you how to make them?

Perfect Pavlovas via Relishing It

In that last post, I noted that you should freeze your leftover egg whites from the ice cream.  They hold-up very well in the freezer, so you can preserve them for up to a year.  When you’re ready, thaw them in the refrigerator the night before you plan to use them.  And make sure you label them with a date and amount so you can use up the older ones first. My freezer has a rather large gathering of frozen egg whites just hanging around from all the ice cream and lemon curd batches.   Angel food cake is one way to use them up (which I happen to have a recipe for that I need to share) and so are these delicious pavlovas (crispy French meringues).

Perfect Pavlovas via Relishing It

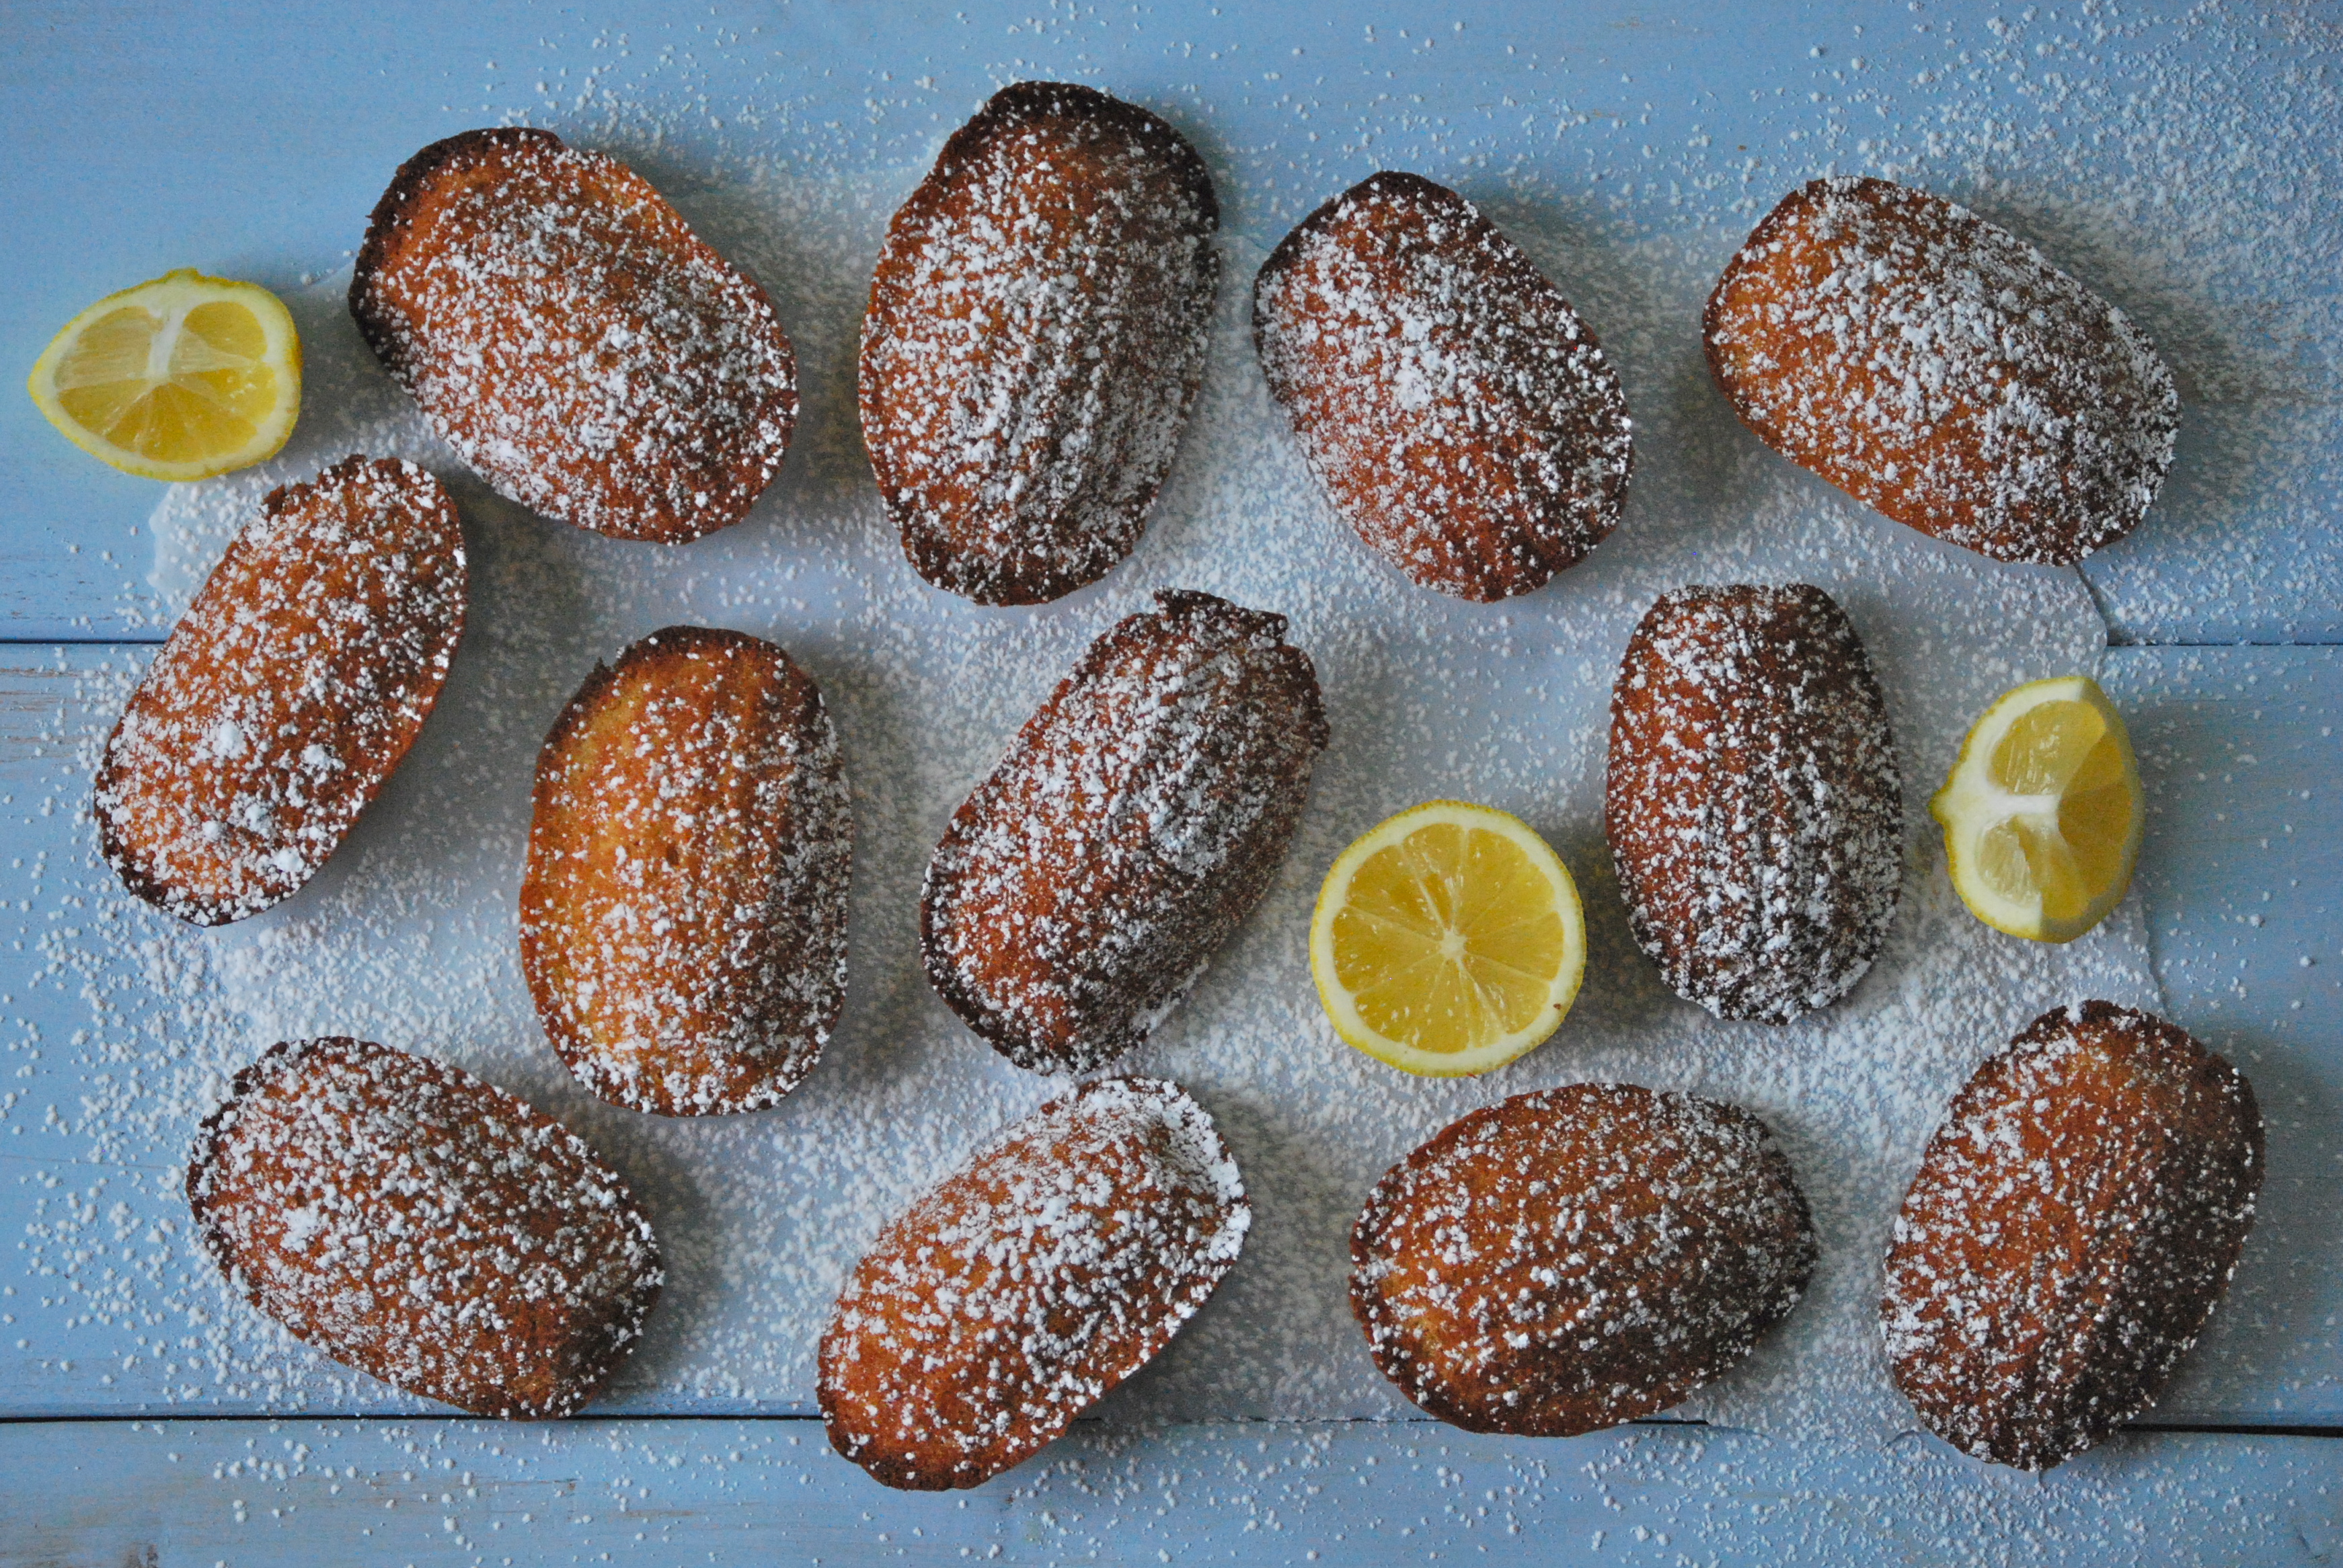
This recipe is spot on for everything that I love about a great pavlova.  I want the inside to be soft and chewy (check) and the outside to be firm and crisp (also, check). Make them individually (you will yield about 6) or make a huge one to share.  Once it’s baked, you have a lot of possibilities.  In the photos you see here, we enjoyed them with freshly whipped cream, pears, chocolate sauce, and a sprinkle of almonds.  But, another favorite way is with freshly whipped cream, loaded with fresh berries,  and a bit of mint.  Or, a perfect way to use up some of that leftover lemon curd from the ice cream is it spoon it onto the pavlova along with, you guessed it, freshly whipped cream.  All of these combinations are fantastic.  A couple added benefits to this dessert– it can be made days (even weeks) ahead of time and kept in an airtight container (with low humidity) and it can also be enjoyed by your gluten-intolerant friends, since they do not contain any flour.

Perfect Pavlovas via Relishing It

One word of advice that I’ve learned through making countless pavlovas.  Don’t even attempt to make them when it is humid outside.  I’m serious here.  They’ll fall apart into a weepy mess.  So along with being a baker you get to play meteorologist with this one.  Which, as I recently had a conversation about with one of my Instagram friends, would be about the best job ever.  Enjoy!

Perfect Pavlovas via Relishing It

The Recipe:  Perfect Pavlovas

(Makes 6 individual or 1 large)

1/2 cup (4 1/4 ounces) egg whites, about 4 eggs  *See Note

1/2 teaspoon cream of tartar

1/2 cup + 1 tablespoon superfine sugar (4 ounces)  *See Note

1 cup powdered sugar (4 ounces)

Note:  If using frozen egg whites, make sure to thaw in the refrigerator overnight.  If you don’t have superfine sugar, you can simply put granulated sugar in a food processor for a couple of minutes.

Extra advice:  As I stated already, do not even attempt to make on humid days– it won’t work.  Make sure your utensils and egg whites are free of any grease.  Do not use parchment paper or a greased and floured baking sheet– the meringue will often stick to them.  Use aluminum foil.  Do not open the oven door during the first three quarters of cooking time, this helps prevent cracks.  

Preheat oven to 200°F.  Line a large baking sheet with aluminum foil.

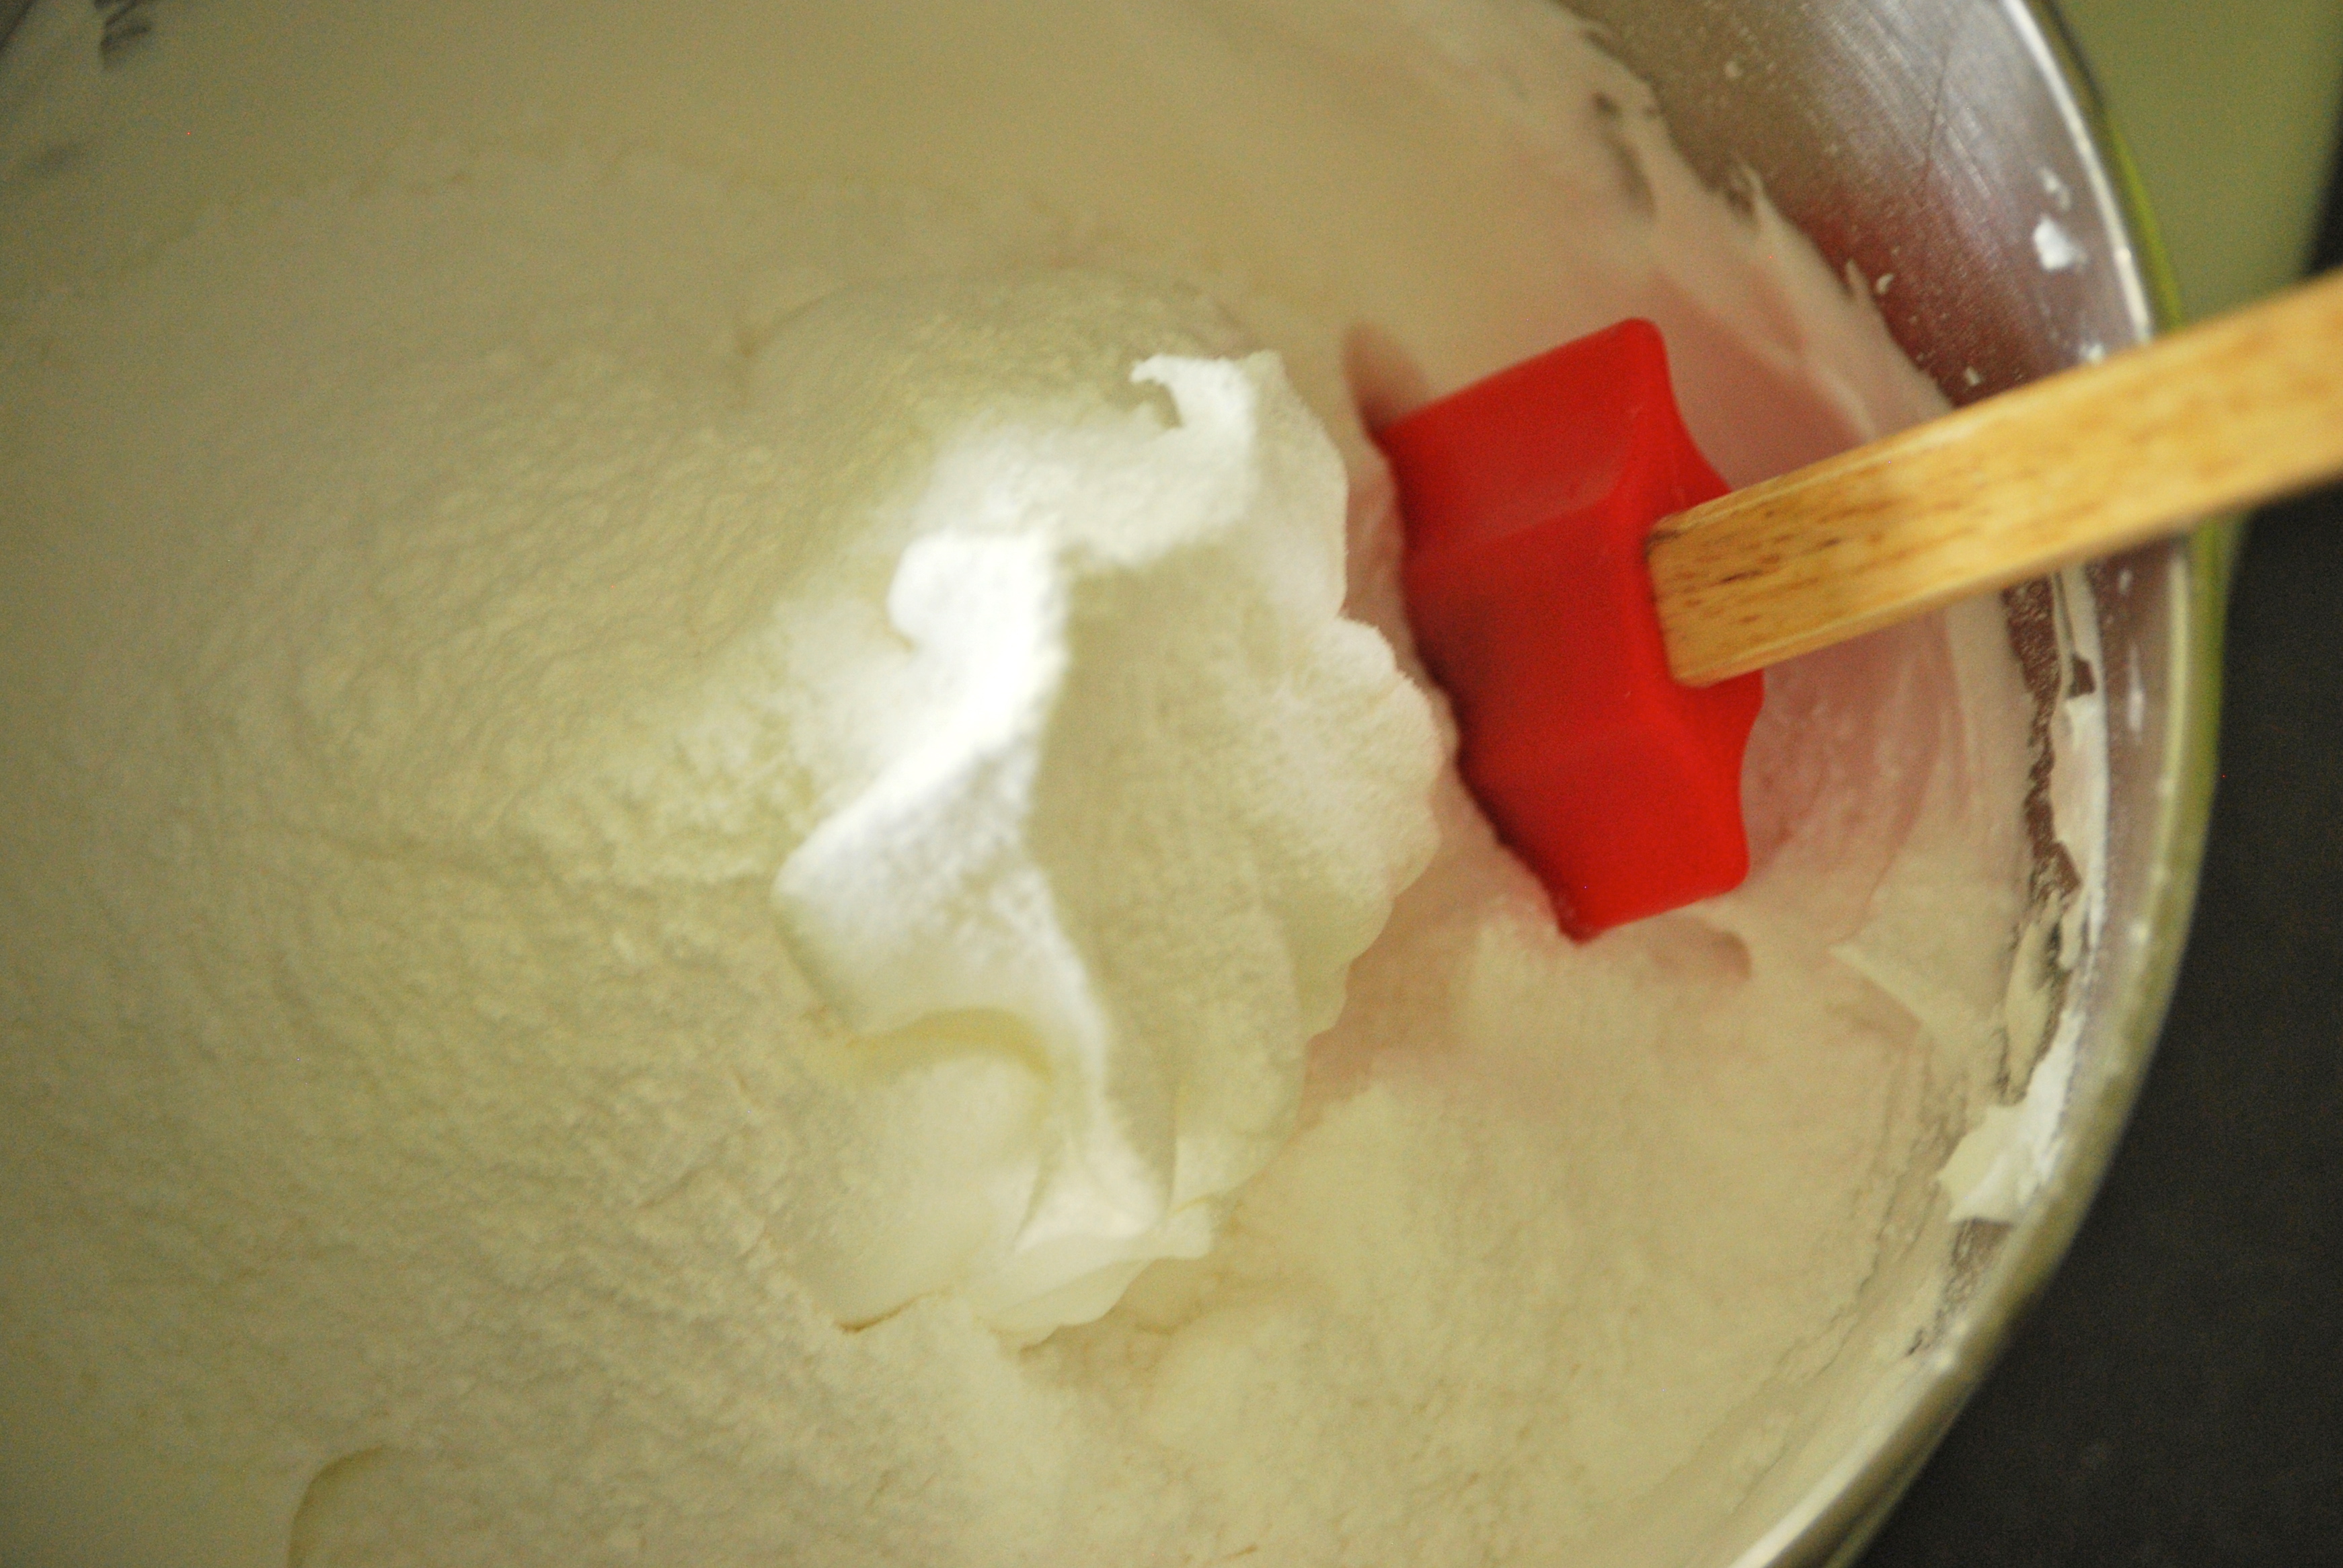
In a bowl of a stand mixer using the whisk attachment (or a bowl and hand mixer) beat the eggs until frothy.  Add the cream of tartar, beat on medium speed while slowly adding 2 tablespoons of superfine sugar.  When soft peaks form when the whisk is raised, add 1 more tablespoon of superfine sugar.  Increase speed to high.  When stiff peaks form when the beater is raised, slowly add the remaining superfine sugar and beat until very stiff and glossy.

Stop the mixer, and sift the powdered sugar over the meringue and fold in using a rubber spatula.  Spread onto the foil-lined baking sheet.  Use an offset spatula or butter knife to create some crevices.  It helps to have the sides a bit higher than the center when it comes to filling them later.  Bake for 2 – 2  1/2 hours, depending upon your oven.  Mine are generally perfect after just 2 hours.  Alternately, if your oven has a pilot light, you can bake them for 1 hour, turn off the oven, and leave them in there overnight.  You will know the pavlovas are done when you insert a knife into the middle for doneness– if will be tender/soft in the middle, but crisp on the outside.  They will be slightly sticky right away, but will continue to dry at room temperature.  Store in an airtight container for several weeks.  Enjoy!

Source:  Adapted from Rose Levy Beranbaum’s The Cake Bible

Thanks for stopping by Relishing It!

Laurie

Read Full Post »

Lemon Madeleines via Relishing It

Pretty much every weekend we have a family debate about what to do in the morning.  My husband argues that we should just enjoy our coffee at home so he can finish watching the soccer match.  The little ones respond that we should stay indoors so they can play all morning.  But I always push for getting out to one of our fabulous local bakeries.  And no offense to American-style bakeries, with their cupcakes and jelly doughnuts, but that’s not exactly what I’m talking about.  I love French-style bakeries.  I love their delicate pastries that are so flakey they almost fall apart when you look at them.  Two bakeries here in the Twin Cities really stand out– Rustica and Patisserie 46.   I love the vibe at both of these beautiful venues.  They’re always buzzing, and once you’ve picked that perfect pastry from their huge selections, it’s wonderful to just sit back and take it all in.  On those weekends that I lose “the great morning debate,” I often make French treats at home.  These bostock are one of my favorites.  Another are these wonderful lemon madeleines.  They’re little bites of happiness.

Lemon Madeleines via Relishing It

Making these madeleines are as simple as can be.  The only thing to be aware of is that you should let the batter rest for a few hours before you bake them (and truth be told, sometimes I don’t wait as long as I’m supposed to and they still turn out fine).  This version is a beautiful lemon laced with a bit of vanilla.  Simple and basic are often the best.  If you can get you hands on Meyer lemons, use them instead of regular– they make a difference.  Sometimes, when I want to change things up, I make a spiced orange and honey version.  Use your imagination, so long as you keep the key ingredients the same.  The main difference in my homemade version is that I use white whole wheat flour.  While they’re not quite as light as those made with all-purpose flour, I think I actually prefer them this way.  The texture is about midway between a cookie and cake.  I guess what I mean is that the inside is soft and moist, while the edges are crisp.  And while you can save some for later, they’re best eaten on the day they’re made.  They’re so good, that they won’t be around more than a day anyway.

If you’re looking for other receipes to satisfy your lemon cravings, take a look these desserts.  This lemon yogurt cake remains one of my favorites, as do these luscious lemon bars.  This lemon pull-apart bread is nice to make for company.  And this lemon tart is perfect for a special occasion.  Can you tell I often have those cravings?  Anyway, these lemon madeleines fit nicely into this list.

Lemon Madeleines via Relishing It

The Recipe:  Lemon Madeleines

(makes 12 large madeleines)

2/3 cup white whole wheat flour

3/4 teaspoon baking powder

pinch of kosher salt

1/2 cup granulated sugar

zest of two smallish lemons (meyer lemons work wonderfully)

2 large eggs, room temperature

2 teaspoons vanilla extract

6 tablespoons butter (melted and cooled)

Confectioners’ sugar for dusting

Prepare a 12-mold madeleine pan by spraying with cooking spray or rubbing with butter.  Set aside.

In a small bowl, whisk together the flour, baking powder, and salt.  Set aside.

In a bowl of a stand mixer,  mix the sugar and lemon zest with your fingers until well combined.  Add the eggs to the bowl and beat, using the whisk attachment, for about 2 minutes, or until the batter is light colored, fluffy, and thick.  Beat in the vanilla extract.  Then fold in the dry ingredients using a rubber spatula, followed by the melted butter.  Divide the batter evenly among the 12 madeleine molds and cover tightly with plastic wrap.  Refrigerated for at least 2-3 hours, or overnight.

When ready to bake, pre-heat oven to 400°F.  Remove plastic wrap and bake madeleines for 11-13 minutes, or until they are a deep golden brown.  Remove from pan and place on cooling racks.  Dust with confectioners’ sugar before serving.  These are best enjoyed on the day they are made, though they will keep in a sealed container (the edges will loose their crispiness, however).  Enjoy!

Adapted from Dorie Greenspan’s Around My French Table

I hope you all have a wonderful weekend.  I know mine will include some green beer.

Cheers!

Laurie

Read Full Post »

Gougères

New Years Eve!  It’s that time of year when I get ready to open a bottle of champagne, nuzzle into a warm blanket with my hubby by the  fireplace, and watch people on television shiver in Times Square.  What?  Alright, I admit that we used to go out and tear it up, but for the last several years I’ve preferred the comfort of home and family to fighting the crowds and weather.  Now that doesn’t mean I don’t enjoy a few nice glasses of bubbly and good food on New Year’s Eve.  Honestly, if I could only choose one alcoholic beverage for the rest of my life, I would choose champagne EVERY TIME.  And every time I drink it, I make these incredible little gougères.

Gougères are little rich, perfect French pastries.  And since they’re French, they’re loaded with butter and cheese.  Basically they are  savory cream puffs.  They are crusty and golden on the outside and tender and eggy on the inside.  Pairing food with wine can be challenging, but matching these gougères with champagne is a no-brainer.  The cheese lends a wonderful saltiness, and the buttery richness of the pastry works so well with a good sparkler.  I’m telling you, the combination is divine.  If you can’t get your hands on a gruyere cheese, a nicely aged white cheddar is a good substitute.

As an added bonus, making them is almost fool-proof.  And it doesn’t take very long from start-to-finish to be nibbling on these little morsels.  Even better, you can make them ahead of time if you’re entertaining.  After the dough is made, drop them by a tablespoon onto a parchment paper lined cookie sheet– no need to space them far apart– and freeze.  Once they are frozen, throw them all into a freezer bag and keep until you’re ready to bake.  Use them directly from the freezer, no need to thaw.  They will require a bit longer to bake this way, but they’re very convenient.  These are wonderful to keep on hand if you happen to want to have a glass at night with your spouse, after your children go to sleep (ahem).

The Recipe: Gougères

(makes about 2 1/2 dozen)

1 stick (8 tablespoons) unsalted butter

1/2 cup whole milk

1/2 cup water

3/4 teaspoon kosher salt

1 cup all-purpose flour

5 larges eggs, at room temperature

1 1/2 cups (6 ounces) coarsely shredded gruyere cheese

Preheat oven to 425°F.  Line a large baking sheet with parchment paper.

In a medium saucepan over high heat, bring the butter, milk, water, and salt to a rapid boil.  Once it is boiling, add the flour all at once and vigorously stir the mixture with a wooden spoon. Lower heat to medium-low.  It should form a ball quite quickly.  Once the ball has formed, continue to “dry out” the mixture for another minute over the heat.  A slight crust should have formed on the bottom of the pan.  Remove dough from heat and let cool for a couple of minutes.

Add the dough to a bowl of a stand mixture fitted with a paddle attachment (or use a wooden spoon).  Begin to add the eggs one by one, being sure to fully incorporate each egg before adding another.  The dough will look as though it has separated, but rest assured that after the last egg is added, it will come together.  Lastly, mix in the shredded cheese.

Using a tablespoon, drop the dough onto the lined baking sheet.  Leaving about 2 inches between each of them.  Bake for about 15 minutes, or until the gougers are firm, beautiful golden brown, and have a wonderful smell to them.  If making them from the freezer, you will need to bake them a bit longer.  Enjoy these beauties warm or at room temperature and most definitely with a glass of champagne.

Source:  Adapted from Dorie Greenspan’s Around My French Table

Thanks for stopping by today — may you all have a safe and wonderful New Year’s!

Laurie

Join me on Twitter

Read Full Post »

Cherry Clafoutis

My husband, Radd, and I celebrated our 10 year anniversary this past Fall by taking an unforgettable trip to Portland, OR.  What an incredible city!  One of the many highlights was stumbling upon THE most impressive bookstore I’ve ever set foot in– Powell’s.  We wandered it’s labyrinthine rooms, stairwells, and aisles for hours.   Though I’d heard buzz about Dorie Greenspan’s new book, it was at Powell’s that I first saw– and of course bought– Around My French Table.  It’s one of my favorite cookbooks, so unsurprisingly the plane ride home went far too fast.

This recipe comes from that cookbook.  Cherry Clafoutis– a fancy French name for a very simple dessert.  A clafoutis (cla-foo-tee) is like a cross between a cake and a custard– almost like a flan.  Aside from the cherries, it’s silky and smooth– there’s very little flour, with cream, milk, and eggs as the main ingredients.  The traditional French way to prepare this dessert is to leave the cherries whole (including the pits), cover with the batter, and bake.  Purists believe the pits add a nutty, more intensely complex flavor.  I’ve baked a clafoutis in the traditional method, and yes the flavor was delicious.  Despite this, I’ve decided that the reward wasn’t worth the trouble– especially since I wanted my children to be able to eat the dish without me having to worry about them eating a cherry pit.  To get that “nutty” flavor without the pit, I added a teaspoon of almond extract.

I enjoy making clafoutis because they’re easy, yet different.  No special equipment is required, and the majority of the prep time is in pitting the cherries.  And if you don’t have a cherry pitter, no problem.  Put a cherry on top of a long-necked bottle and poke through the center with a chopstick– or anything else long and slender.  Simple.  Enjoy your clafoutis with powdered sugar alone, or ignore those purists and pile a scoop of vanilla ice cream on top.

The Recipe:  Cherry Clafoutis

1 pound sweet cherries, stemmed and pitted

3 large eggs (room temperature)

1/2 cup sugar

pinch of salt

1 teaspoon pure vanilla extract

1 teaspoon almond extract

1/2 cup all-purpose flour

3/4 cup heavy cream  (room temperature, if possible)

1/2 cup 2% milk  (room temperature, if possible)

Confectioners’ sugar, for dusting

Preheat oven to 350°F and place rack in the center.  Liberally butter a 9-inch deep-dish pie pan (or another baking pan with a 2-quart capacity).

Place the cherries in a single layer into the pie-pan.

Whisk the eggs, in a medium bowl, (note: to get eggs to room temperature more quickly, place them in a bowl of warm water for about 5 minutes) until they’re foamy, then add the sugar and whisk for another minute.  Whisk in the salt and the vanilla and almond extracts.  Add the flour and whisk vigorously  (when adding flour to baked goods, normally you should be gentle — this is an exception) until the batter is smooth.  While still whisking, gradually pour in the milk and cream and whisk until blended.  Tap the bowl on the counter to remove any air bubbles and pour the batter over the cherries.

Bake the clafoutis for 35-45 minutes, or until it’s puffed and lightly browned, and most importantly, a knife inserted into the center comes out clean.  Transfer the clafoutis to a cooling rack and allow it to cool until it’s barely warm, or until it’s room temperature.

Dust with confectioners’ sugar and serve with whipped cream or ice cream.  This dessert is best eaten on the day it is made, however, leftovers should be covered and chilled.  Enjoy!

Source:  Adapted from Dorie Greenspan’s Around My French Table

Thanks so much for stopping by!  Hope you all have a wonderful weekend.

Laurie

Follow me on Twitter!

Read Full Post »

Bostock

A few weeks back I wrote about brioche — that delicious buttery French bread.  I used half of the dough to make one of my favorite recipes, these sticky buns.   Here’s the thing, in that roll recipe I said you could use half of the dough recipe for rolls, while the other could be made into a fantastic bread.  Full disclosure, that bread loaf rarely stays in it’s original form at my house.  The reason is…bostock.  It’s simple, yet amazing.  Ordinary (though it’s anything but) brioche bread is transformed into a slightly sweet, almond-y treat that begs you to linger over a cup of coffee.  Its exterior is crisp, with a soft, filling body.  Bostock has become my pastry of choice when seeking out sweets at area bakeries.  Now, with the brioche bread recipe, I  make it at home and serve it with strong push-press French coffee.

While you can make as little of the loaf of brioche into bostock as you like, I suggest making the entire thing– you’ll end up craving it after you’ve had a piece or two.  The covered almond cream keeps in the refrigerator for up to 3 days.

The Recipe: Bostock

Use a loaf of brioche from this recipe.

Almond Cream:

3/4 stick (6 tablespoons) unsalted butter, at room temperature

2/3 cup sugar

3/4 cup ground blanched almonds (I usually don’t blanch mine)

2 teaspoons all-purpose flour

1 teaspoon cornstarch

1 large egg

2 teaspoons dark rum or 1 teaspoon vanilla extract

To Make the Cream Using a Food Processor:  Put the butter and sugar in the food processor and process until the mixture is smooth and satiny.  Add the ground almonds and continue to process until well blended.  Add the flour and cornstarch and process to blend, then add the egg.  Process for about 15 seconds more, or until the almond cream is homogeneous.  Add the rum or vanilla and pulse just to blend.

To Assemble the Bostock: Cut a slice of brioche to 1/2  to  3/4- inch thick.  Spread the bread with about 3 tablespoons almond cream, leaving a little border bare, and scatter over some sliced almonds, blanched or not.  Put the bread on a baking sheet lined with parchment paper or a silicone mat, and bake at 350°F until the almond cream is puffed and golden brown, 10 to 15 minutes.  Serve the bostock warm or at room temperature.

Source:  Dorie Greenspan’s Baking from my home to yours

You are going to love this little breakfast treat and you’ll find yourself baking and freezing an extra loaf of bread so you can have these gems whenever you want.  Thanks so much for stopping by!  As always — drop me a comment, I love hearing from you!

Laurie

Follow me on Twitter!

Read Full Post »

%d bloggers like this: