Feeds:
Posts
Comments

Strawberry Balsamic Vinaigrette with Spinach | Relishing It

Hey everyone!  I hope you all had a wonderful Easter (for those of you that celebrate it).  We had a fabulous week.  My parents made the trip to St. Paul to take care of our kids, while Radd and I took a quick trip to Chicago.  We went to see the rock band The National play at the Chicago Theater.  We’re slightly obsessed with this band.  In fact, I’d go so far as to say they’re the best band of all time.  I know that’s a bold statement, but I stand by it.  So there’s my little musical recommendation for you.  Chicago was fabulous and so was time away with my husband. The kids were spoiled by their grandparents, so everyone was happy.

Strawberry Balsamic Vinaigrette with Spinach | Relishing It

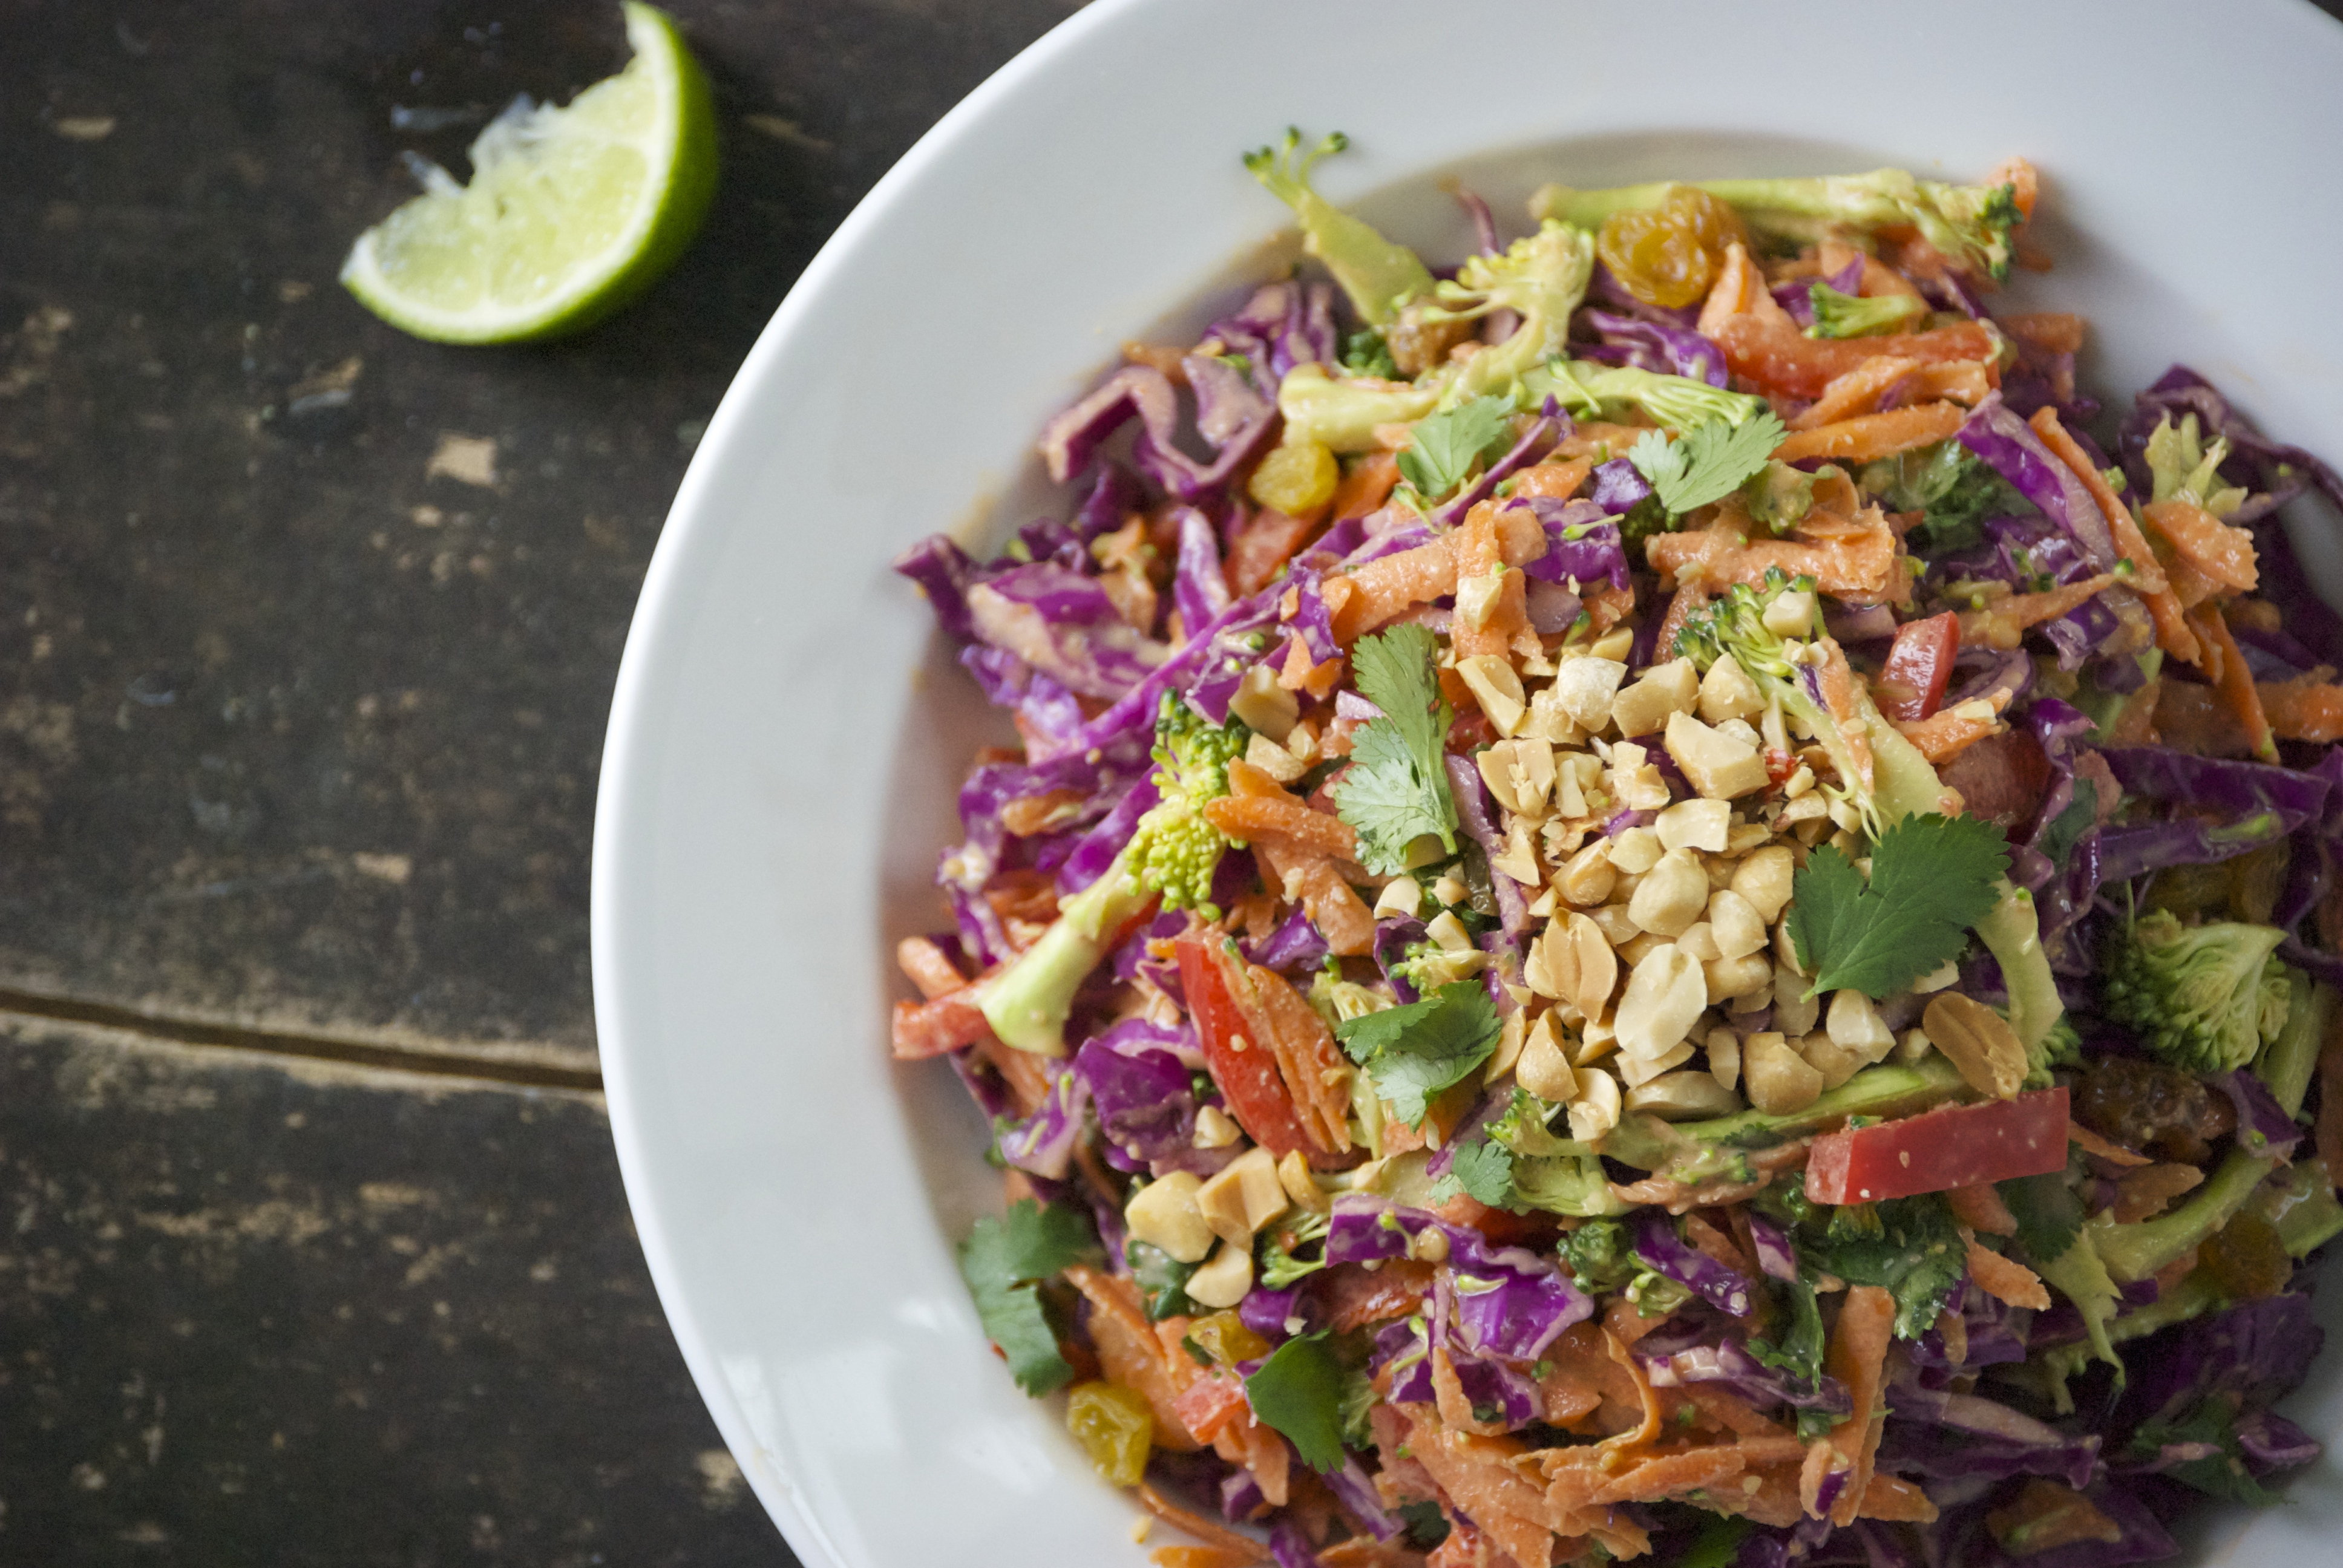
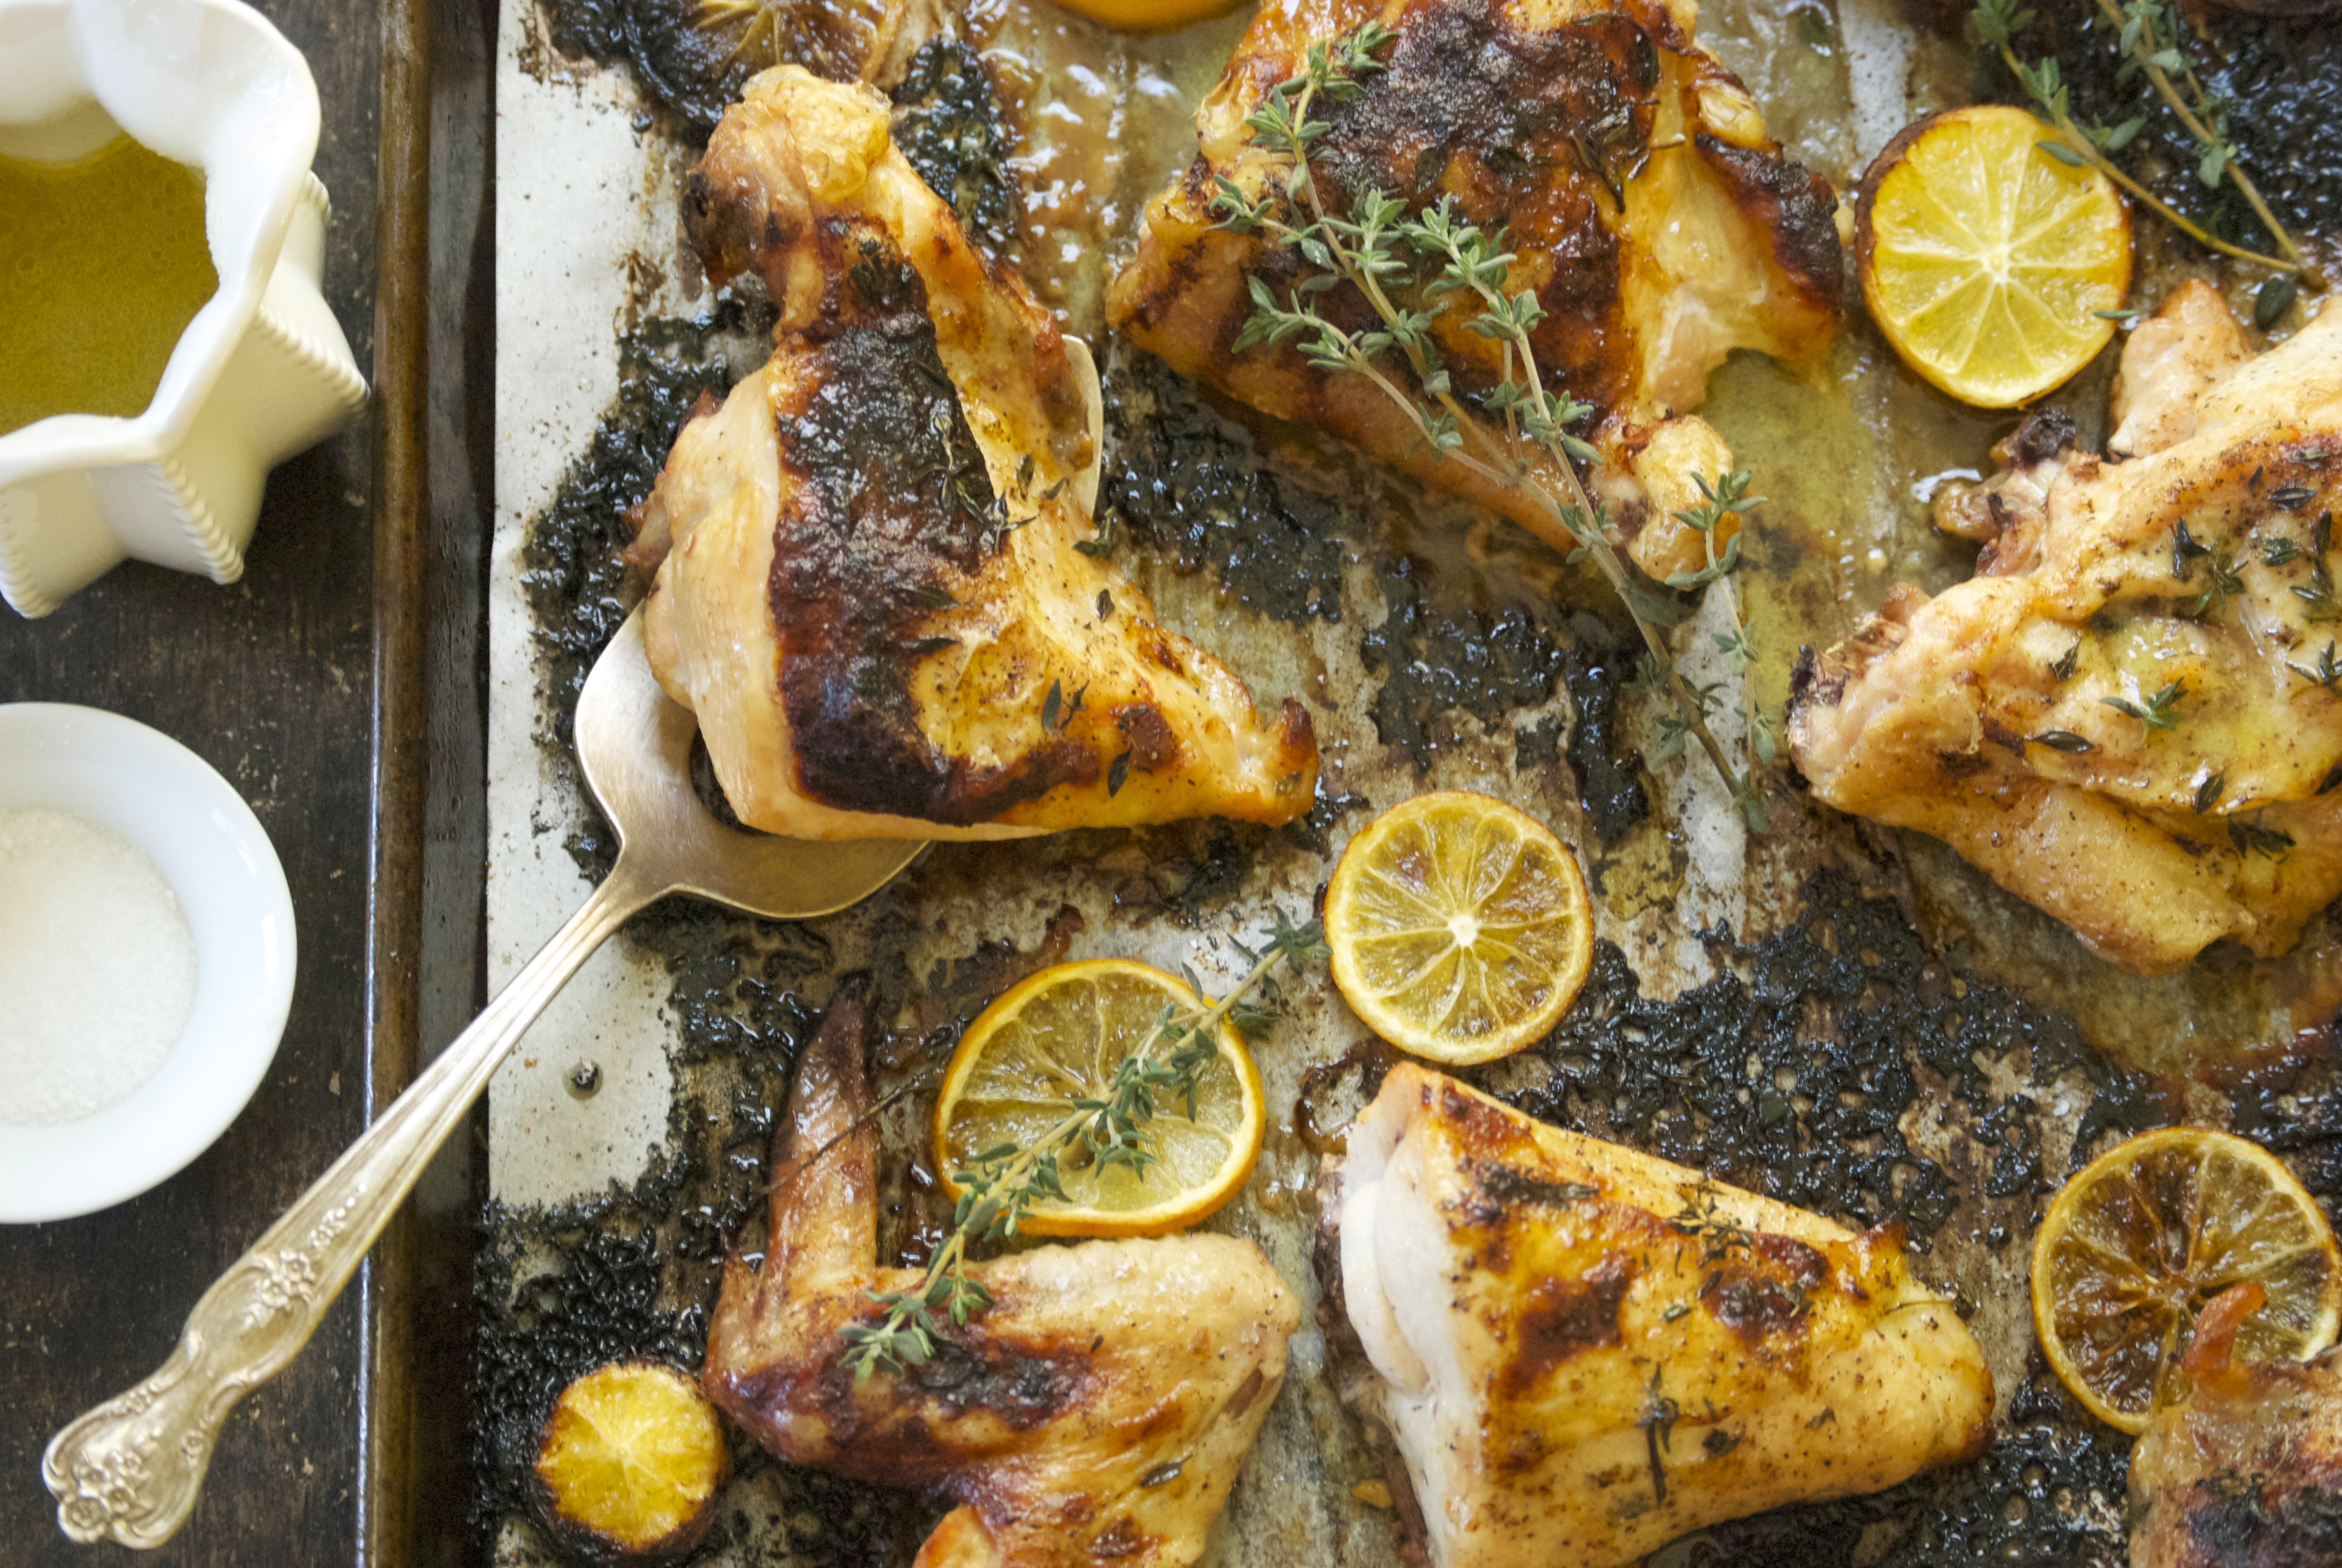
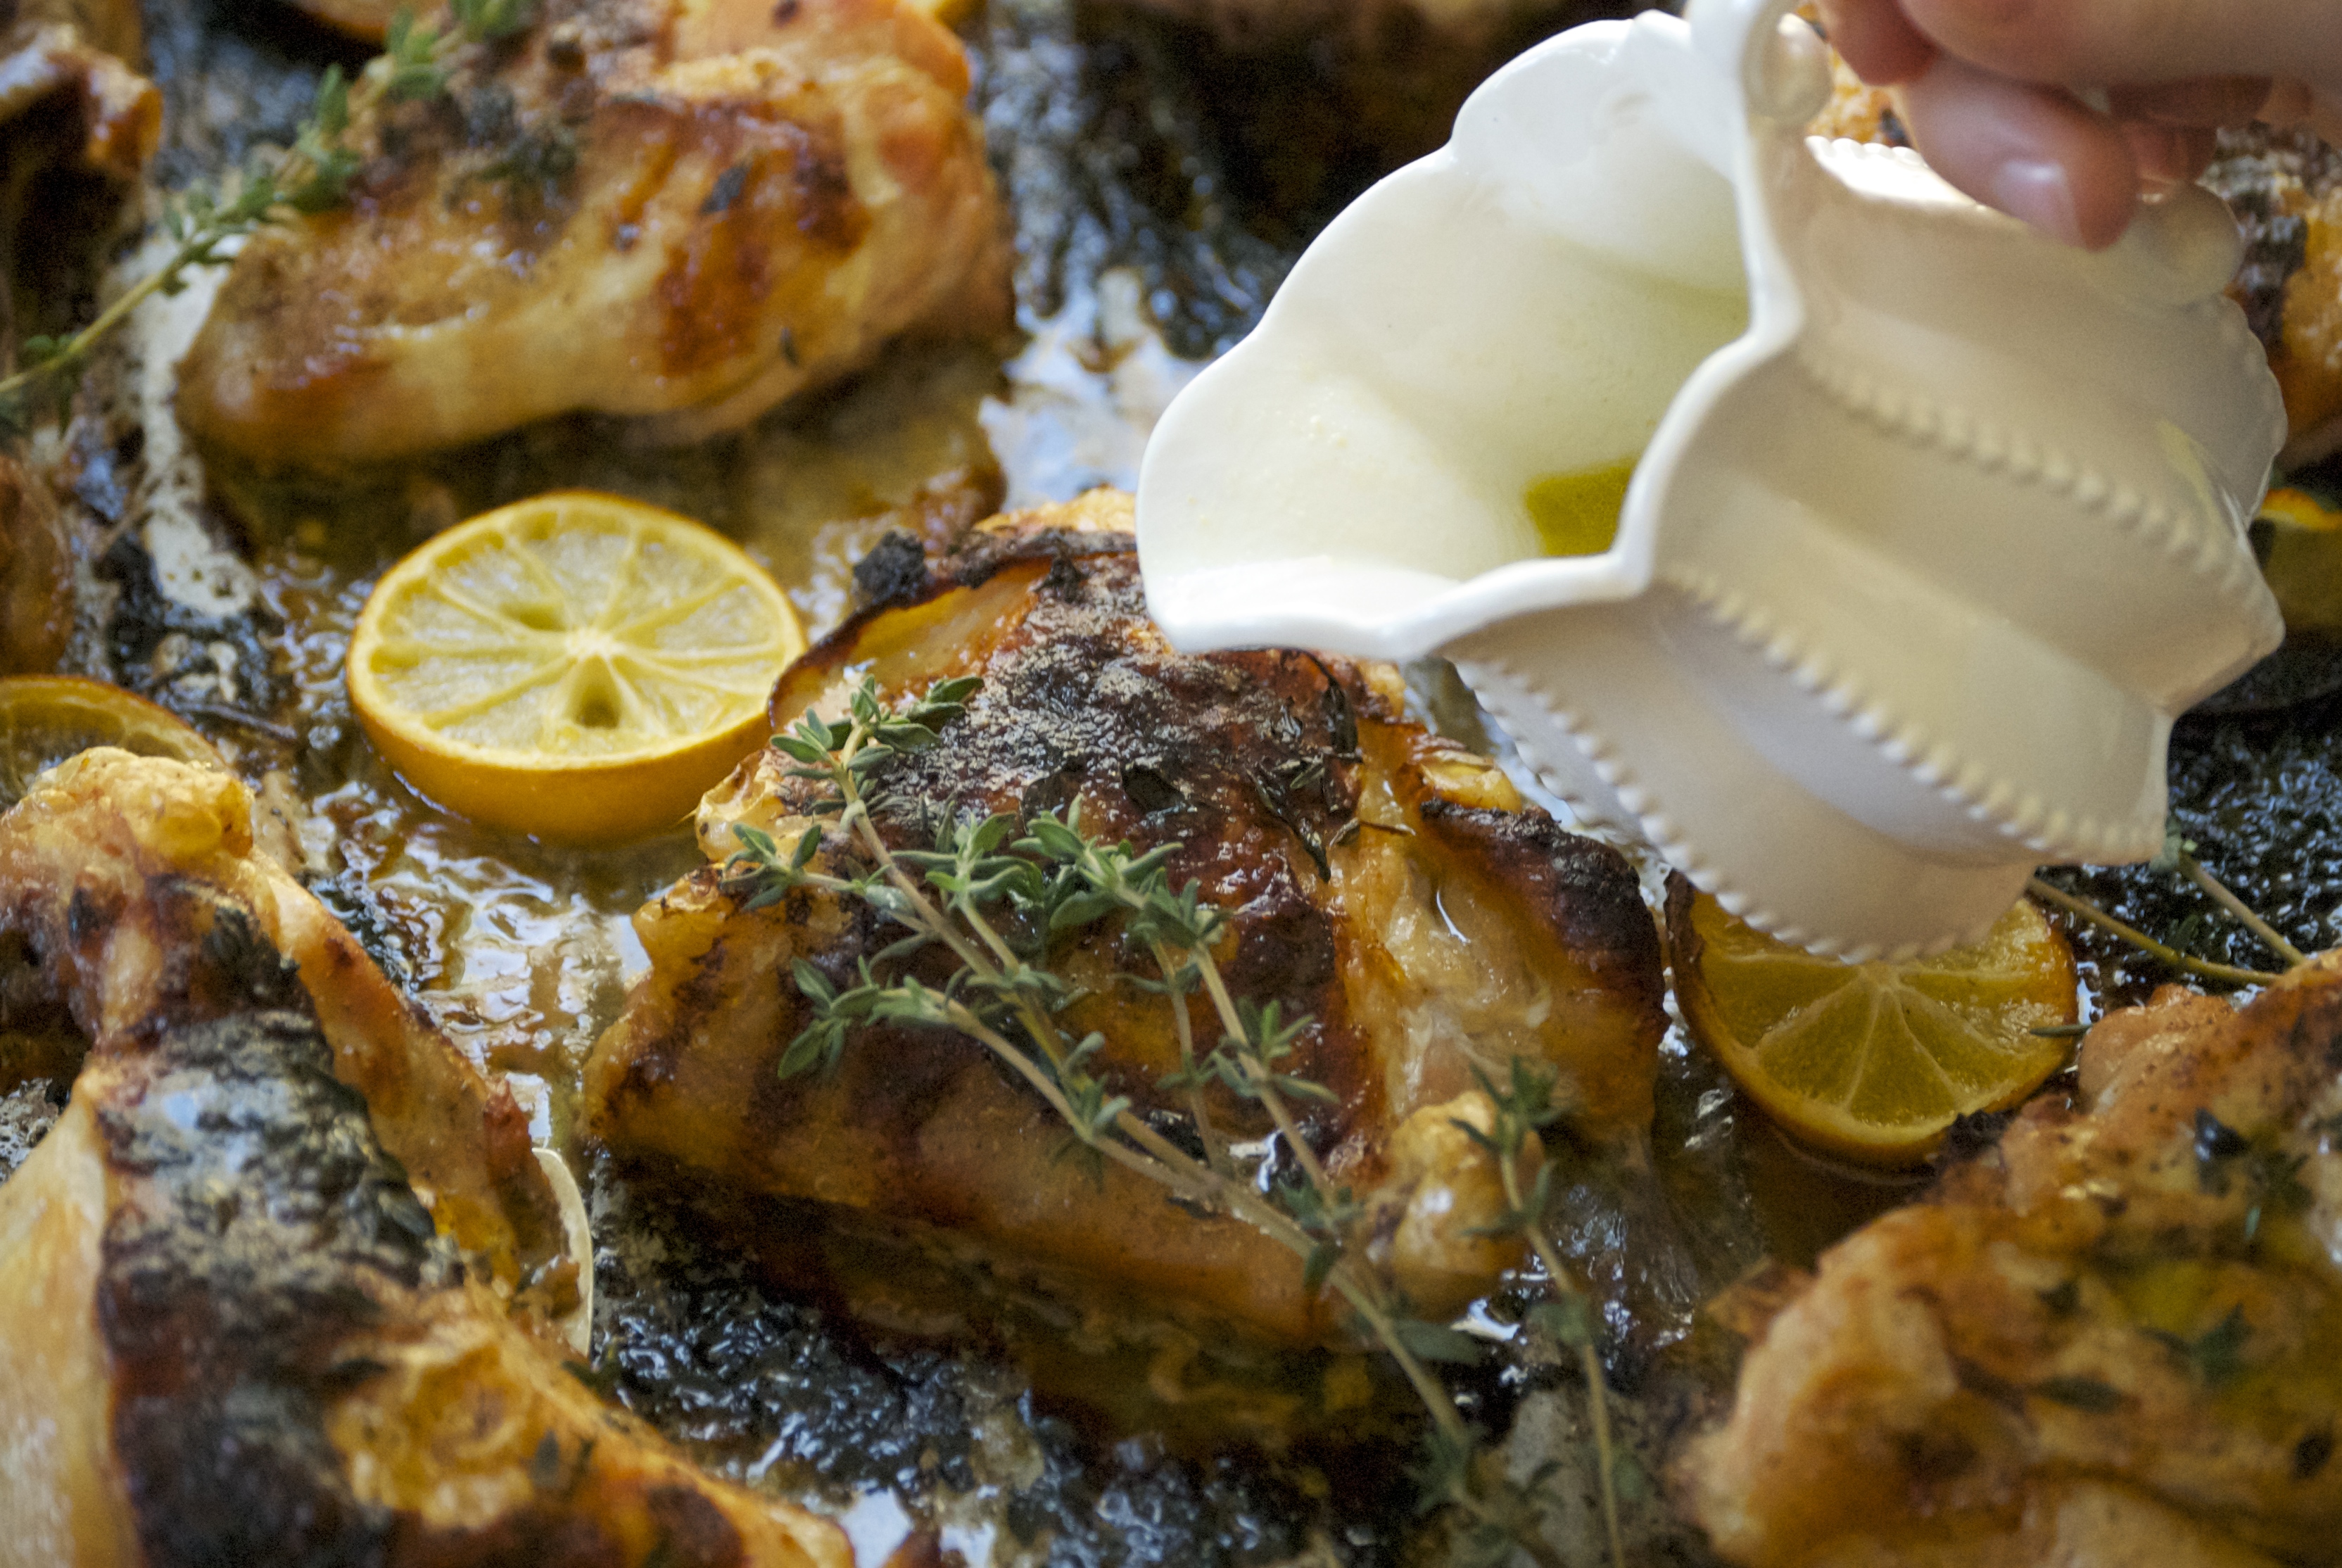
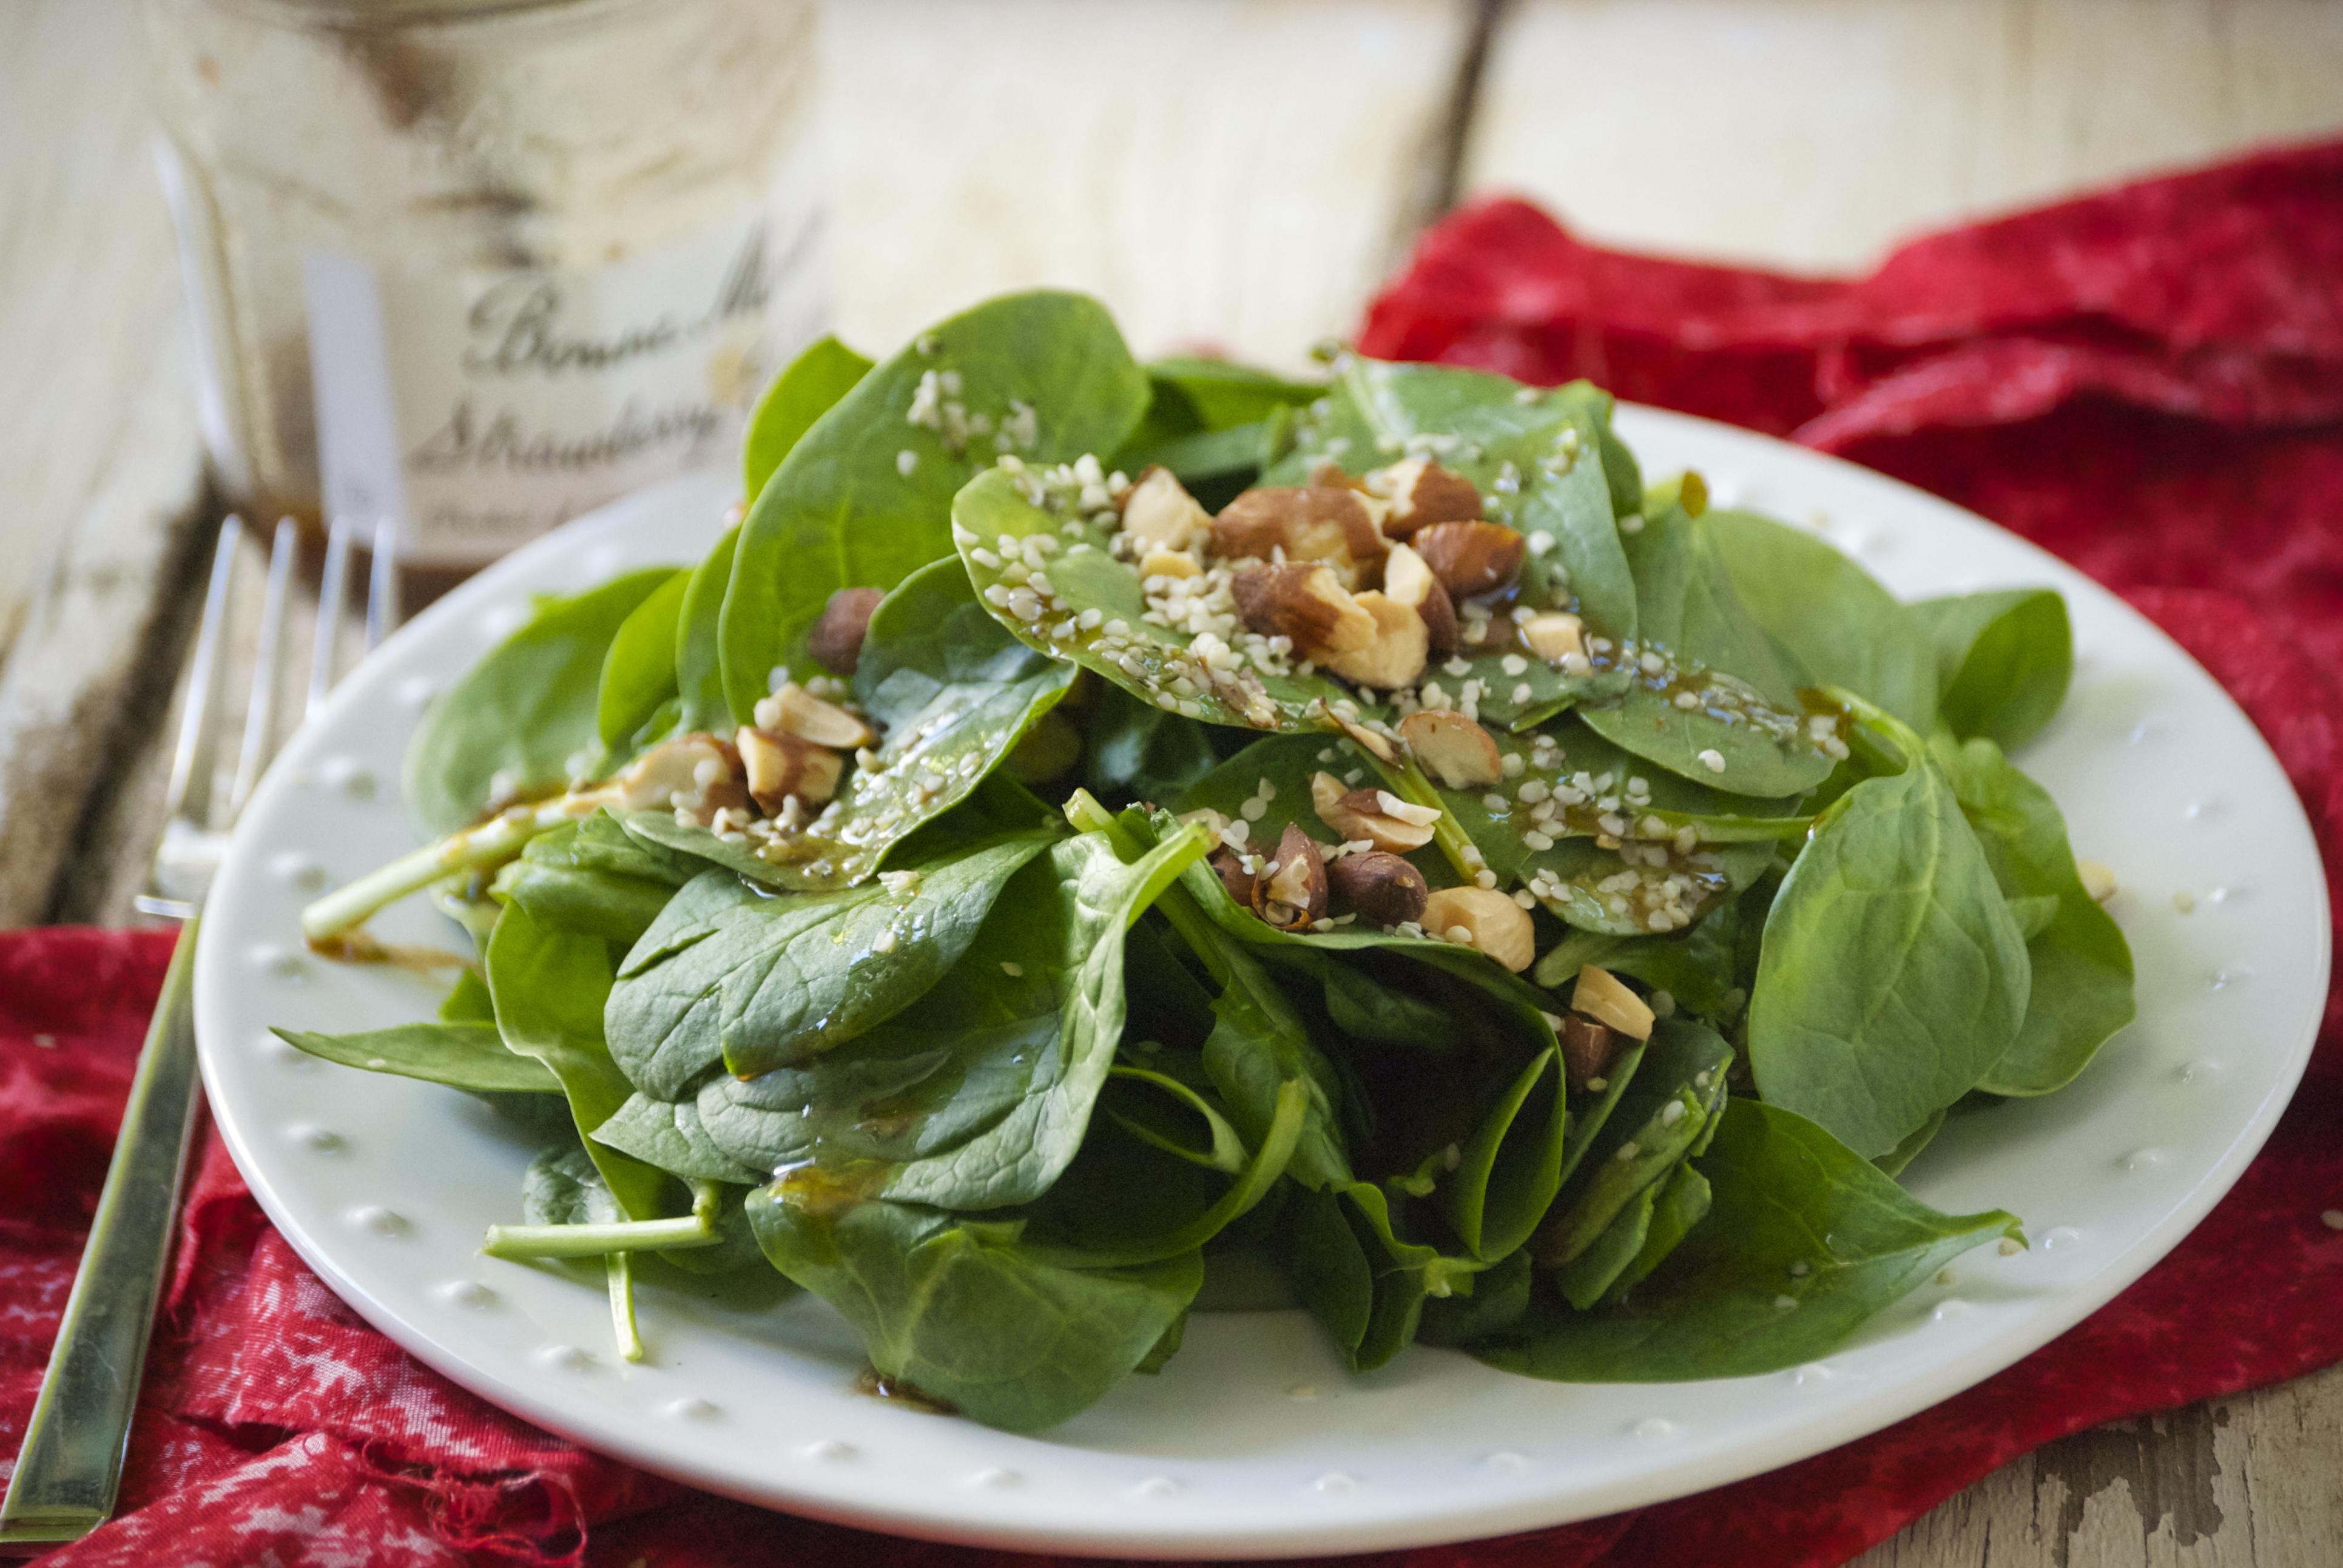
Let’s be honest, vacationing usually includes throwing caution to the wind and eating whatever one wants.  We did that.  And we drank too many craft beers and cocktails.  Getting back on track is always in order when we return home.  I’ve been eating lots of salads this week.  I had a few spinach salads with this strawberry balsamic vinaigrette and it is– as my five-year old would say “Amazin!”  I’m always hesitant about posting such easy recipes on my blog (this dressing only contains 3 ingredients).  I generally figure that everyone already makes it or uses this trick.  My sister-in-law (whom I chat with everyday on the phone) assures me that is not the case.  I was telling her about this dressing and I think she’ll be making it very soon.

Strawberry Balsamic Vinaigrette with Spinach | Relishing It

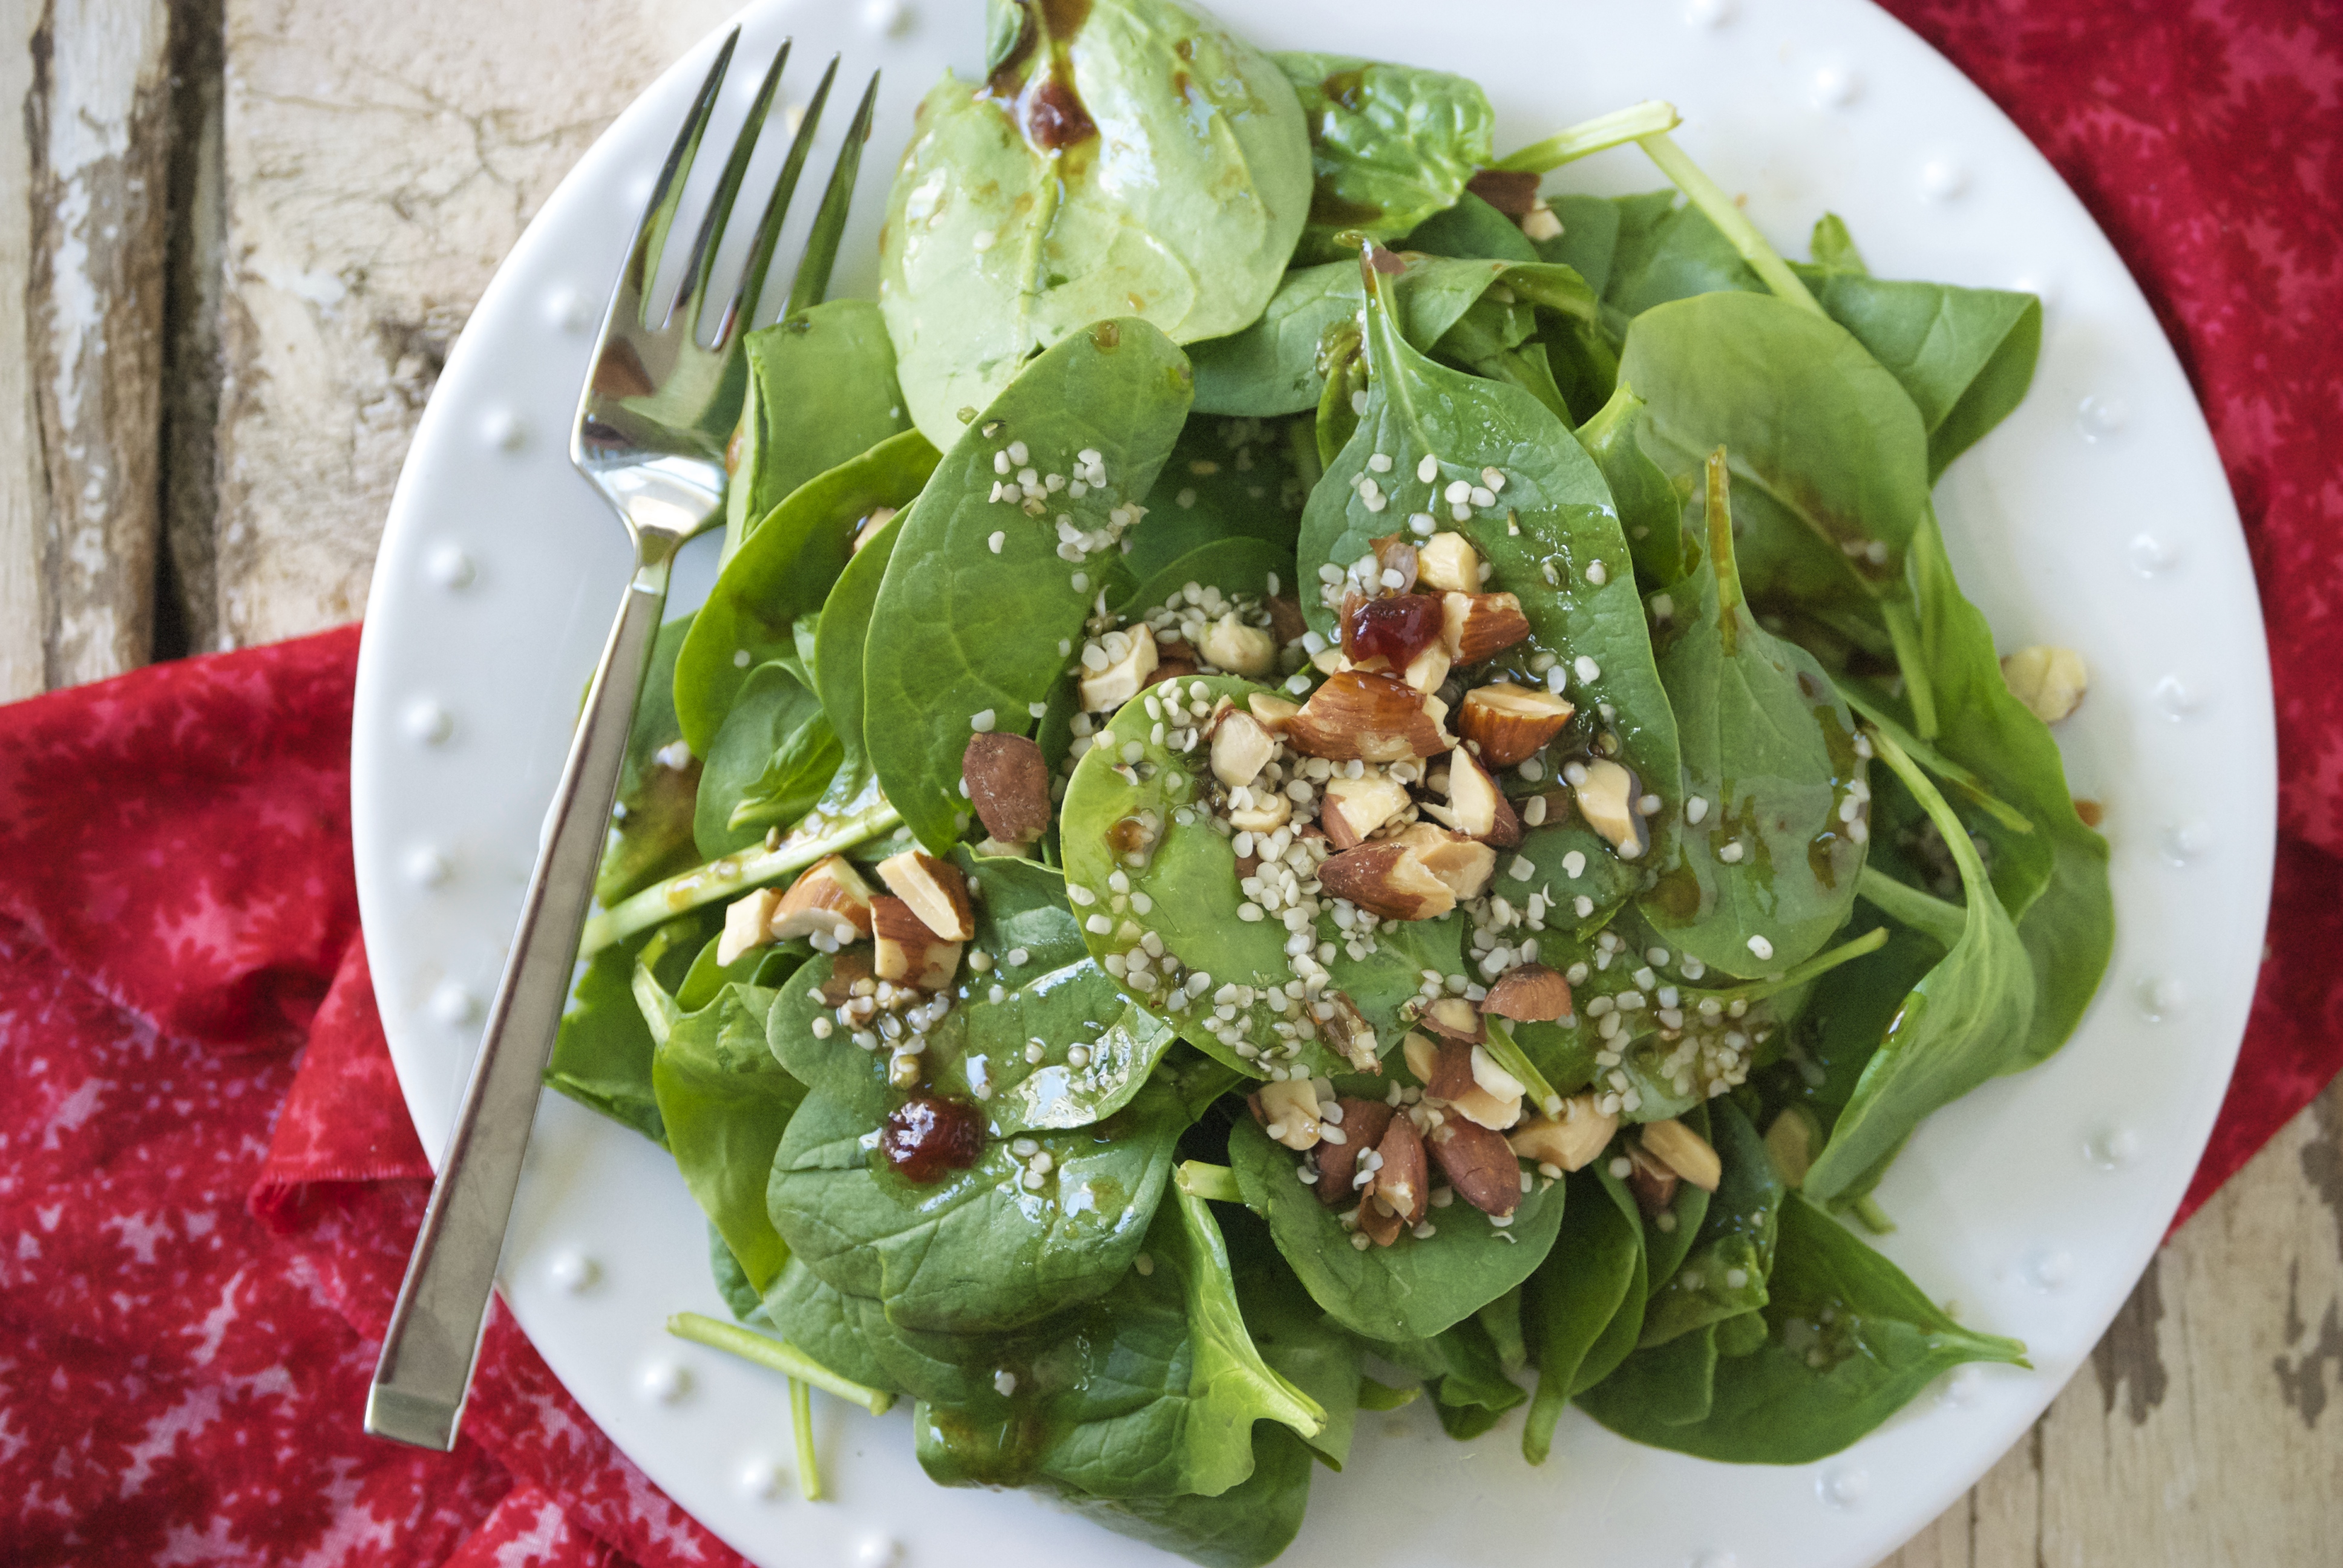
I usually make this dressing when my jam jar is pretty much empty, but there is still a slight film of jam in it.  I hate to waste, so I pour in some good balsamic vinegar and a splash of good olive oil, put the lid on, and give it a shake.  Voilà!  Out comes this delicious vinaigrette.  The strawberry jam and balsamic vinegar are a match made in heaven–cherry works great, too.   Of course you don’t have to wait until you’re nearly out of jam.  And you certainly don’t have to make just one portion, as I’ve given in this recipe.  Make a jar of it– it’ll keep well in your refrigerator.  It’s great poured onto spinach and topped with chopped almonds and hemp seeds, or whatever you happen to fancy.  Enjoy!

The Recipe: Strawberry Balsamic Vinaigrette with Spinach

(serves 1)

1 teaspoon good quality strawberry jam

1 tablespoon good quality balsamic vinegar

1 tablespoon good quality extra-virgin olive oil (California Olive Ranch is my favorite)

Combine ingredients in a jar and shake.  Season with salt and pepper, if necessary.  And add a bit more olive oil, if you prefer it less vinegary.  Increase amounts for a larger portion size.  Store extras in the refrigerator.  Toss with fresh spinach.  Top with chopped almonds, hemp seeds, or even blue cheese, if desired.

Thanks for stopping by Relishing It today!

Laurie

Homemade Caesar Dressing | Relishing It

Spring is finally here in Minnesota!  Last week I celebrated “Spring” with my kids, who had a week-long break from school.  We didn’t travel anywhere, which was wonderful.  It was a week full of library trips, swimming, coffee shops, board games, and a general feeling of contentment.  We read a ton of books.  We slept in.  We stayed up far too late.  We played video games (yes, I let me kids play video games, and I love that they do). We enjoyed every minute of freedom, and I enjoyed every minute of being with them.  I try not to get overly personal in this space, instead opting to focus on food and all the wonderful things about it.  But, sometimes I feel the need to say how proud I am of my kids.  They have grown into such incredible little people.  They are kind.  They are hilarious.  They are brilliant– and grounded.  They are compassionate.  I love to be with them, and that’s a pretty great feeling.

Homemade Caesar Dressing | Relishing it

Homemade Caesar Dressing | Relishing It

Changing seasons always has me in a bit of flux when it comes to making food.  Some days are warmer than others.  Soup would probably still be fitting, but I don’t want anymore soup for awhile.  Finding inspiration this time of year, in this particular place, can be a bit challenging.  So I wait patiently– hoping that inspiration comes.  It will.  It always does.  Ideas will pour out of my head soon enough, especially when I see the first asparagus of the season.  Or smell the first ramps.  I won’t be able to stop dreaming of moral mushrooms when I eat them for the first time this Spring.  Inspiration will come.

Homemade Caesar Dressing | Relishing It

Homemade Caesar Dressing | Relishing It

But, in the meantime– I will go for bike rides and long walks with my kids.  We will get muddy and splash in the puddles fed by the last few melting piles of snow.  I will see green emerging everywhere.  And I will eat this Caesar salad.  Because no matter the season, Caesar salad always sounds delicious to me.  Purchased dressing doesn’t even come close to this homemade version.  As with most dressings, it’s a cinch to make.  It’s as easy as putting all the ingredients into a mini food processor and whizzing it together.  Serve it with chicken, if you like.  Make some homemade croutons (which are also a cinch), or opt for a dusting of toasted breadcrumbs, as I often do.  I make my dressing with a raw egg yolk– I love the consistency it gives the dressing.  I use good eggs from local farmers.  You should use good eggs, too.  It will reduce any risks associated with using raw eggs.  This dressing is bright and a little nutty from the parmesan.  The anchovies give it a wonderful umami flavor that is a telltale sign of a good Caesar dressing.  Don’t skip them, as an important element will be lost.  Whip up this dressing and enjoy it on a bed of crisp romaine.  For added flavor, brush the romaine with a bit of olive oil and toss it on the grill for a few minutes until it is slightly charred around the edges.  It adds a whole extra layer of flavor!  Trust me, you’ll love it.  I’ve got to fly– my daughter wants to go pick up trash around the neighborhood.  True story.

Homemade Caesar Dressing | Relishing It

The Recipe: Homemade Caesar Dressing

(makes enough for 2 salads)

2 garlic cloves, minced

6 small anchovies, minced

2-3 tablespoons grated parmigiano reggiano cheese

2 tablespoons fresh lemon juice (from about 1/2 lemon)

1 egg yolk (free-range/organic)

1/4 cup good quality extra-virgin olive oil ( I prefer California Olive Ranch Olive Oil)

sea salt and cracked black pepper to taste

Place all of the ingredients, except the olive oil in a mini-food processor ( if you don’t have one, you may use a large bowl and a whisk.  Just be sure to mash the garlic and anchovies into a paste first.  Then, slowly whisk the olive oil into the other ingredients).  It’s best to wait to season this dressing with salt until the very end–the anchovies will provide much of the saltiness that is needed.  Pulse for a few times until the mixture is uniform and creamy.  With the lid on and the machine running, drizzle the olive oil through the small holes on the lid.  Be sure to scrape down the sides, as needed.  When it is creamy and completely incorporated, it is done.  Season with salt and pepper as needed.  Use immediately (this dressing does not have a long life because of the egg yolks, so use it the day it is made).  Enjoy!

Thanks for stopping by Relishing It!

Laurie


Curry-Scented Cauliflower with Golden Raisins | Relishing It

We joined a CSA recently!  For a vegetable-obsessed girl like me, this is big news.  So much so that I want to tell everyone I interact with…but that would be a bit weird, so I’ll just tell you.  I’m already anxious for June to roll around– for that first box to arrive, full of vegetables grown for my family by people that I know.   To be honest, we haven’t been CSA members for a couple of years now.  I know, I know.  You see, the previous CSA that we belonged to didn’t quite meet my family’s needs.  We ended up spending a ton of money every week to supplement the offering.  This year we dove back in, and decided to go with Bossy Acres.  The fabulous ladies that run this CSA are heavily involved in the Twin Cities food community.  I had heard remarkable things about their CSA from several friends.  And then, once I had a chance to talk with the owners about the excitement and passion that they put into their work, it made me realize that I wanted my family to be part of it.  And I am so darn excited!  Did I already mention that?

Curry-Scented Cauliflower with Golden Raisins | Relishing It

Curry-Scented Cauliflower with Golden Raisins | Relishing It

Alright, now that I’m done with my mini celebration it’s on to today’s post.  Even though this is THE NEVER-ENDING WINTER here in Minnesota, I’ve moved on to think about lighter, quicker fare.  Spring has to arrive eventually, right?  It’s just a matter of time before the farmers’ markets are loaded with fresh vegetables, and I’ll also be getting my first CSA delivery.  Waiting is hard.  I want strawberries and tomatoes now.  But until then, I’ll enjoy this gorgeous cauliflower.Curry-Scented Cauliflower with Golden Raisins | Relishing It

I love how hearty cauliflower is.  It’s reliable and always a good option in the Summer or Winter.  Out-of-season tomatoes and cucumbers can’t claim that.  I enjoy this side dish (though I eat it as a main course) when the cauliflower is roasted just a bit. Not entirely soft, but not raw either.  Once it’s done, I like to toss it immediately with red onion and golden raisins on the hot roasting pan.  It warms them through and takes the edge off the onion.  Infusing the spices in warmed olive oil is a great way to maximize the flavor.  This is a subtle dish.  It’s not swimming in a sauce or loaded with flavors that punch you in the face.  And it comes together in a matter of minutes.  The golden raisins are key– the slight sweetness that they add is crucial here.  Hope you enjoy!

Curry-Scented Cauliflower with Golden Raisins | Relishing It

The Recipe:  Curry-Scented Cauliflower with Golden Raisins

(serves 2-4)

1 large head of organic cauliflower, broken into small bite-sized pieces

1 small red onion, thinly sliced

1/3 cup organic golden raisins

handful of fresh cilantro

2 tablespoons extra-virgin olive oil, plus more for roasting

1 teaspoon hot curry powder  ( I love Penzys’ version)

1/2 teaspoon ground turmeric

1/2 teaspoon ground cumin

pinch of kosher salt to taste

lime wedges, for serving

Preheat an oven to 400°F.  Toss the cauliflower pieces with a drizzle of olive oil and place on a baking sheet. Roast for 15-20 minutes, or until the cauliflower has browned slightly but isn’t completely soft.  Remove from oven and immediately toss the sliced red onion and golden raisins on the hot pan with the cauliflower.

Meanwhile, prepare the curry-scented olive oil by placing 2 tablespoons of olive into a small skillet.  Mix the curry powder, turmeric, and cumin into the oil and heat on medium for about 1-2 minutes, or until the oil becomes warm and fragrant.  Make sure to stir it.  Remove from heat and pour over the vegetables.  Toss with cilantro.  Season with salt, if necessary.  Serve with a squeeze of lime.  Enjoy!

Thanks for stopping by Relishing It!

Laurie


Simple Homemade Kimchi | Relishing It

Last week my little blog had an anniversary!  I’ve been occupying this small corner of the internet for three years now.  Goodness time has flown by!  I’m so very thankful for the friends it has brought into my life.  It is such an amazing feeling to find people that share my interests– people that give a damn where their food comes from and believe that it makes a difference.  Making food does more than just nurture my body, it nutures my soul.  Thank you for stopping back week after week to see what I’ve been doing– I am truly grateful.

Homemade Kimchi | Relishing It

Homemade Kimchi | Relishing It

Homemade Kimchi | Relishing It

Homemade Kimchi | Relishing It

I suppose you’re expecting a celebratory cake recipe, but no, today I’m marking the occassion with…kimchi!  You know I’m a sucker for fermented foods (they are so ridiculously healthy for you)– this  homemade sauerkraut gets made ever month in our house.  Kimchi is along the same lines– it’s also lacto-fermented– but it’s made with a different type of cabbage and a couple of other vegetables. The red color comes from a Korean ground red pepper called gochugaru.  It has a wonderful flavor.  Finding gochugaru can be a bit of a hunt, even in a large city.  Definitely check an Asian specialty store.  I found mine at United Noodles in Minneapolis.  You can also order in online at Amazon.  A package will last you awhile, so you won’t have to reorder very often. Kimchi is easy to make and doesn’t take very long to ferment.  It’s as simple is mixing up a flavorful paste with garlic, ginger, and the gochugaru and tossing it with the vegetables.  If you love kimchi, there is absolutely no reason not to make your own.

Simple Homemade Kimchi | Relishing It

Homemade Kimchi | Relishing It

Simple Homemade Kimchi | Relishing It

The big question is, what do you do with kimchi once you’ve made it?  The possibilities are endless, really.  Toss some into a batch of fried rice, throw some into your stir-fry, put it into soups, eat it with dumplings, or straight out of the jar.  I love to eat it on a pizza with spicy ground pork.  It adds that extra “oomph” that some dishes need.  Make it.  You’ll be happy that you did!

Homemade Kimchi | Relishing It

The Recipe: Homemade Kimchi

(makes nearly 2 quarts)

1 /3 cup kosher salt

1 (3 1/2 pound) head napa cabbage, remove core and cut cabbage into 2-inch strips

water

7 green onions, cut into 1-inch pieces

12 ounce daikon (white radish) peeled and cut into matchsticks

7 garlic cloves, smashed

3 tablespoons fish sauce (or water, if making vegetarian)

1 1/2 teaspoon minced fresh ginger

1 1/4 teaspoon granulated sugar

5 tablespoons gochugaru (less to taste)

To prepare the cabbage:  Place the cut cabbage in a large bowl and sprinkle with salt.  Massage well so the the cabbage starts to soften and become watery.  Then add enough filtered water to cover the cabbage.  Weigh it down with a plate and then place something heavy on the plate.  Let it stand for 1-2 hours.

Meanwhile, make the red pepper paste.  In a small bowl, add the ginger, garlic, fish sauce, sugar, and gochugaru.  Mix until uniform.  Set aside.

When the cabbage is ready, rinse it with cold water about 3 times.  You want to thoroughly wash the salt off of it.  Then drain in a colander for 15 minutes and gently squeeze out any remaining water.  Return to the bowl that has since been cleaned.  Add the daikon, green onions, and red pepper paste and gently mix with your hands (use gloves, if you want) to coat all of the vegetables.  Pack the kimchi into clean jars and press down until the brine covers the vegetables.  Leave about an 1-inch space at the top of the jars (you will just be shy of 2 quarts for this recipe, so space shouldn’t be an issue).

Let the jars stand at room temperature for 1-5 days ( I generally do 5 days, but it’ll depend upon the temperature of your house).  There may be some bubbling action and you may want to open the jar to release some of the gas, so it doesn’t bubble over and create a mess.  Taste it along the way, when it is fermented to your liking, put it into the refrigerator.  The flavors will continue to enhance when it’s been in the refrigerator for a while.  Enjoy!

Source:  Adapted from The Kitchn

Thanks for stopping by!

Laurie

Rye Soda Bread with Dill Butter | Relishing It

I have to confess, I didn’t grow up eating soda bread.  Instead, my mother always had those huge tupperware containers filled with bread dough, covered with a white dishtowel, strategically placed near the warm registers of our farmhouse so it would rise.  But some time in my 20’s I discovered this fantastic alternative to the yeasted bread.  It doesn’t require any time at all to rise, which makes it nice for those spur of the moment meals when you would like to serve a loaf of warm bread, but just don’t have the time to mix up a batch of regular dough.  It’s easy to mix together– much like that of mixing scones.

Rye Soda Bread with Dill Butter | Relishing It

Soda bread is somewhat dense and can be made into something deliciously sweet or savory.  More common Irish soda bread is sweet and laced with raisins.  And though I love that, I gravitate towards the savory variety.  I love  combining rye and white whole wheat together in a bread.  The white whole wheat gives it a lighter texture, and the rye has a remarkable flavor.  It is a simple, hearty bread that is waiting to be smothered with a delicious spread.

Rye Soda Bread with Dill Butter | Relishing It

For this batch, I decided to use dill butter.  For some reason, it doesn’t seem fashionable to love dill anymore.  I’m not sure why, but all the other herbs are getting the attention lately.  I’m still in the dill camp, though, and always will be.  There is something so fresh and bright about it’s scent and flavor.  I pair it with shallots, garlic, and lemon zest for this compound butter and it is truly amazing.  Simple delicious food– the way it should be.  For something even more delectable, make your own homemade cultured butter!

Rye Soda Bread with Dill Butter | Relishing It

St. Patrick’s Day is just around the corner and I think this soda bread would be a lovely addition to your meal.  Double the recipe for the butter and you can use it on your boiled potatoes!  You still have time to gather your ingredients and start a brine if you plan to make homemade corned beef.  Bake up a batch of these fantastic mint grasshopper bars for dessert.  And of course, I hope you wash it all down with a pint of ale.  Cheers, friends!

Rye Soda Bread with Dill Butter | Relishing It

The Recipe:  Rye Soda Bread with Dill Butter

(serves 4-6)

For the Rye Bread:

1 cup rye flour (5 ounces)

1 cup white whole wheat flour (5 ounces)

1 teaspoon baking soda

1 teaspoon granulated sugar

1 teaspoon kosher salt

4 tablespoons cold, unsalted butter (grated with the large holes of a box grater, if frozen OR cut into small cubes and use a pastry blender or fork, if cold)

3/4 cup buttermilk  (3/4 cup regular milk mixed with 2 teaspoons white vinegar can be substituted if you don’t have buttermilk)

For the Dill Butter:

4 tablespoons unsalted sweet cream butter at room temperature

1 clove garlic, finely minced

1 tablespoon finely minced fresh dill

zest of one small organic lemon

1/2 tablespoon finely minced shallot

1/2 teaspoon kosher salt

1 egg mixed with 1 teaspoon water, for egg wash

1 teaspoon poppyseeds, for sprinkling on top

Preheat oven to 375°F.  Place the rack in the middle position of the oven.  Line a baking sheet with parchment paper.  Set aside.

To make the butter:  In a medium bowl combine the softened butter, garlic, dill, lemon zest, shallot and kosher salt.  Set aside to let the flavors develop.

In a large bowl, whisk together the rye flour, white whole wheat flour, baking soda, salt, and sugar.  I prefer to use frozen, grated butter.  Mix together using your hands, being careful to cover all of the butter with the flour mixture.  If using cold, cubed butter– use a pastry blender or fork to incorporate the butter into the flour.  You are looking for a result of pea-sized pieces.  Then, using a fork, mix in the buttermilk until the mixture is wet.  Using your hands, knead the dough a few times in the bowl until it is uniform.  Form the dough into a 6-inch flattened circle. Place the dough on the lined baking sheet and score it with a large “X” in the middle using a sharp knife or razor blade.  Make it about 1/2″-3/4″ deep.  Using a pastry brush, apply the egg wash and then sprinkle with poppyseeds.  Bake for about 30-32 minutes, or until it is golden brown and the center looks done.  Remove from oven and let cool on a cooling rack.  The bread will keep well for a couple days in an airtight container, but is best eaten the first day.  Enjoy!

Thanks for stopping by Relishing It!

Laurie

Healthy Asian Peanut Slaw | Relishing it

I love a good slaw.  Basically, I love any salad that is made from cabbage and crunchy vegetables.  Sure, once summer rolls around I’ll be thrilled to dig into a plate of delicate, tender greens.  But, in the meantime, I never tire of crunchy, hearty vegetables.  They satisfy me when I’m hungry.  They have a great mouth-feel– as in, I actually feel like I’m eating something substantial.  Like I’m eating a meal.

Healthy Asian Peanut Slaw | Relishing It

Healthy Asian Peanut Slaw | Relishing It

Healthy Asian Peanut Slaw | Relishing It

Cabbage (and kale) are really my go-to winter salad fare.  Remember this salad?  I still eat it at least once a week.  The same goes for the one I’m sharing today.  I love combining Asian flavors into a slaw.  It just works.  Making a dressing using plain yogurt is a perfect way to “health it up”, yet still satisfies that need for something a bit more indulgent and creamy.

Healthy Asian Peanut Slaw | Relishing It

I used freshly ground peanut butter in this dressing, but you can buy good organic peanut butter at your market.   Be sure to look for a kind that only contains ground peanuts.  Added salt is fine.  If you have to use something else with other ingredients, just be warned that the flavor of the dressing may be a bit off, as those other kinds generally contain a lot of sugar.  Most of the other ingredients for the dressing are things that you probably have in your refrigerator already.  The lime juice is the perfect backdrop for the flavors.  And as for the vegetables, the combination of red cabbage, carrots, carrots, cilantro, and broccoli are wonderful together.  I love using broccoli in this finely-sliced form.  Broccoli has a wonderful flavor, but I don’t always like chewing on the florets, so this is a nice solution.  I’ve also added golden raisins to this slaw.  Taking a bite with one in it feels like hitting the lottery.  Perhaps I should just toss more in next time?!  Cheers– hope you enjoy the slaw!

Healthy Asian Peanut Slaw | Relishing It

The Recipe: Healthy Asian Peanut Slaw

(serves 1-2)

For the Asian Peanut Dressing:

2 tablespoons organic natural peanut butter (containing only peanuts and salt)

1/4 cup plain yogurt

1 tablespoon soy sauce

1 tablespoon fresh lime juice

1 teaspoon sesame oil

1 teaspoon garlic chili sauce

honey (optional)

For the Slaw:

2 medium carrots, grated on the large hole of a box grater

1/4 small head of red cabbage, thinly sliced

5-6 large broccoli florets, thinly sliced

1/4 large red pepper, julienned

small handful of cilantro leaves, stems removed

2-3 tablespoons golden raisins

chopped salted peanuts or cashews, for serving

In a medium bowl, whisk the ingredients for the dressing together.  Set aside.  In a larger bowl, combine all the ingredients for the slaw,  sans peanuts.  Pour the dressing onto the vegetables and mix together using tongs.  You may not want to pour all of the dressing on at once (I generally have a bit leftover).  It’ll depend on your personal taste.  Top with the chopped peanuts or cashews.  Enjoy!

As always, thanks for stopping by Relishing It today!

Laurie

Homemade Spaghetti Sauce with Mushrooms and Garlic | Relishing It

I’ve mentioned here before that my husband and I were high school sweethearts.  We’ve been together for many years, and if there is one dish that describes “us”, it is this spaghetti sauce.  We’ve been making it together for as long as I can remember.  And even though it has gone through a few subtle changes over the years (because I certainly wasn’t canning my own tomatoes in my dorm room), it has remained much the same as it did those many years ago.  Many of you have been asking for this recipe, so I figure it’s time to to finally write it down and share it.  I mention on here fairly frequently that one dish or another is a family favorite.  But this one is the family favorite.  If the kids get to choose a meal, this is what they pick.  Valentine’s Day rolls around, and this is what we have.  It’s a bit odd, because this dish is ordinary, yet very special to us.

Spaghetti Sauce with Mushrooms and Garlic | Relishing It

Spaghetti Sauce with Mushrooms and Garlic | Relishing It

A couple of things need mentioning.  As I’ve said, I can my own tomatoes.  I use roasted roma tomatoes for this sauce.  I love how thick and rich they become, compared to regular tomatoes with their abundance of water.  This sauce can be made with any variety of tomatoes, though I’ve settled on roasted romas as my favorite.  The key here is to know what to do if your sauce has extra liquid in it that you don’t necessarily want. Watery spaghetti sauce is, to be honest, gross.  Too much liquid, and it just doesn’t cling to the pasta.  My point, is that you should do your best to find some good quality canned roasted tomatoes.  Muir Glen is my recommendation, if you don’t can your own.  Canned San Marzanos are also another excellent choice.  Whatever type of tomatoes you choose, crushed or whole, etc– give them a few pulses in a food processor to break them up (or use your hands) so they aren’t chunky.  If the sauce is too watery near the end of the cooking time, remove the lid and let it reduce a bit.  Adding another dollop of tomato paste will also help.

Homemade Spaghetti Sauce with Mushrooms and Garlic | Relishing It

One more thing,  I normally don’t use fresh basil in this sauce– instead I pull a bit out of my freezer that I’ve preserved for the winter.   In the summer, when my basil is plentiful, I chop it and freeze it in muffin tins and ice cube trays.   Then I vacuum seal it.  When I need a bit of basil in the winter, I  just pull one out and pop it into whatever it is that I’m making.  I love this method.  So, if you happen to have a freezer full of the same, use it!  If you don’t, I’ve tested it with fresh basil, so you will know how much to use– feel free to add more, if you like.  Just please don’t used dried– the flavor is not even comparable.

Homemade Spaghetti Sauce with Mushrooms and Garlic | Relishing It

This sauce has a wonderfully earthy flavor from the herbs, garlic, and the crimini mushrooms.  It’s a complex array of flavors that I heighten by using a bit of anchovy.  As I’ve mentioned before, don’t be scared to use it.  It adds such a nice umami flavor.  The other integral ingredient is the bay leaf.  The almighty bay leaf, in my opinion.  It adds such a unique flavor that this sauce relies upon.  When the sauce is finished simmering, swirl in a tablespoon or two of good olive oil– it’s the perfect finish to the sauce.  I hope you and your family enjoy this dish as much as we do.

Homemade Spaghetti Sauce with Mushrooms and Garlic | Relishing It

The Recipe: Homemade Spaghetti Sauce with Mushrooms and Garlic

(serves 4-6)

2 pounds grass-fed ground beef

1 medium white onion, chopped

1 large bulb of garlic, peeled and roughly chopped  (yes, the entire bulb!)

1 quart roasted roma tomatoes, crushed

1 dried bay leaf

1 teaspoon freshly cracked black pepper

5-6 teaspoons kosher salt

1 1/2 teaspoons dried oregano

2 heaping tablespoons finely chopped fresh basil (about 17 large basil leaves)

1 tablespoon double-concentrated tomato paste

1/2 teaspoon finely chopped anchovies

8-9 ounces crimini mushrooms, thickly sliced

1-2 tablespoons good quality extra-virgin olive oil, for finishing ( California Olive Ranch, is my favorite)

Parmigiano-reggiano cheese and hot pepper flakes, for serving

In a large Dutch oven over medium-high heat brown the ground beef, then drain the fat.  Return the pan to the heat and add the onion, garlic, salt, and pepper to the beef.  Sauté for a couple of minutes until the onions are somewhat tender, stirring frequently.  Then add the crushed tomatoes, oregano, basil, tomato paste, anchovies, and bay leaf.  Stir.  Then finally add the mushrooms.   Reduce heat to medium-low and let simmer for about 30-40 minutes, covered.   Stirring frequently and carefully, as you don’t want the mushrooms to break apart.  Monitor the amount of liquid near the end of the cooking time.  Remove lid to reduce, if it seems too watery.  If it seems too thick, be patient– the mushrooms release a lot of liquid during the simmering time.  When it is done, remove the bay leaf and stir in 1-2 tablespoons of olive oil.  Adjust seasonings, if necessary.  Serve with freshly grated Parmigiano-reggiano cheese and hot pepper flakes, if desired.  Leftovers keep well in the refrigerator, or freezer.  Enjoy!

Thanks for stopping by Relishing It!

Laurie

Meyer Lemon and Thyme Roasted Chicken | Relishing It

Today’s recipe is one that looks impressive and tastes incredible, yet comes together with little effort.  Roasted chicken is another fine example of how good food does not have to be complicated.  It’s easy to prepare, and makes a perfect family meal that can be complimented by so many wonderful flavors.  I’ve used Meyer lemons for this version.  Whenever they are  in season, I prepare a lemon sauce and drizzle it over roasted chicken.  These lemons taste a bit different than traditional ones.  I detect a hint of a pine, as well as a little more sweetness.  They are perfect in this dish, since their skin is thinner and can be eaten– they almost become ‘candied’ when roasted.

Meyer Lemon and Thyme Roasted Chicken | Relishing It

I like to roast chicken on a high heat.  It creates such a nice, dark exterior that I just love.  Fear not, the inside remains wonderfully juicy.  One thing to be aware of– your chicken pieces should all be relatively the same size.  This will ensure even roasting.  The breasts should be cut in half if they are too large.

Meyer Lemon and Thyme Roasted Chicken | Relishing it

The sauce is a simple one.  It showcases the lemons perfectly.  I suppose it’s worth exploring the idea of marinating the chicken in a portion of the sauce for a few hours before roasting.  The lemon would really permeate the chicken.  But, to be honest with you, I’ve never bothered.  Let me know if you decide to give it a go.  If thyme isn’t your favorite herb, this dish is also delightful with rosemary.  Enjoy!

Meyer Lemon and Thyme Roasted Chicken | Relishing It

The Recipe:  Meyer Lemon and Thyme Roasted Chicken

(serves 4)

1 whole pasture-raised chicken cut into pieces (breasts cut in half, if too large)

1/2 cup fresh Meyer lemon juice (from about 5 Meyer lemons)

1/3 cup extra-virgin olive oil

2 tablespoons Dijon mustard

fresh thyme

1/2 tablespoon honey (more or less to taste)

1-2 Meyer lemons, thinly sliced for roasting

kosher salt and freshly cracked black pepper

Preheat the oven to 475°F.  Line a baking sheet with parchment paper.

In a small bowl, mix the lemon juice, Dijon, honey, and salt and pepper together.  Slowly whisk in the olive oil. Set aside.

Place the chicken on the parchment paper and pour 2/3 of the sauce over it, coating all sides of the chicken.   Reserve 1/3 of the sauce for serving.  Remove and discard the stems from some of the thyme and sprinkle the leaves over the chicken, along with salt and pepper.  Place the thinly sliced Meyer lemons on the pan, as well.  Bake for about 35 minutes on the middle rack.  Remove from the oven and serve with additional sauce and fresh thyme.  Salt and pepper, as needed.  Enjoy!

Thanks for stopping by Relishing It today!

Laurie

Hearty Soup of Beef Roast, Root Vegetables, and Warm Spices | Relishing It

I’ve mentioned my rural roots here in previous posts, but for those of you that are new to Relishing It, I grew up on a small dairy farm in western North Dakota.  And I still get terribly homesick from time to time.  So this is one of those recipes that reminds me of my childhood, and helps me cope with being away.  It’s strange, even though I’ve spent more of my life away from Regent ND, it still has my heart.  It’s still my home.  One of the hardest parts of growing older is wanting those comforts of the past, but coming to terms with the fact that they’ll never again be as you remember them.  It’s the double-edge of nostalgia, I suppose.  I miss being that carefree kid running around the farm.  I miss seeing my childhood friends.  I miss regularly seeing my aunts, uncles, and cousins.  And I miss talking with my grandparents, who have all passed away.

Black Butte, North Dakota | Relishing It

                                                             My view every morning for 18 years

When I was a teenager, I worked at the museum in town during the summers.  On my lunch breaks I would venture up to my grandparents’ house for lunch.  My grandma would always make sure to have something ready for me and the three of us would eat together and talk about our lives.  Even then, I really did realize that it was a special time and that one day I’d look back on it with a mixture of longing and gratitude.  My grandparents (on both sides of the family) were real salt-of-the-earth people.  They were hard-working, no-nonsense, and very kind.  I’m so lucky to have had them in my life.  So many of my interests now are things that they did and were interested in– preserving, fermenting, gardening, sausage-making, and even distilling alcohol.  The conversations we could have!

Hearty Soup of Beef Roast, Root Vegetables, and Warm Spices | Relishing It

The soup I’m sharing with you today is based on a soup that my Grandma Jesch used to make for me on some of those lunch breaks.   I only have the memory of the flavors to go off of, but I think this is a pretty good representation.  She would often simmer an entire beef roast for hours, and then turn it into this most amazing, hearty soup.  It has chunks of tender beef, along with root vegetables.  But, the flavors I remember most are the warm spices.  There was a hint of something unusual that drew me to this soup whenever she made it– cinnamon, star anise, and allspice are what I figured they might be– and here they work beautifully.  Also, you’d be a fool not to finish this dish with a splash of cream.  Hope you enjoy!

Soup of Roast Beef, Root Vegetables, and Warm Spices | Relishing It

The Recipe: Hearty Soup of Roast Beef, Root Vegetables, and Warm Spices

(serves 4)

2 tablespoons olive oil

About a 3 pound beef roast ( preferably grass-fed and bone-in)

1/2 white onion, chopped

3-4 garlic cloves, chopped

1 quart beef broth, preferably homemade

4 cups water

5-6 large carrots, cut into chunks

3-4 parsnips, cut into chunks (if too large, remove the woody center)

3 celery stalks, cut into chunks

8-10 smallish yellow potatoes, cut into chunks

1 cinnamon stick

1 star anise

1/2 teaspoon ground allspice

1 teaspoon dried thyme (or 1 1/2 teaspoons fresh)

1 dried bay leaf

kosher salt, and fresh black pepper, to taste

fresh parsley and heavy cream, for serving

Heat a large Dutch oven with olive oil in it.  Season the beef with salt and pepper.  Sear all sides of it until a deep golden color develops.  Remove beef from the pan.  Add the onion and garlic to the hot pan and sauté for a few minutes until tender.  Add the beef back to the pan, along with the beef stock, water and the spices of cinnamon, star anise, allspice, thyme, and bay leaf.  Bring to a high simmer, then reduce heat to medium, cover and let simmer for about 2 1/2 hours or until the beef is somewhat tender.  Next, add the celery, carrots, and parsnips to the pot and simmer until the beef is fully tender, or practically falling off of the bone, another 30-45 minutes, or so.  Then, add the potato chunks and cook for about 20 more minutes until they are tender.  Meanwhile, remove the beef from the pot and separate it into chunks using a fork– removing any visible fat, as well.  Return the pieces of beef to the pot when the potatoes are completely done.  Re-season with salt and pepper.  Remove and discard the star anise, cinnamon stick, and bay leaf.  Sprinkle with freshly chopped parsley and a splash of cream before serving.  Enjoy!

Thanks for stopping by today!

Laurie

Paella | Relishing It

I’ve been wanting to share this amazing recipe with you for awhile now, and since Valentine’s Day is approaching I figure it’s finally time.  I’m not sure why, but to me this is a romantic dish.  Maybe it’s the beautiful color, the seafood, the scent of saffron, or even the wine.  In any case, for me this is an ideal Valentine’s Day dinner.

Paella | Relishing It

Yes, the dish looks impressive, but it’s not difficult to make.  It comes together quickly and the cooking time is relatively short.  The most labor intensive task is actually vegetable chopping.  And the flavors– my oh my, they’re unbelievable.  First, there’s the saffron.  Along with providing the beautiful red/orange hue, it adds a wonderful flavor.  Saffron is an impressive spice, but keep in mind it’s also the most expensive one out there.  With that in mind, I’ve given you the option of using between  1/2 – 1 teaspoon for this dish.  I’ve made it both ways, and it’s turned out great each time.  Just don’t skip the saffron entirely, because it makes a difference here.

Saffron for Paella | Relishing It

Spanish Chorizo for Paella | Relishing It

The other main star of the dish is the Spanish chorizo.  This is an aged chorizo with a delicious smokey flavor.  It can be difficult to find, but again, it’s worth the search.  I get mine at the St. Paul Cheese Shop, for those of you who live nearby.  The rice in this dish is supposed to be separated– not creamy like a risotto.  Look for a spanish rice, such as Bomba (also called Valencia) or Calasparra as they will absorb the liquid properly.  Another option is the more readily-available short-grain rice, Arborio.  For my version of paella, I use shimp, mussels, and clams.  I know chicken is often a component, but I stick with the seafood.  You can use whichever you like– you know my theory on making the dish your own.  The seafood paired with the clam juice and wine create a wonderfully intense flavor with a hint of brininess.

Paella | Relishing It

Paella | Relishing It

Seafood Paella | Relishing It

There are many different methods to cook paella.  I settled on heating the oven really hot (to 500°F) and placing a pizza stone in it.  I use a 14-inch stainless-steel skillet, so it’s nice in that it heats evenly in the oven as opposed to sitting on a small burner.  The pizza stone adds additional heat to the bottom of the pan in hopes that it will create a tasty, caramelized crust on the bottom called socarrat.  If you have a smaller 12-inch pan– feel free to cook it on the stove top.  Just be sure to move the pan around a bit for an even heat, while being diligent about not stirring it. If you do use a 12-inch pan rather than a 14-inch, you won’t be able to fit as much meat/seafood into the dish.  Use your judgment, and it’ll turn out just fine.  And of course, if you’re lucky enough to be able to cook it over an open flame outdoors, kudos to you!

Paella | Relishing It

Paella | Relishing It

The Recipe: Seafood Paella

(serves 4)

2 tablespoons olive oil

1 red bell pepper, finely chopped

1 green bell pepper, finely chopped,

1 white onion, finely chopped

3 garlic cloves, finely chopped

1 tomato (preferably from a local greenhouse), finely chopped

2 teaspoons concentrated tomato paste

1 1/2 teaspoons smoked paprika

1 cup bottled clam juice

1 cup dry white wine, more if necessary

2 1/2 cups chicken stock (preferably homemade)

1/2- 1 teaspoon saffron (crushed using a mortar and pestle)

2 cups short grain rice–Bomba (Valencia), Calasparra, or Arborio

8 ounces (1/2 pound) spanish chorizo, cut into 1/4-inch slices

1/2 pound littleneck clams

1/2 pound mussels

1/2- 1 pound shrimp (peeled and deveined)

Lemon wedges, fresh parsley, and red pepper flakes  for garnish

Place a pizza stone into an oven and heat to 500°F for about a half hour.  Combine the chicken stock, clam juice, white wine, and saffron into a large sauce pan and bring to a high simmer.

Meanwhile, using a 14-inch skillet or a paella pan (12-inch will work, too) heat the olive oil and cook the chorizo over medium heat until some of the fat has rendered.  Remove the chorizo from the pan and add the red and green peppers, garlic, and the onions.  Sauté for a few minutes until tender.  Then add the tomato paste, spanish paprika, and the rice.  Sauté for about 1 minute.  Add the hot liquid and the chorizo to the skillet and place pan onto the pizza stone in the oven.  Do not stir after this point.  After 10 minutes, add the chopped tomatoes, mussels, and clams to the pan– crack side up.  Then, after 5 more minutes, push the shrimp into the rice and cook for about 5 more minutes.  If at any point the rice seems to be drying out too quickly, add more broth, water, or wine (go for the wine!) to the pan.  If the rice seems to be done cooking (it will only take about 20 minutes total) before the shrimp is done or the clams and mussels have opened up– just place tin foil over the entire dish to trap some of the steam.  I tend to do this when I place the shrimp into the dish. Discard any mussels and clams that ultimately never open up.  Serve with lemon wedges and fresh parsley.  Enjoy!

Thanks for stopping by today!

Laurie