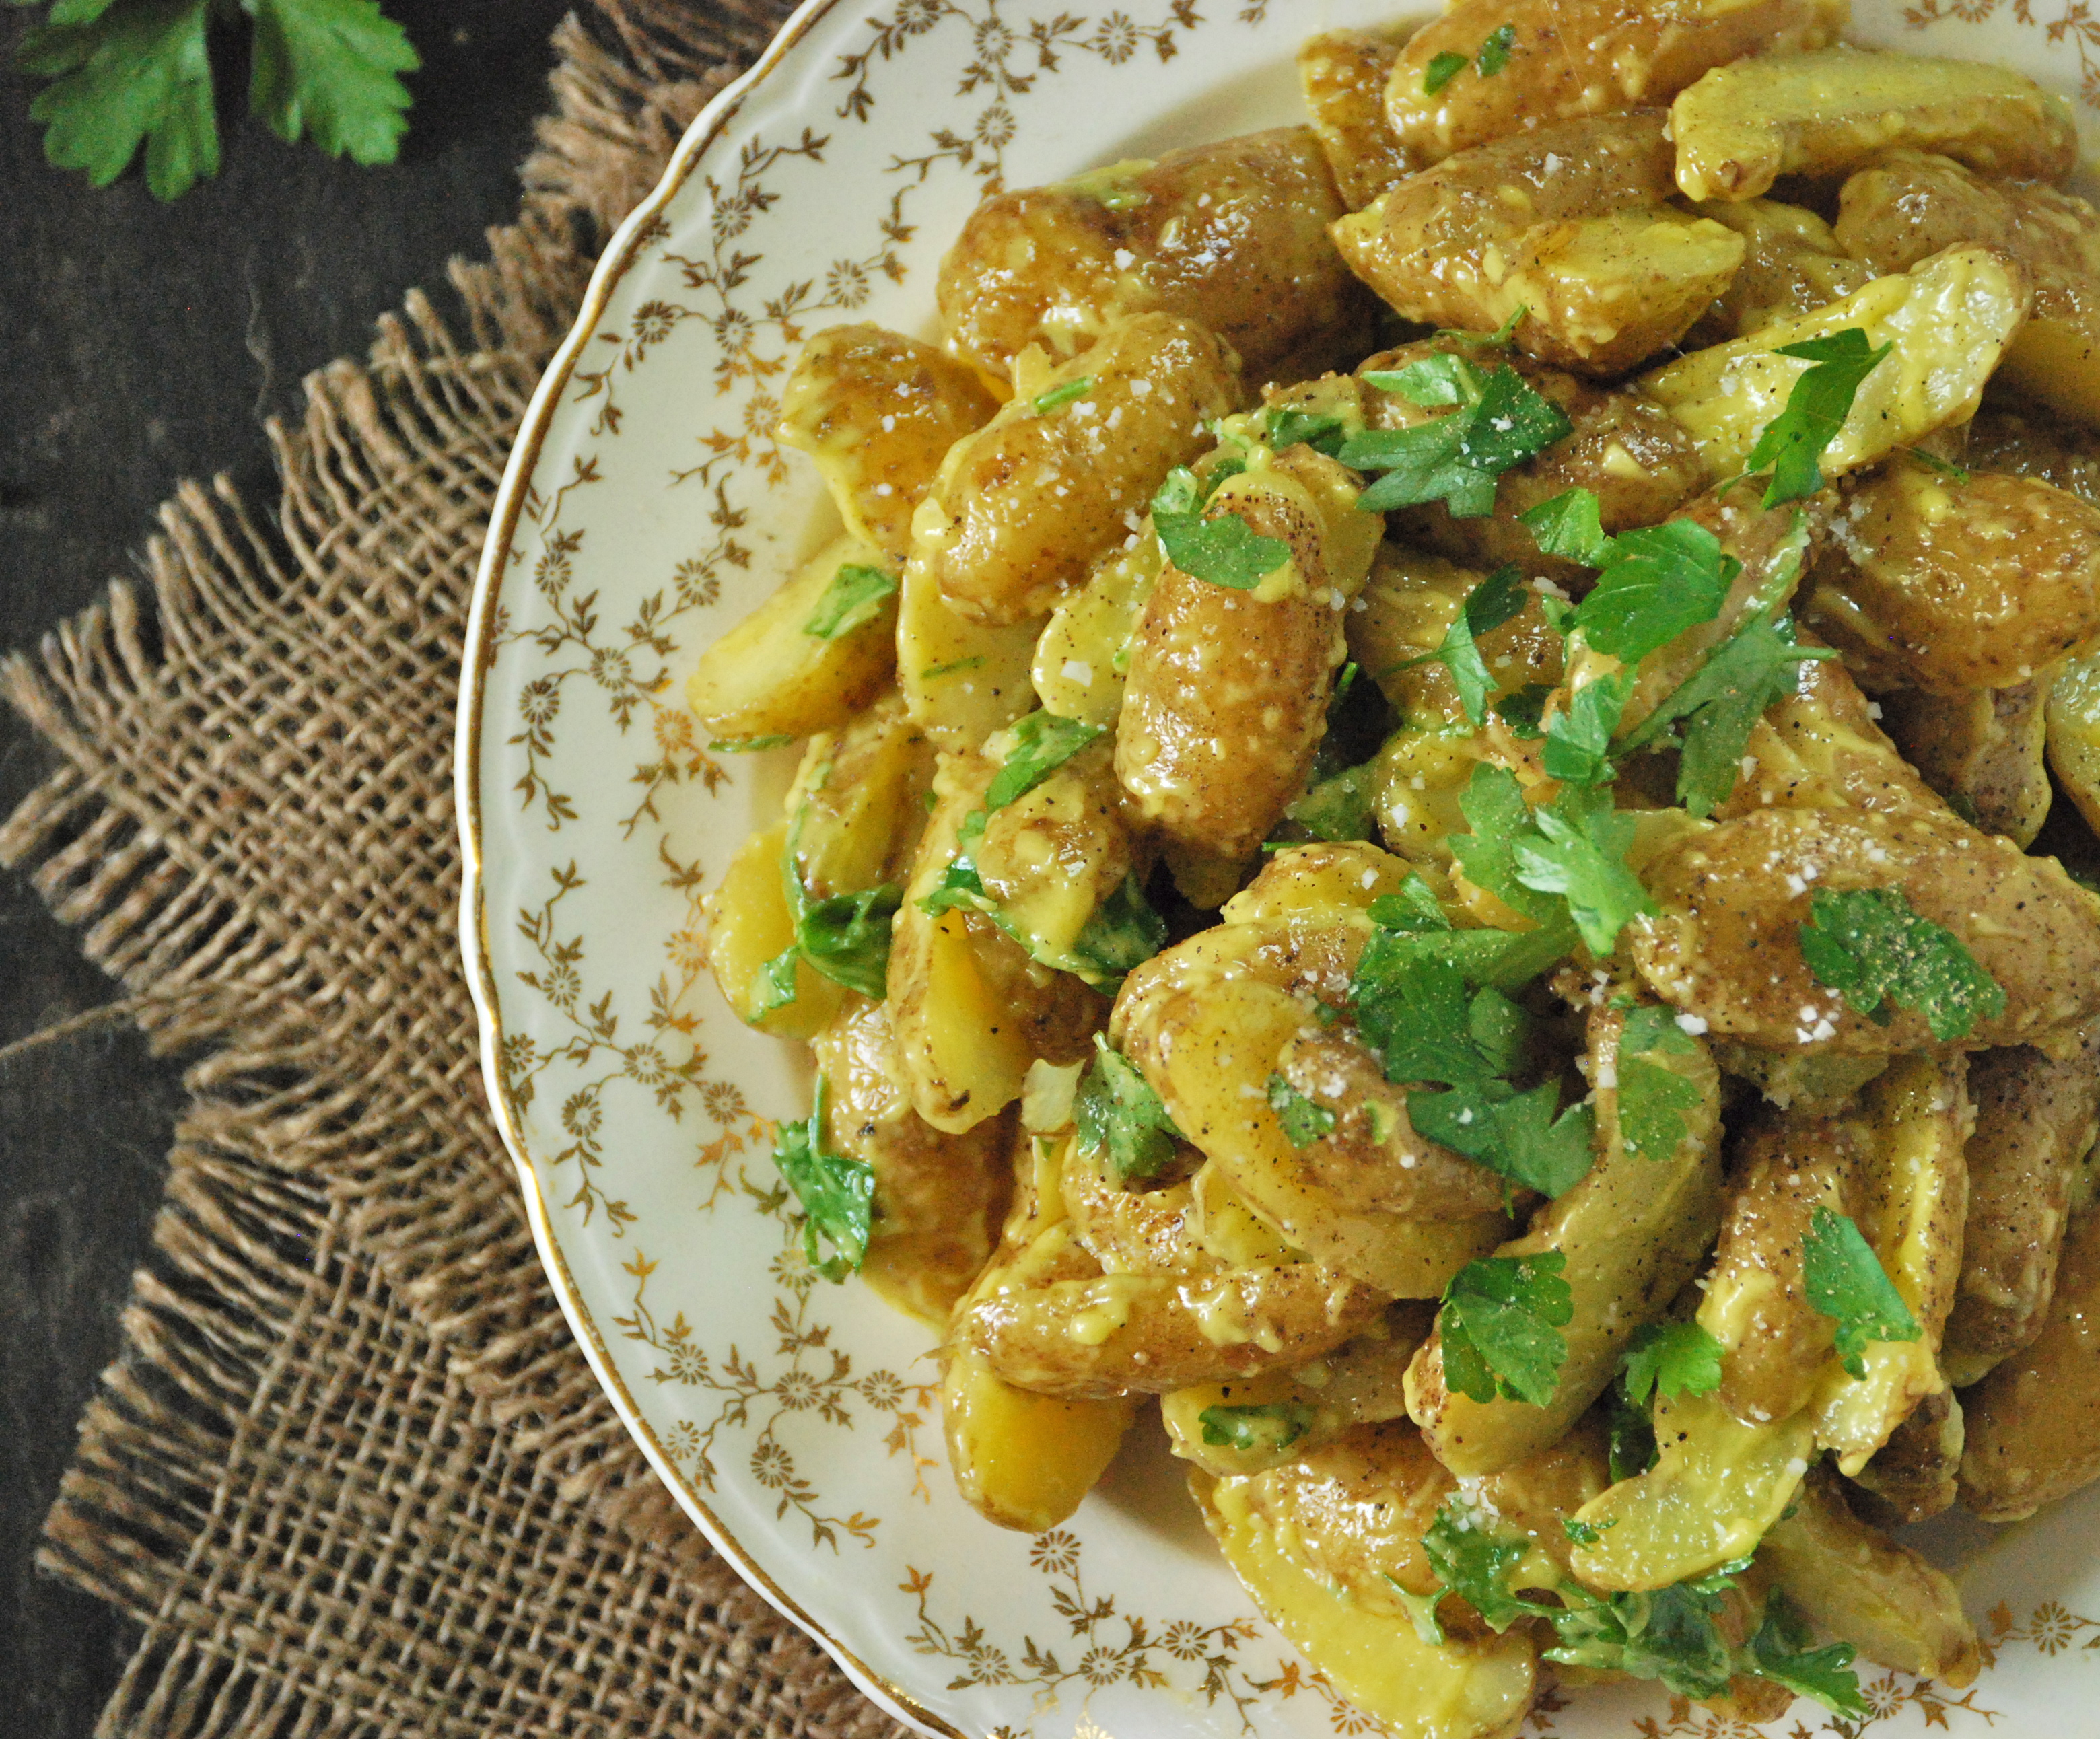
I just know many of you are in the thick of planning your Thanksgiving menus, and I’ve got a side dish that would look absolutely grand on your table. I’m one of those who think the Thanksgiving meal is all about the sides. Sure, the turkey is fine, but there just isn’t a lot of excitement there. It’s the side dishes that have the variety of flavors and colors that make the meal so interesting. At least that’s how I feel. My husband habitually defaults to two servings of turkey, gravy, potatoes, and stuffing. That’s it. I’m not sure what’s wrong with him. Anyway, even if you’re not looking for a Thanksgiving idea, this dish is pretty incredible for any occasion. I like to make it and enjoy the leftovers throughout the week– it keeps and heats up beautifully, never losing any texture or flavor.
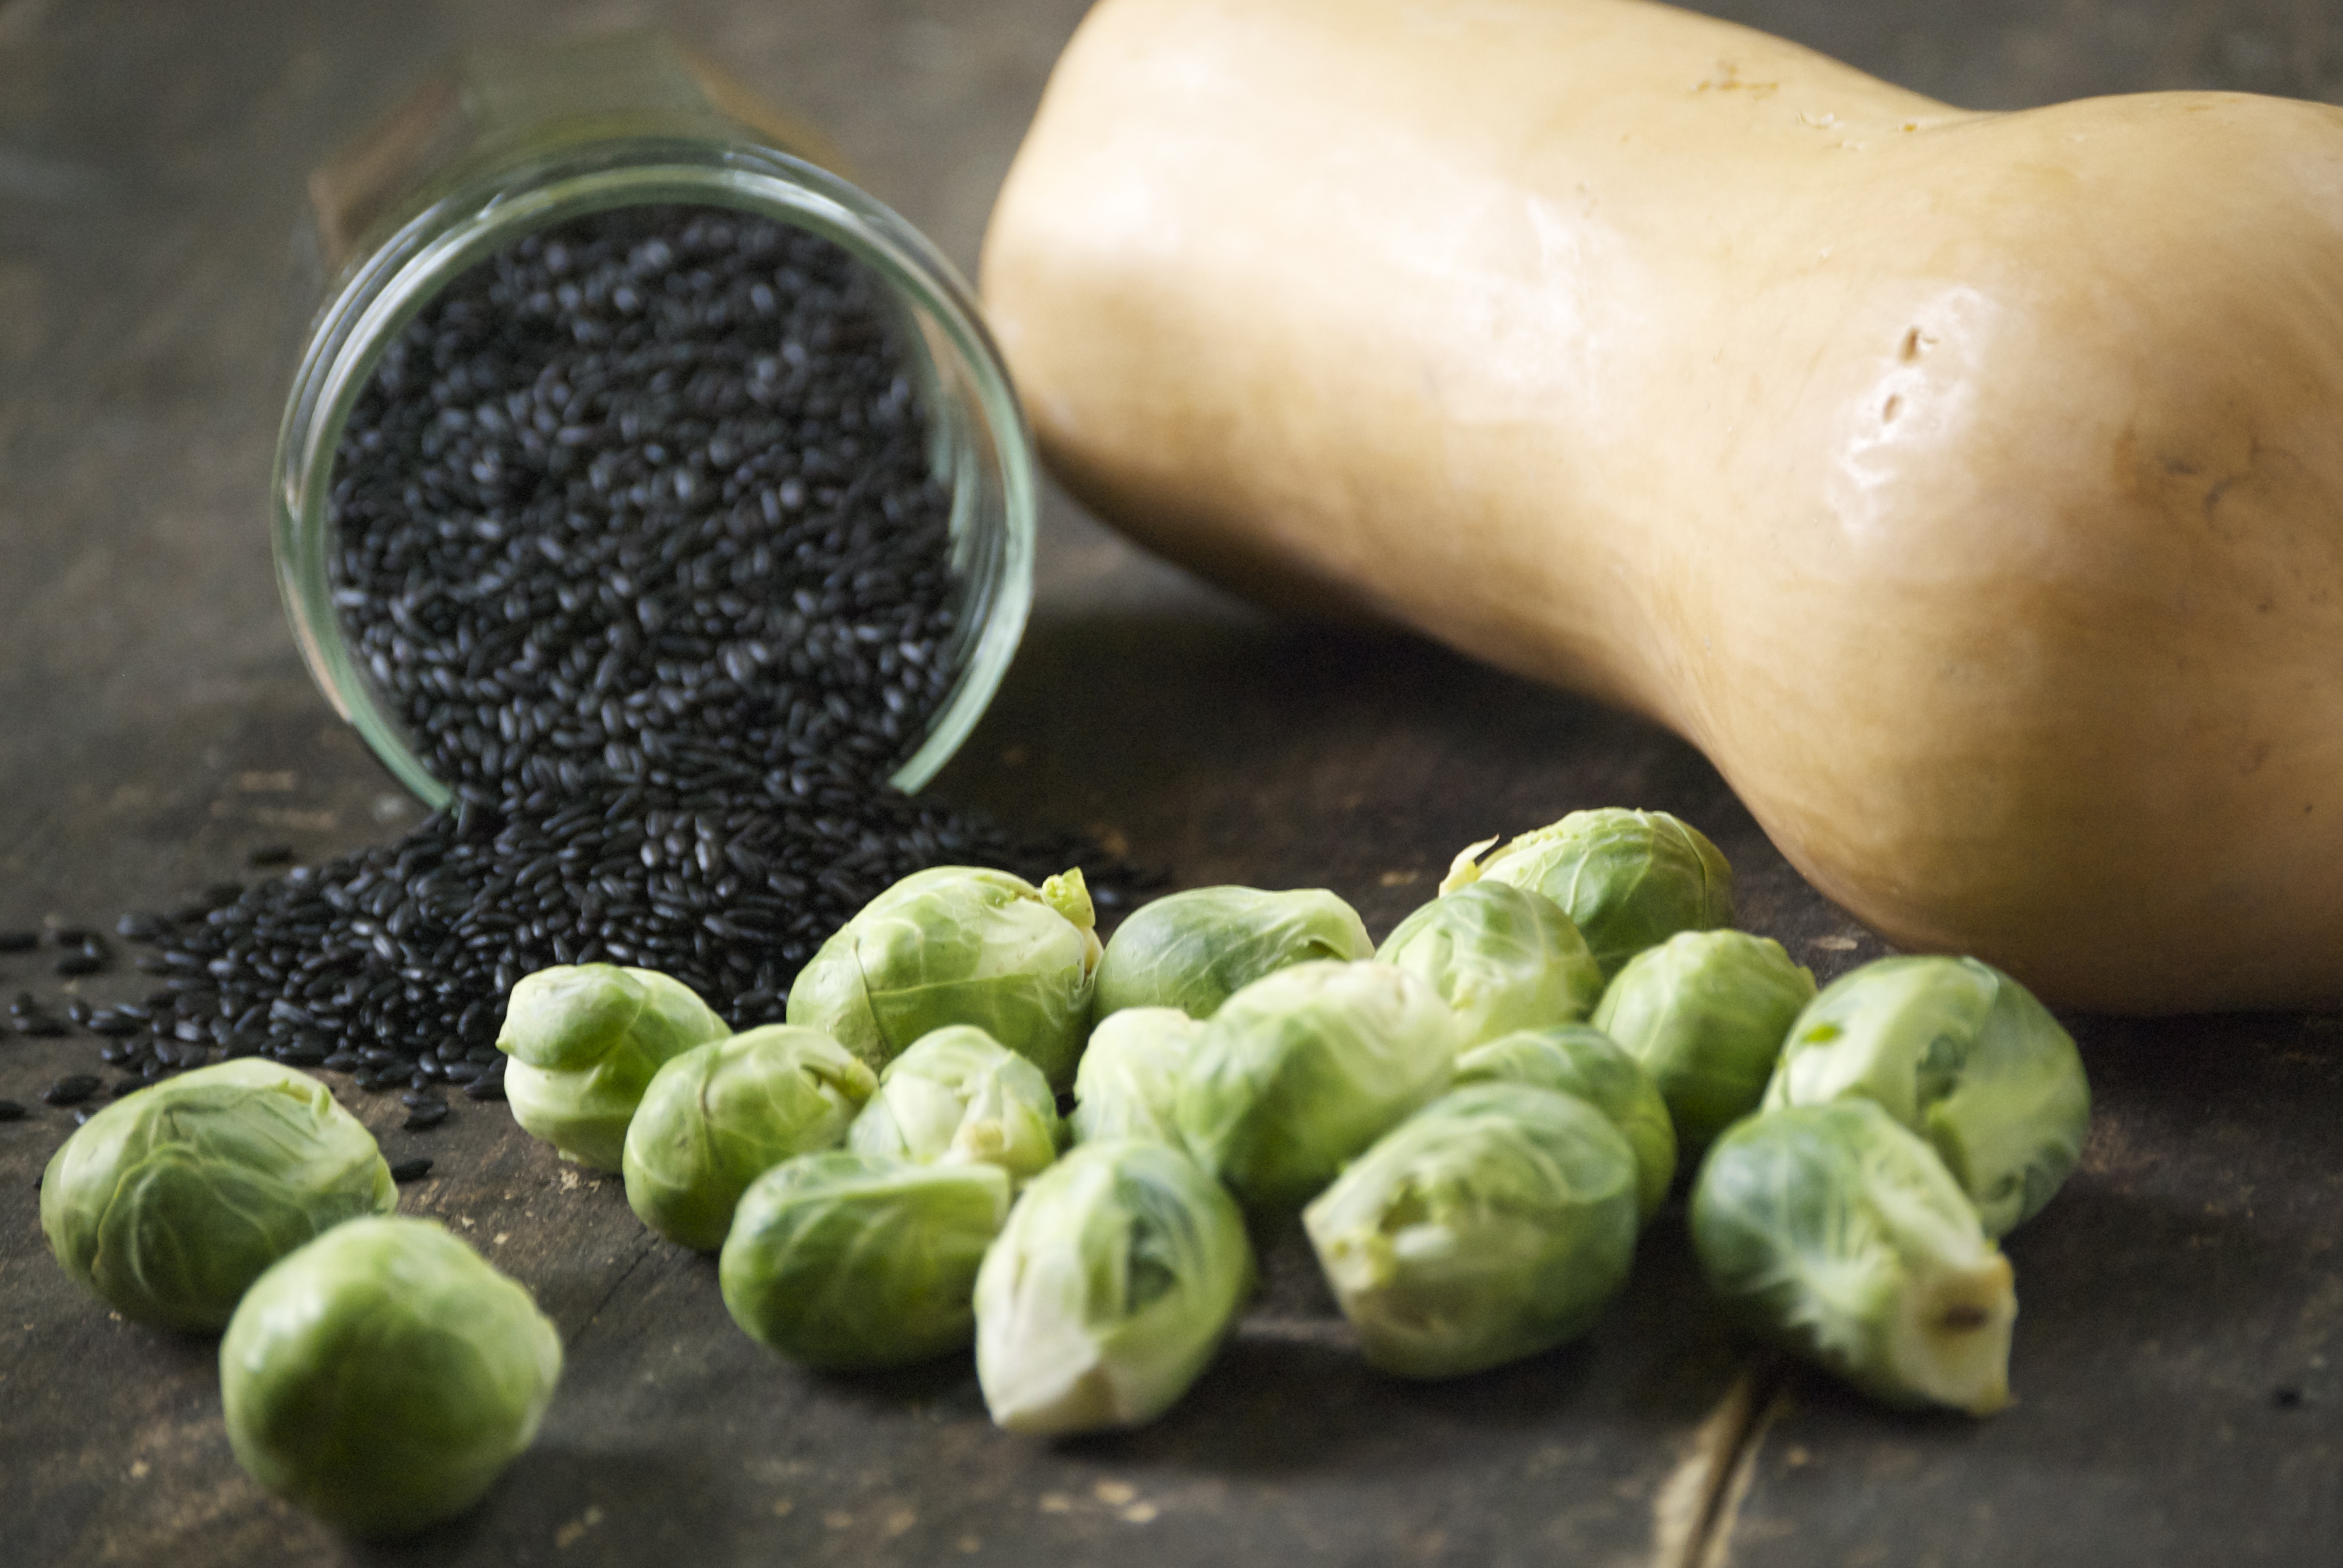


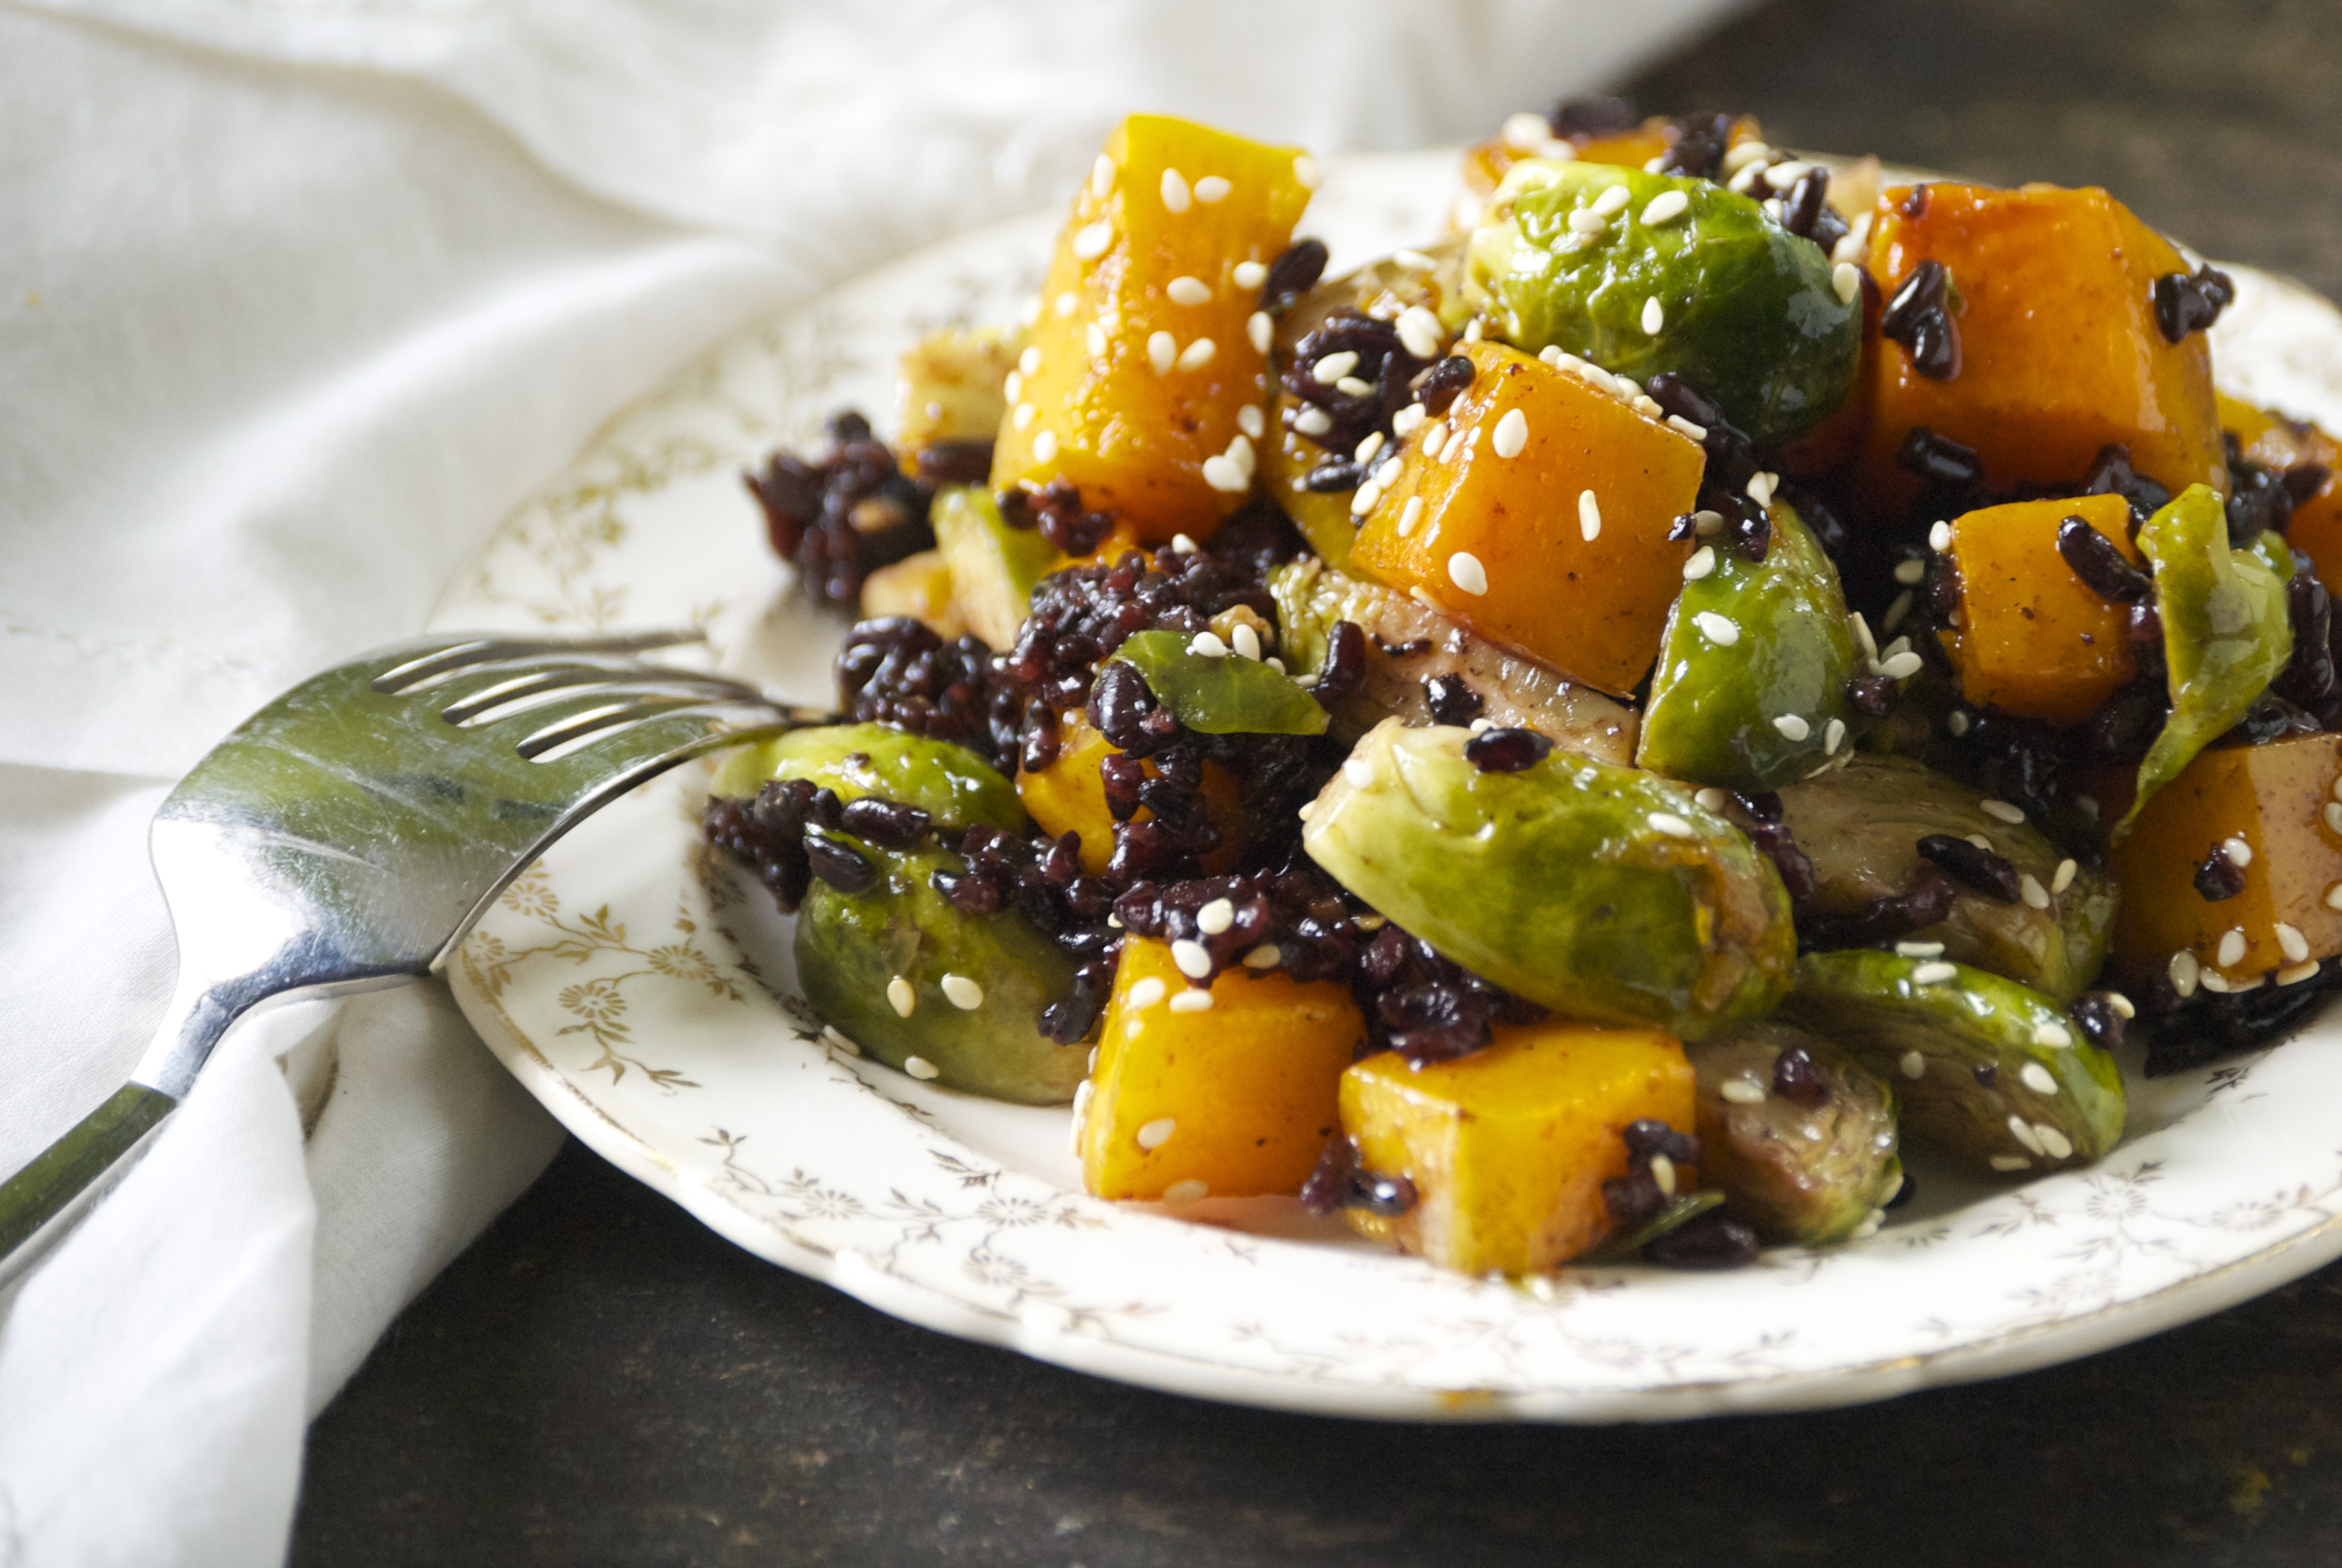
I usually have some baked squash in my refrigerator on most any day during winter. It’s just one of those healthy, filling vegetables that works with so many meals. Butternut squash holds it’s shape really well in this dish. Brussels are also a favorite, and here they go particularly well with the squash. If you haven’t yet tried black rice, here’s your chance. It’s healthy and has a wonderfully nutty flavor. The slightly-chewy, toothsome texture balances out the softer vegetables in this dish. And if you can’t get your hands on black rice, any wild rice would be a good substitute.
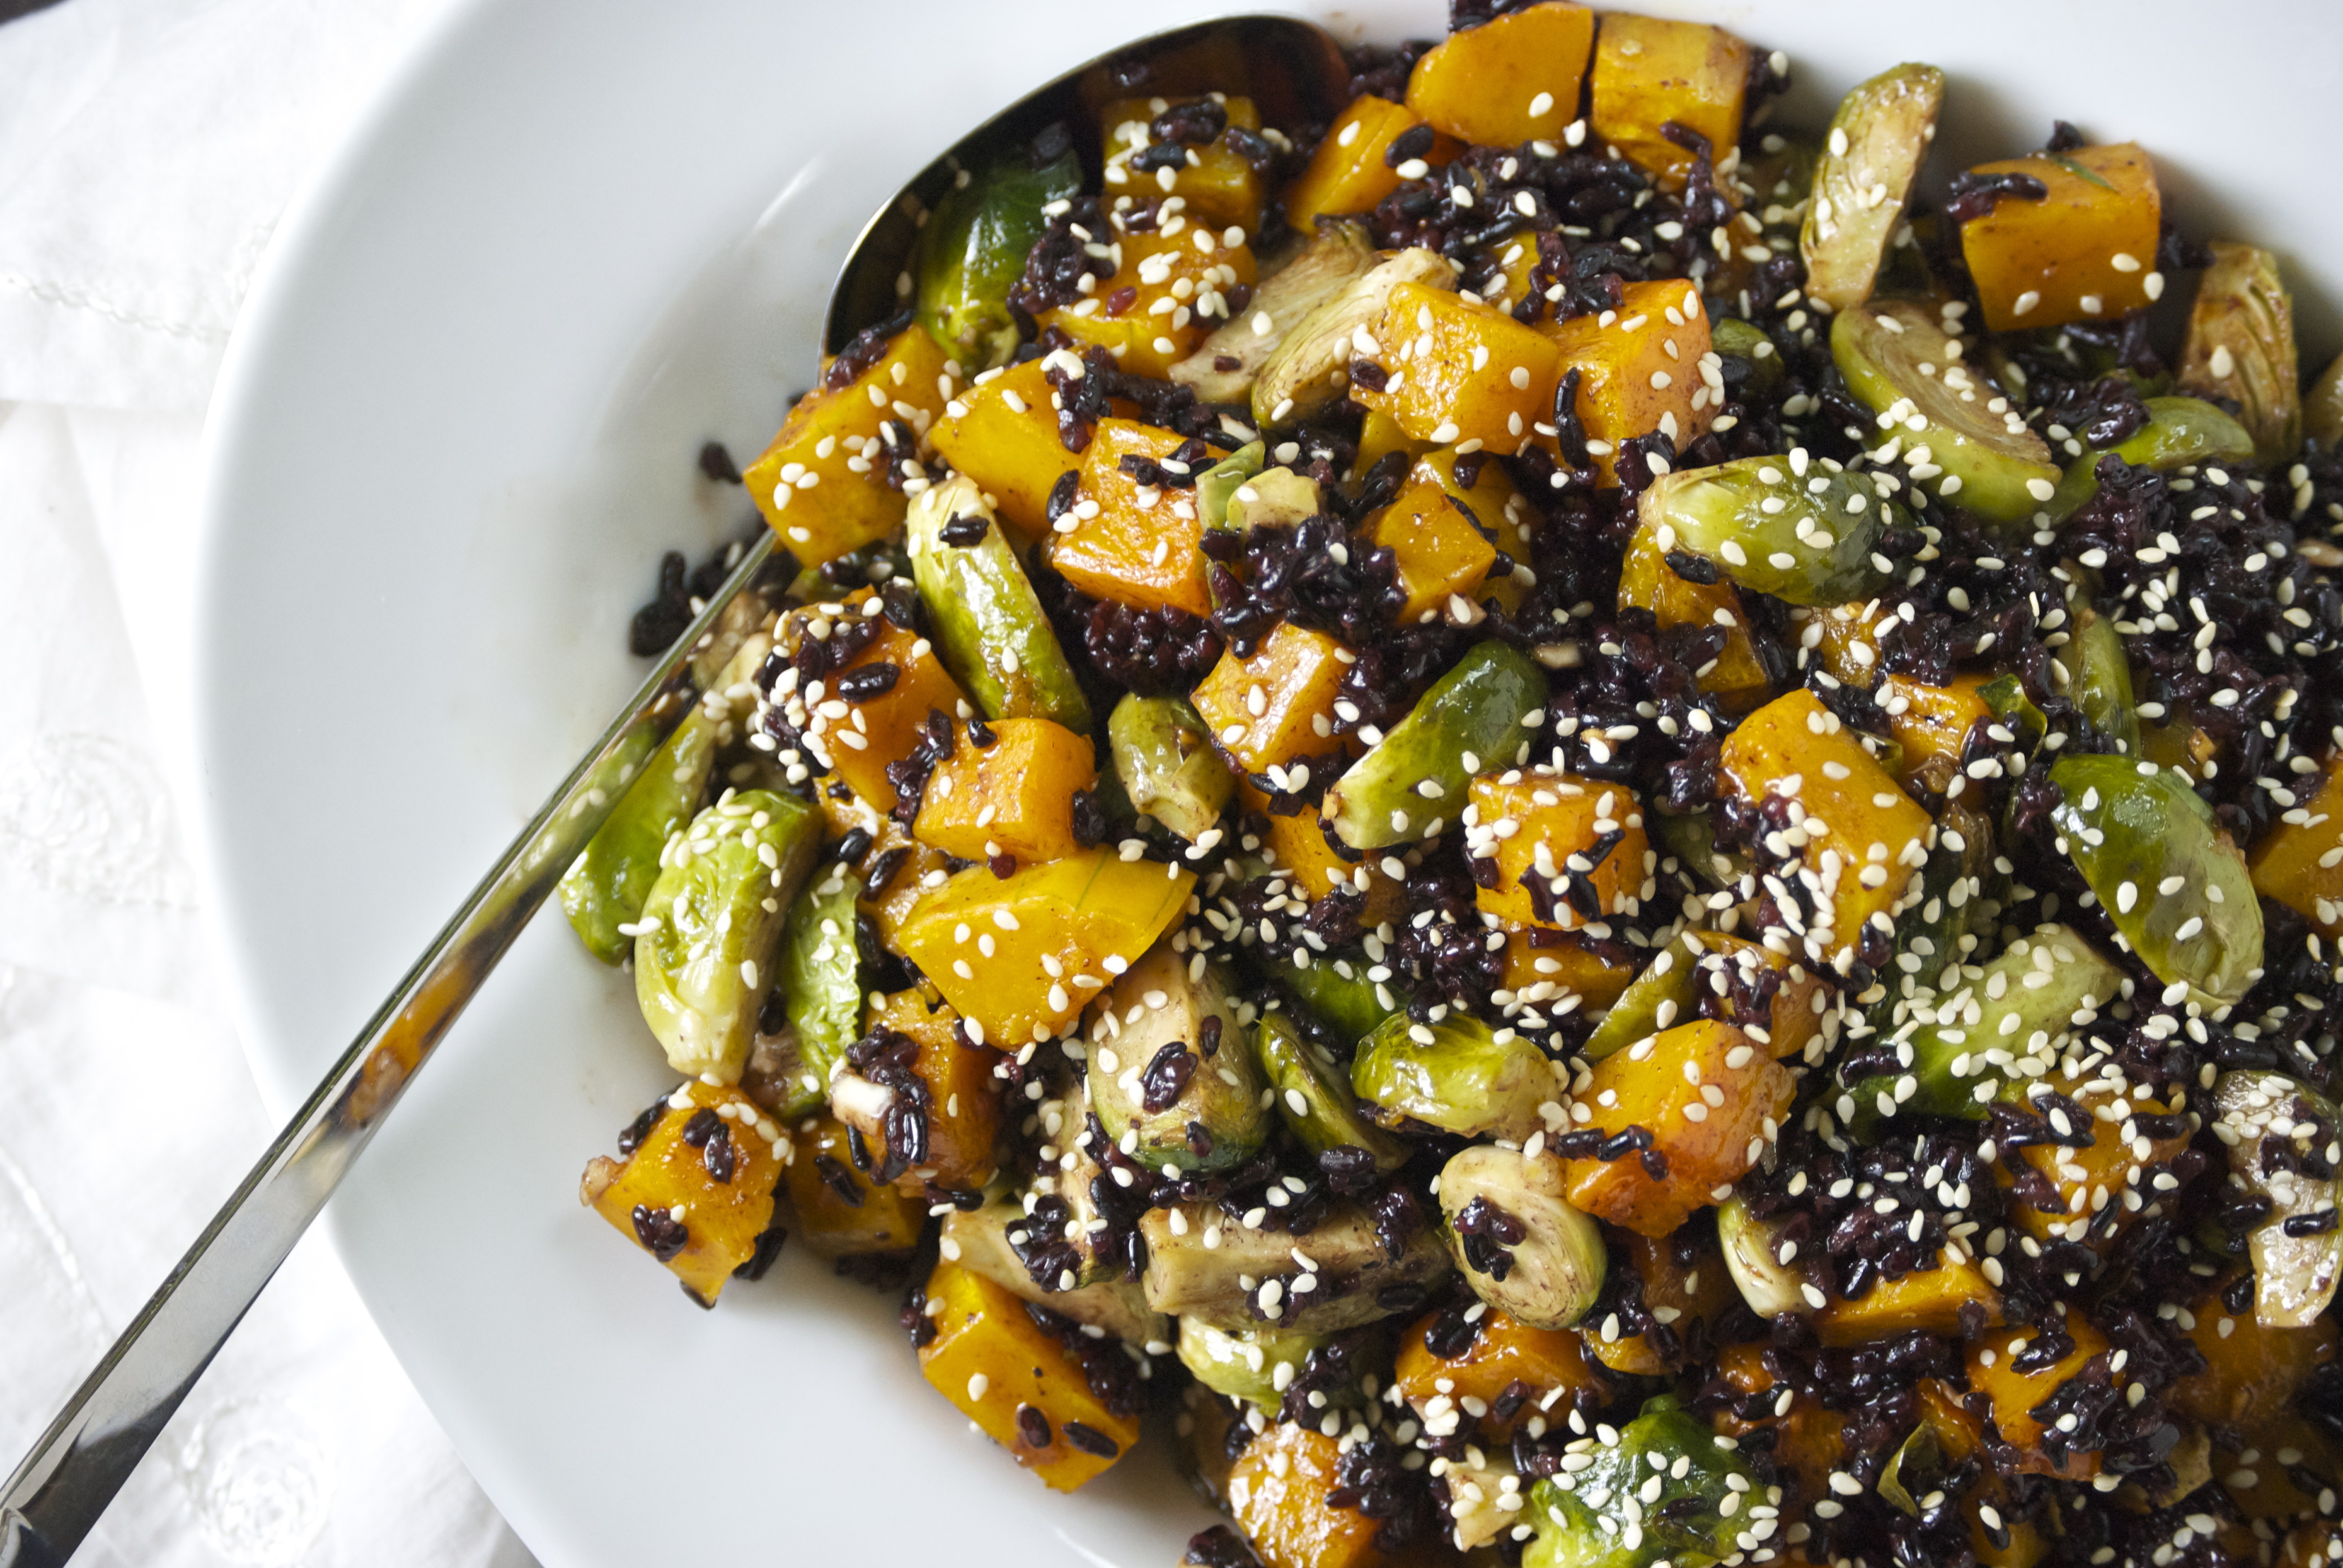
Finally, let’s talk about this amazing ginger sesame dressing. Ginger adds such a unique and robust flavor, so a little goes a long way. The sesame oil give the dressing an additional layer of nuttiness (flavor, not craziness). It’s worth buying a bottle. Side note, keep it in your refrigerator, so it lasts longer. This dressing is amazing on these vegetables– but would be wonderful on so many other things, as well. Be creative! Enjoy!
The Recipe: Ginger Sesame Butternut Squash, Brussel Sprouts, & Black Rice
(makes enough for 4-6 people, easily)
About 1 pound small brussel sprouts, halved (or quartered, if large)
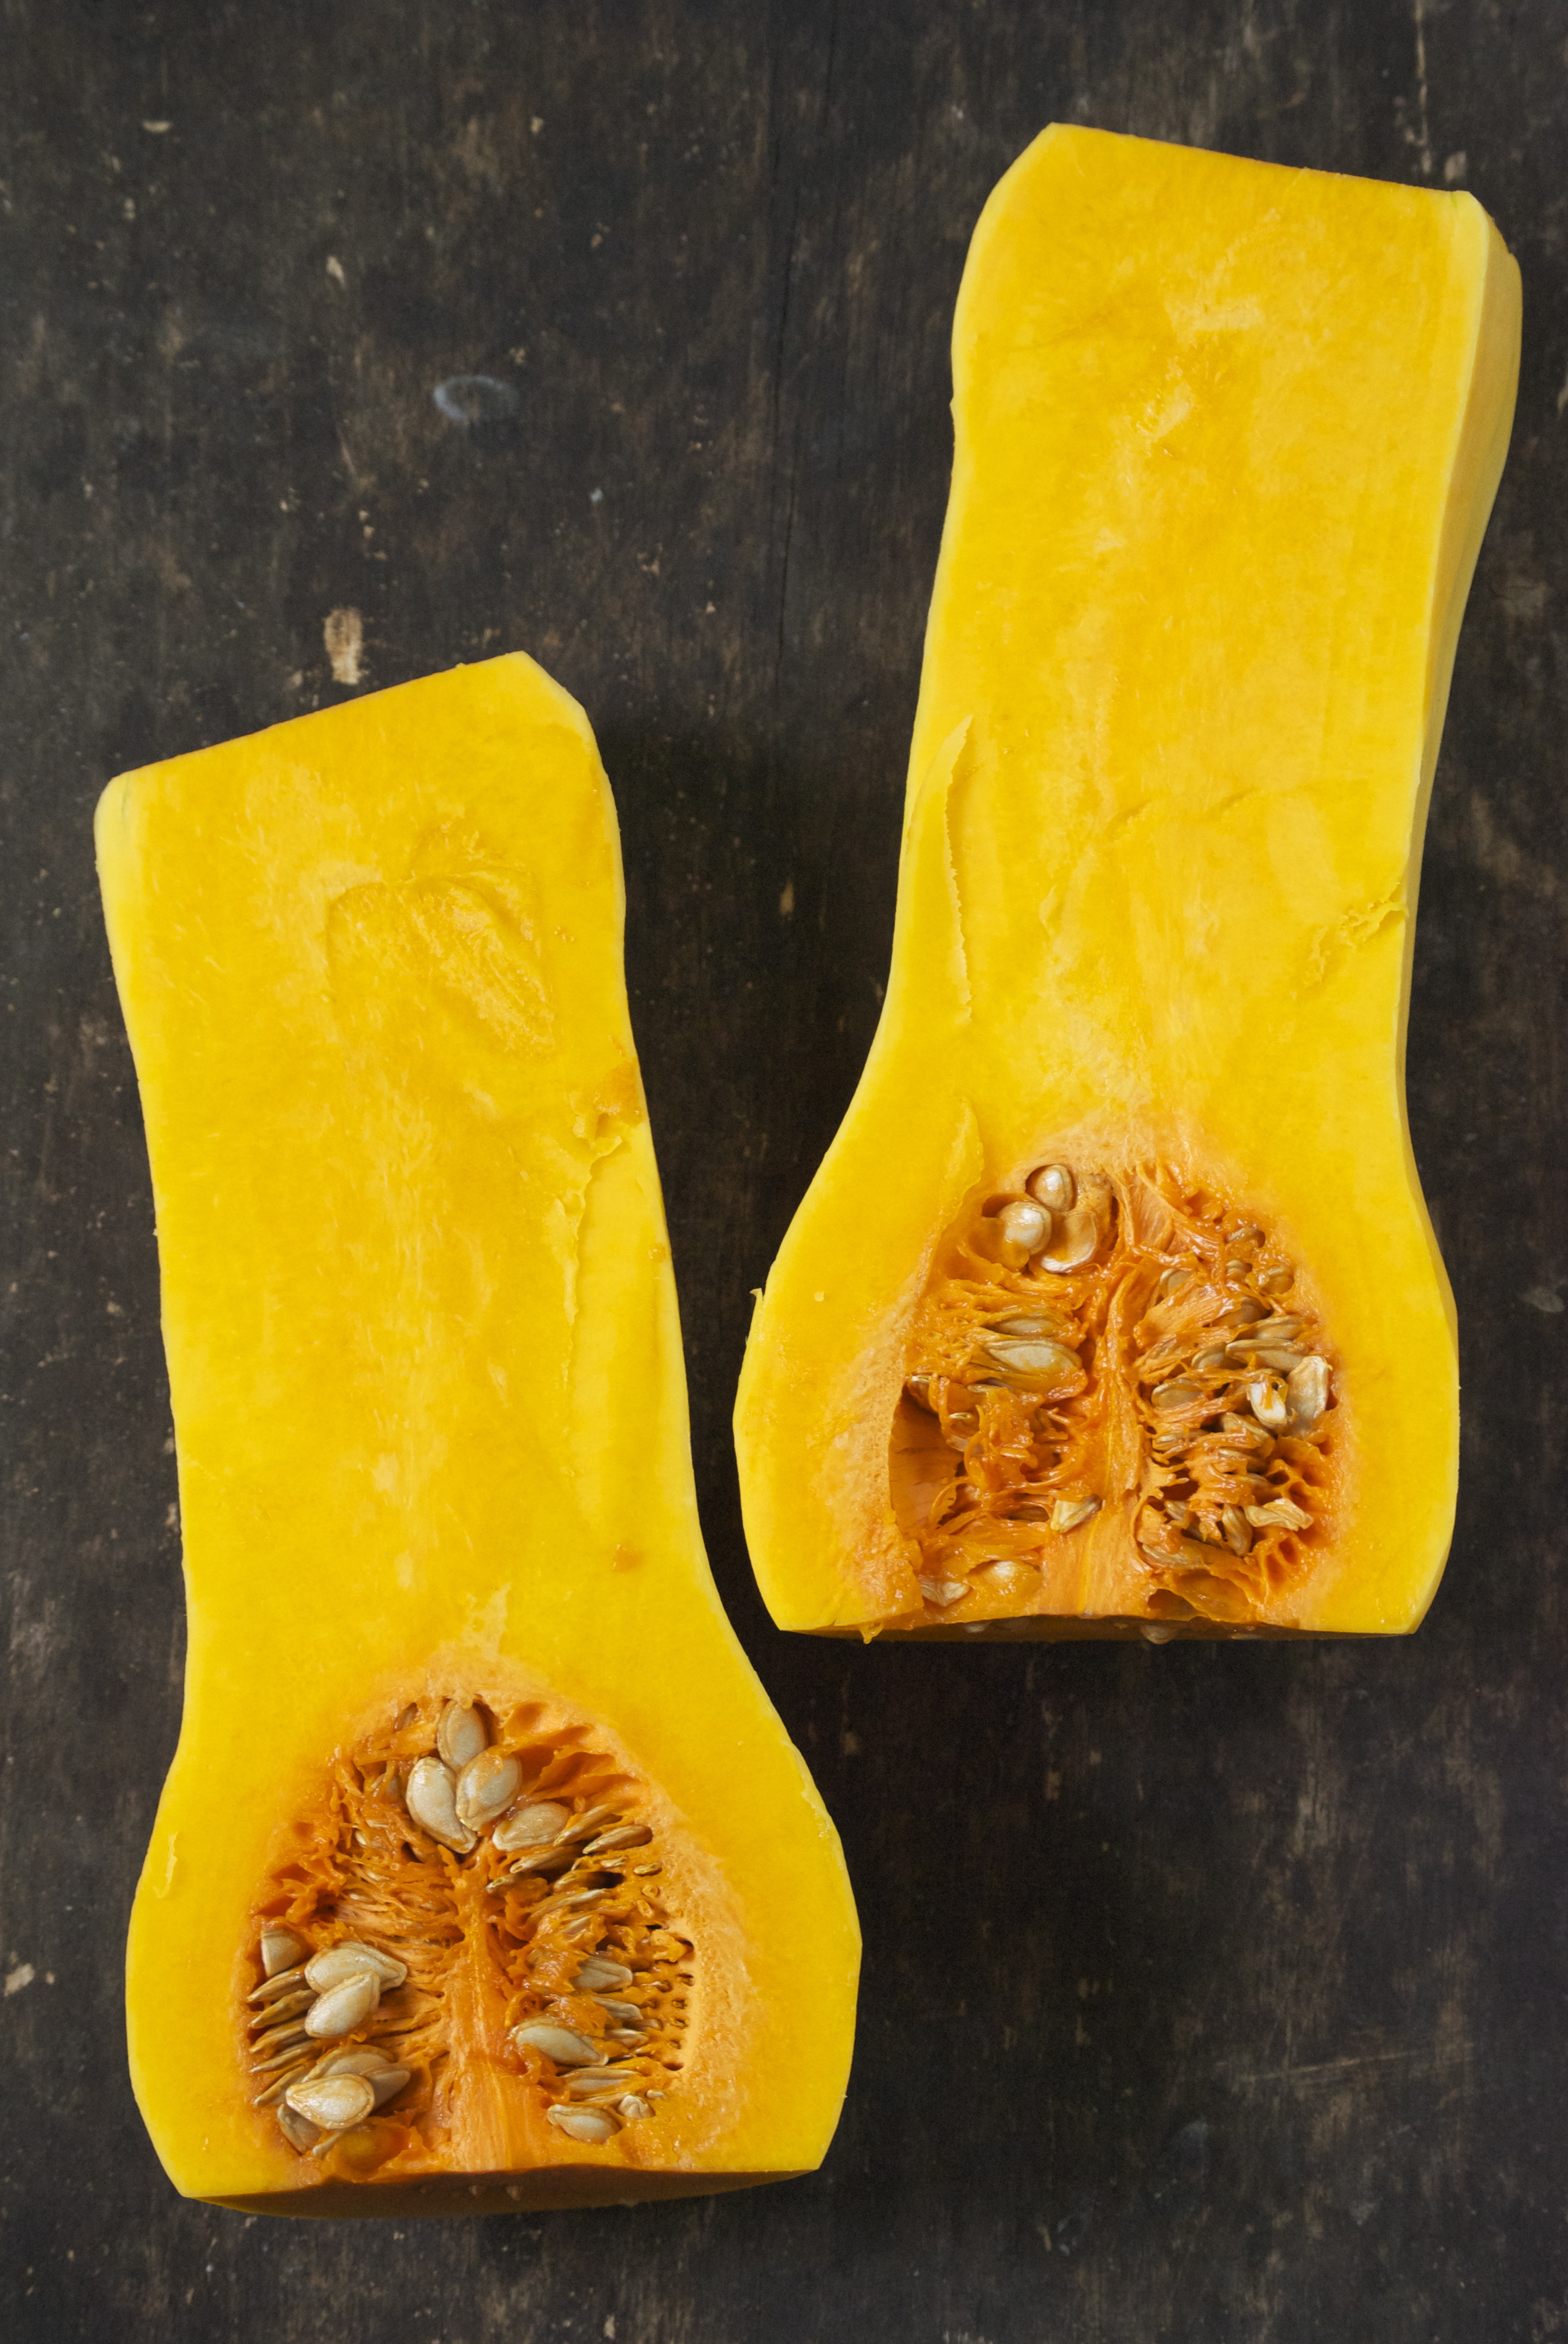
About 1 pound (or a bit more) butternut squash, peeled and cubed
2/3 cup dry black rice, rinsed
2 tablespoons extra-virgin olive oil, for roasting
1 tablespoon sesame seeds, toasted, for garnish
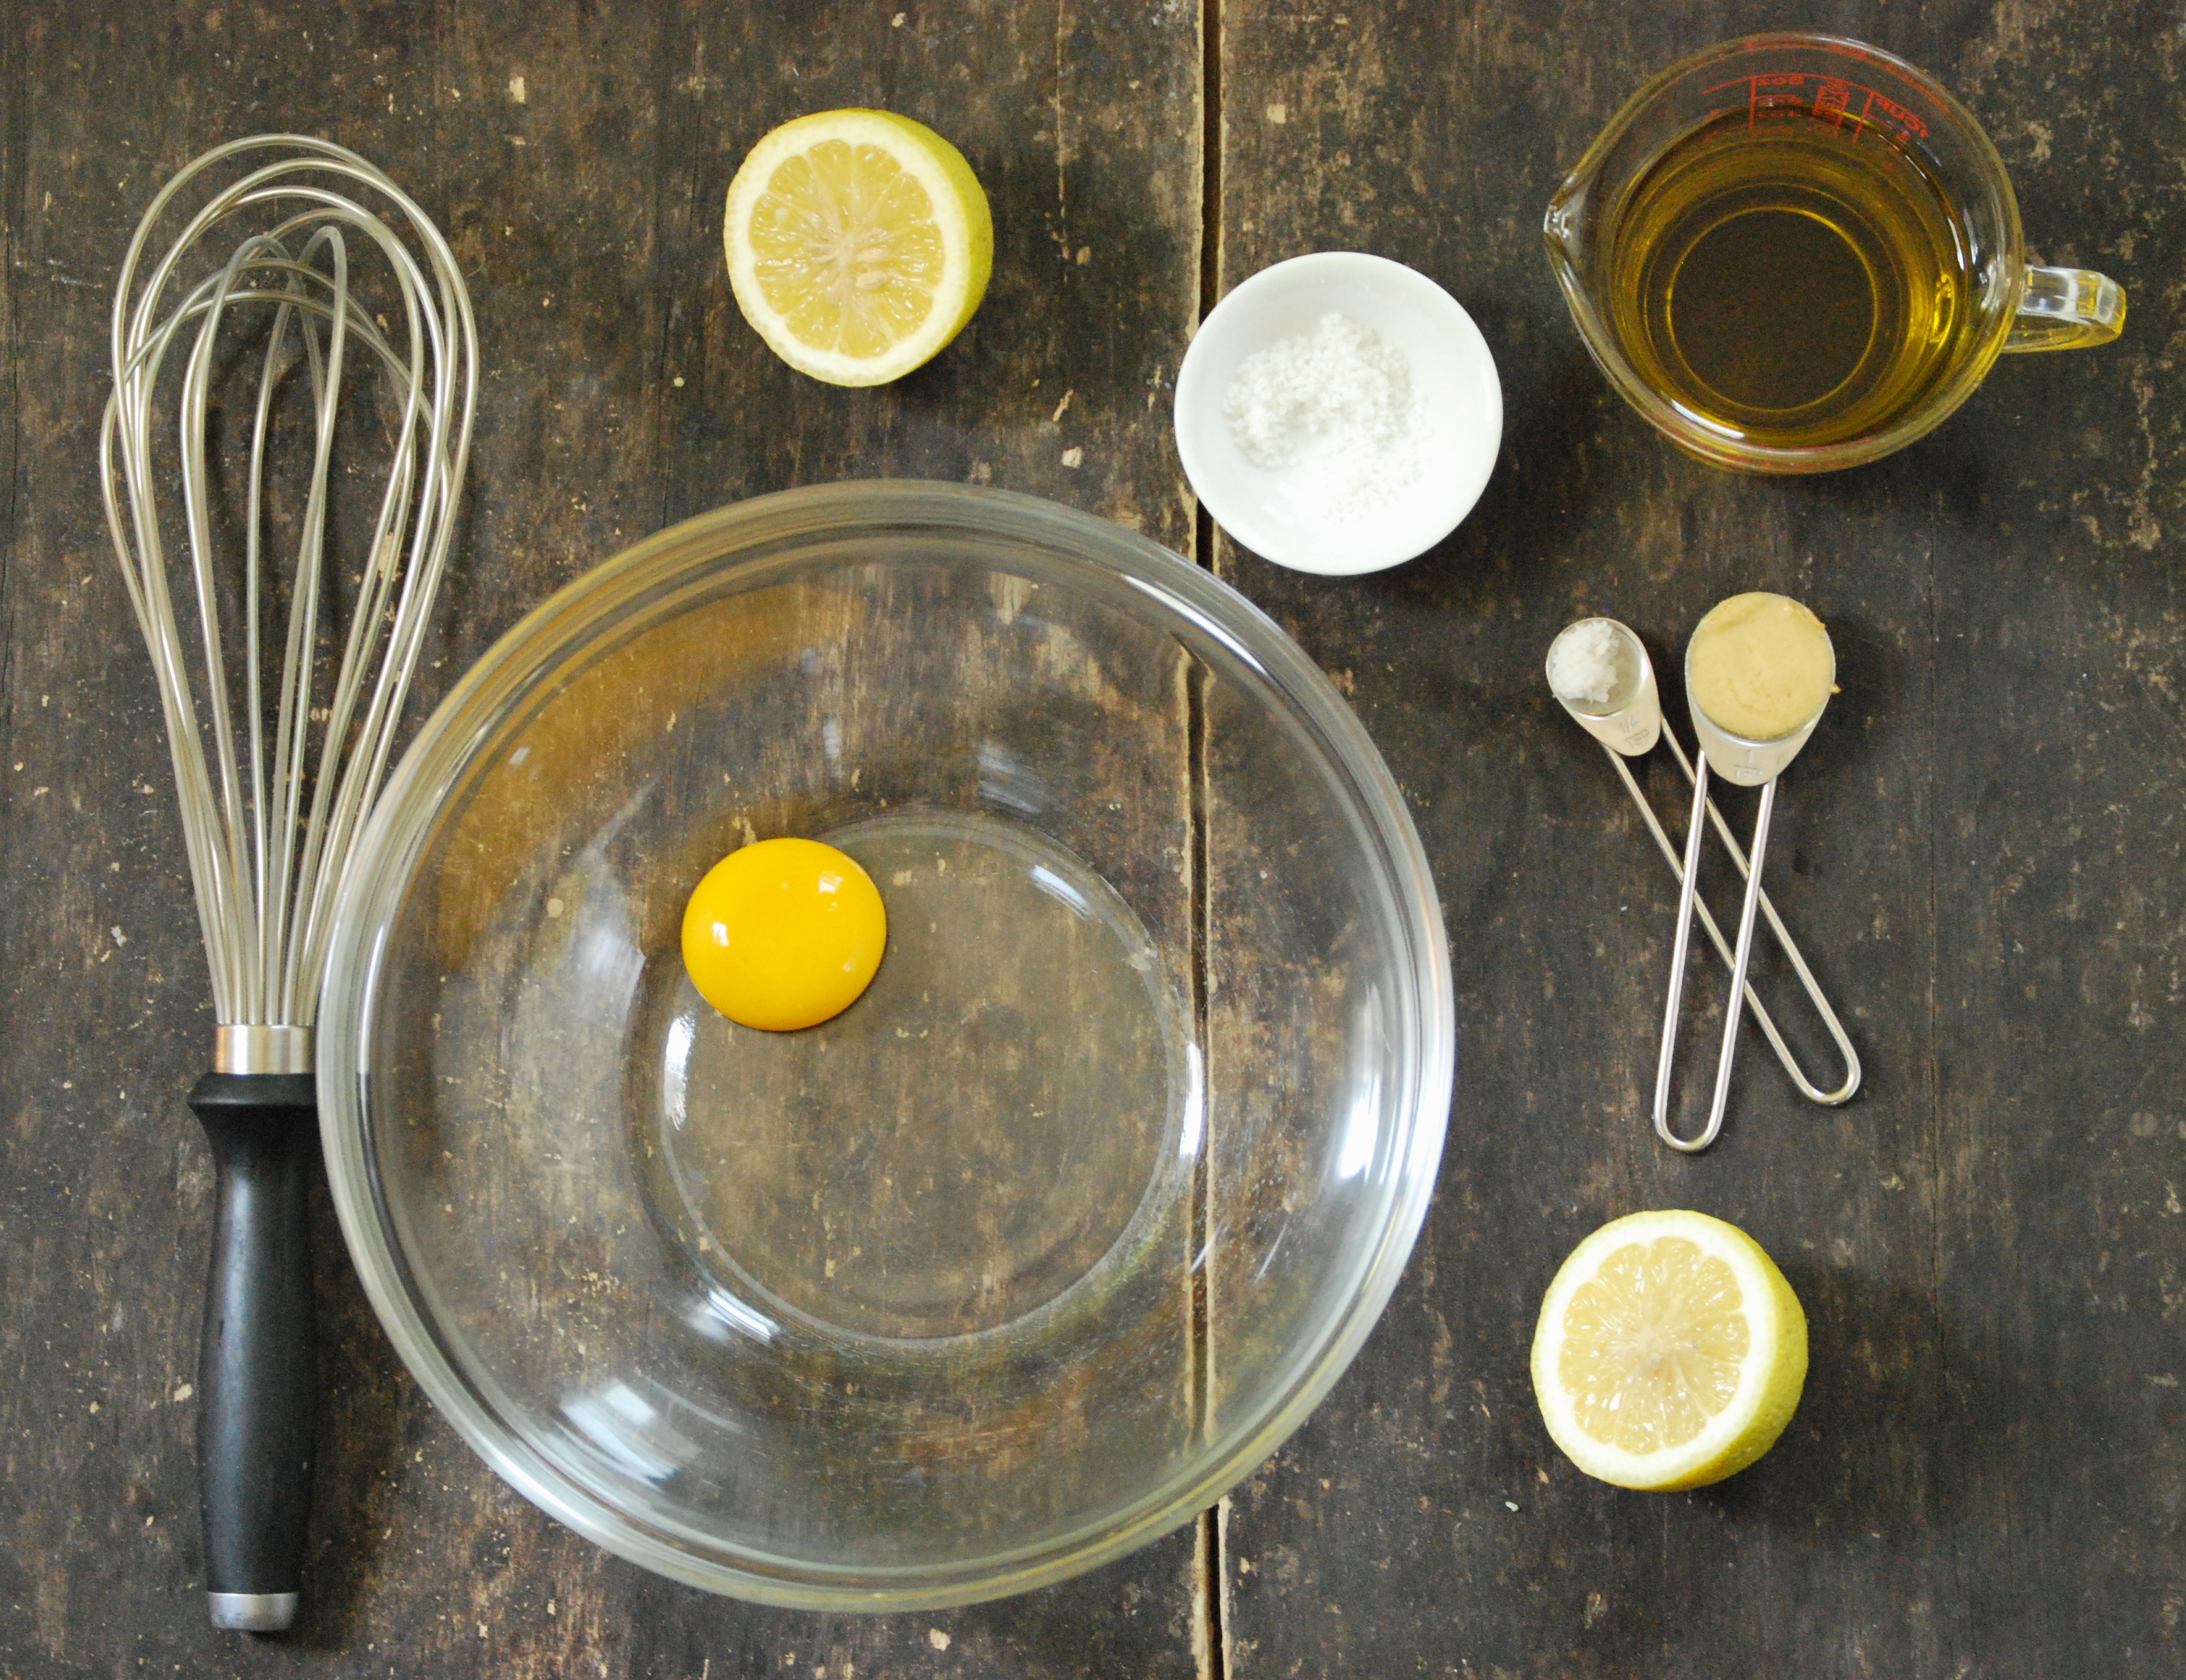
Ginger Sesame Dressing:
3 tablespoons balsamic vinegar
1 teaspoon finely minced ginger
1 garlic clove, minced
1 teaspoon honey
1/2 teaspoon soy sauce
1 teaspoon sesame oil
1/4 cup extra virgin olive oil
Preheat oven to 375°F.
To make the black rice: Place the rinsed rice in a medium saucepan along with 1 1/3 cups of water. Add a sprinkle of salt. Cover and bring to a boil. Reduce heat to low-medium and cook for about 20 minutes, or until the rice is mostly tender. Turn off the heat and let it sit in the pan covered for 15 minutes, or so . Fluff with a fork when ready to use.
Meanwhile, place the brussel sprouts and butternut squash on a large baking sheet. Toss with two tablespoons of olive oil. Roast for abut 25-30 minutes, or until the vegetables are tender. Make sure to flip the vegetables once or twice for even browning.
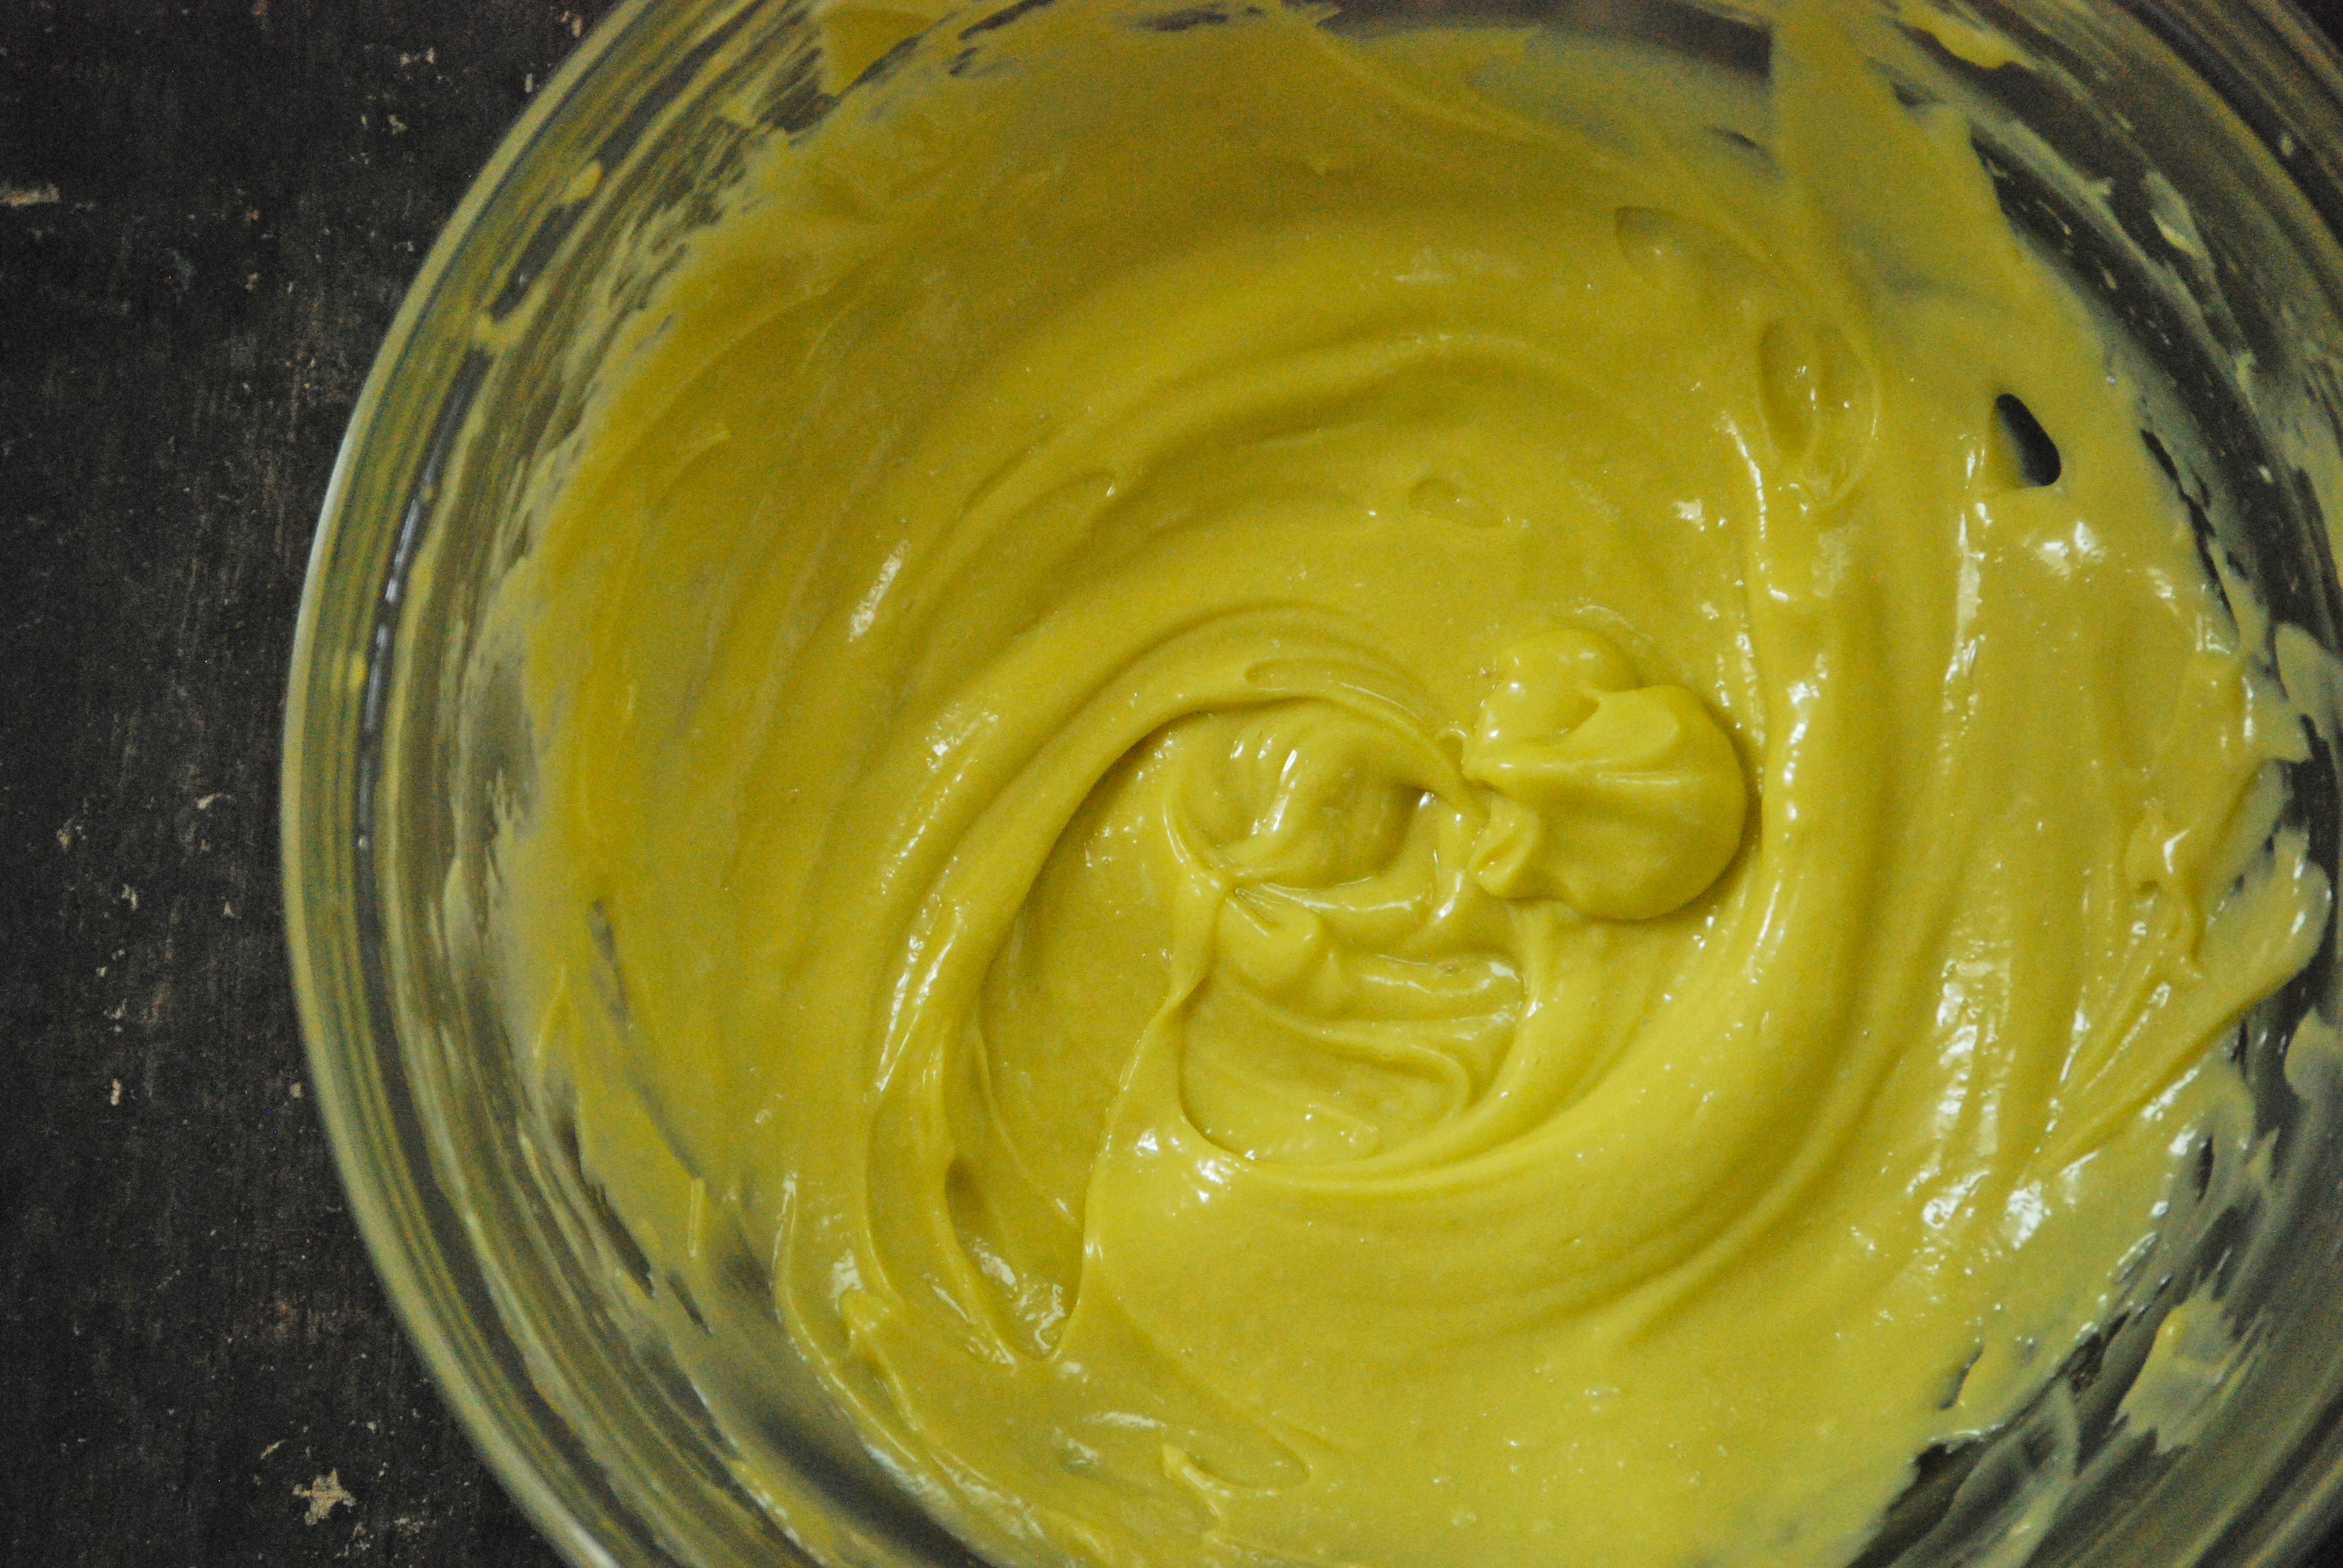
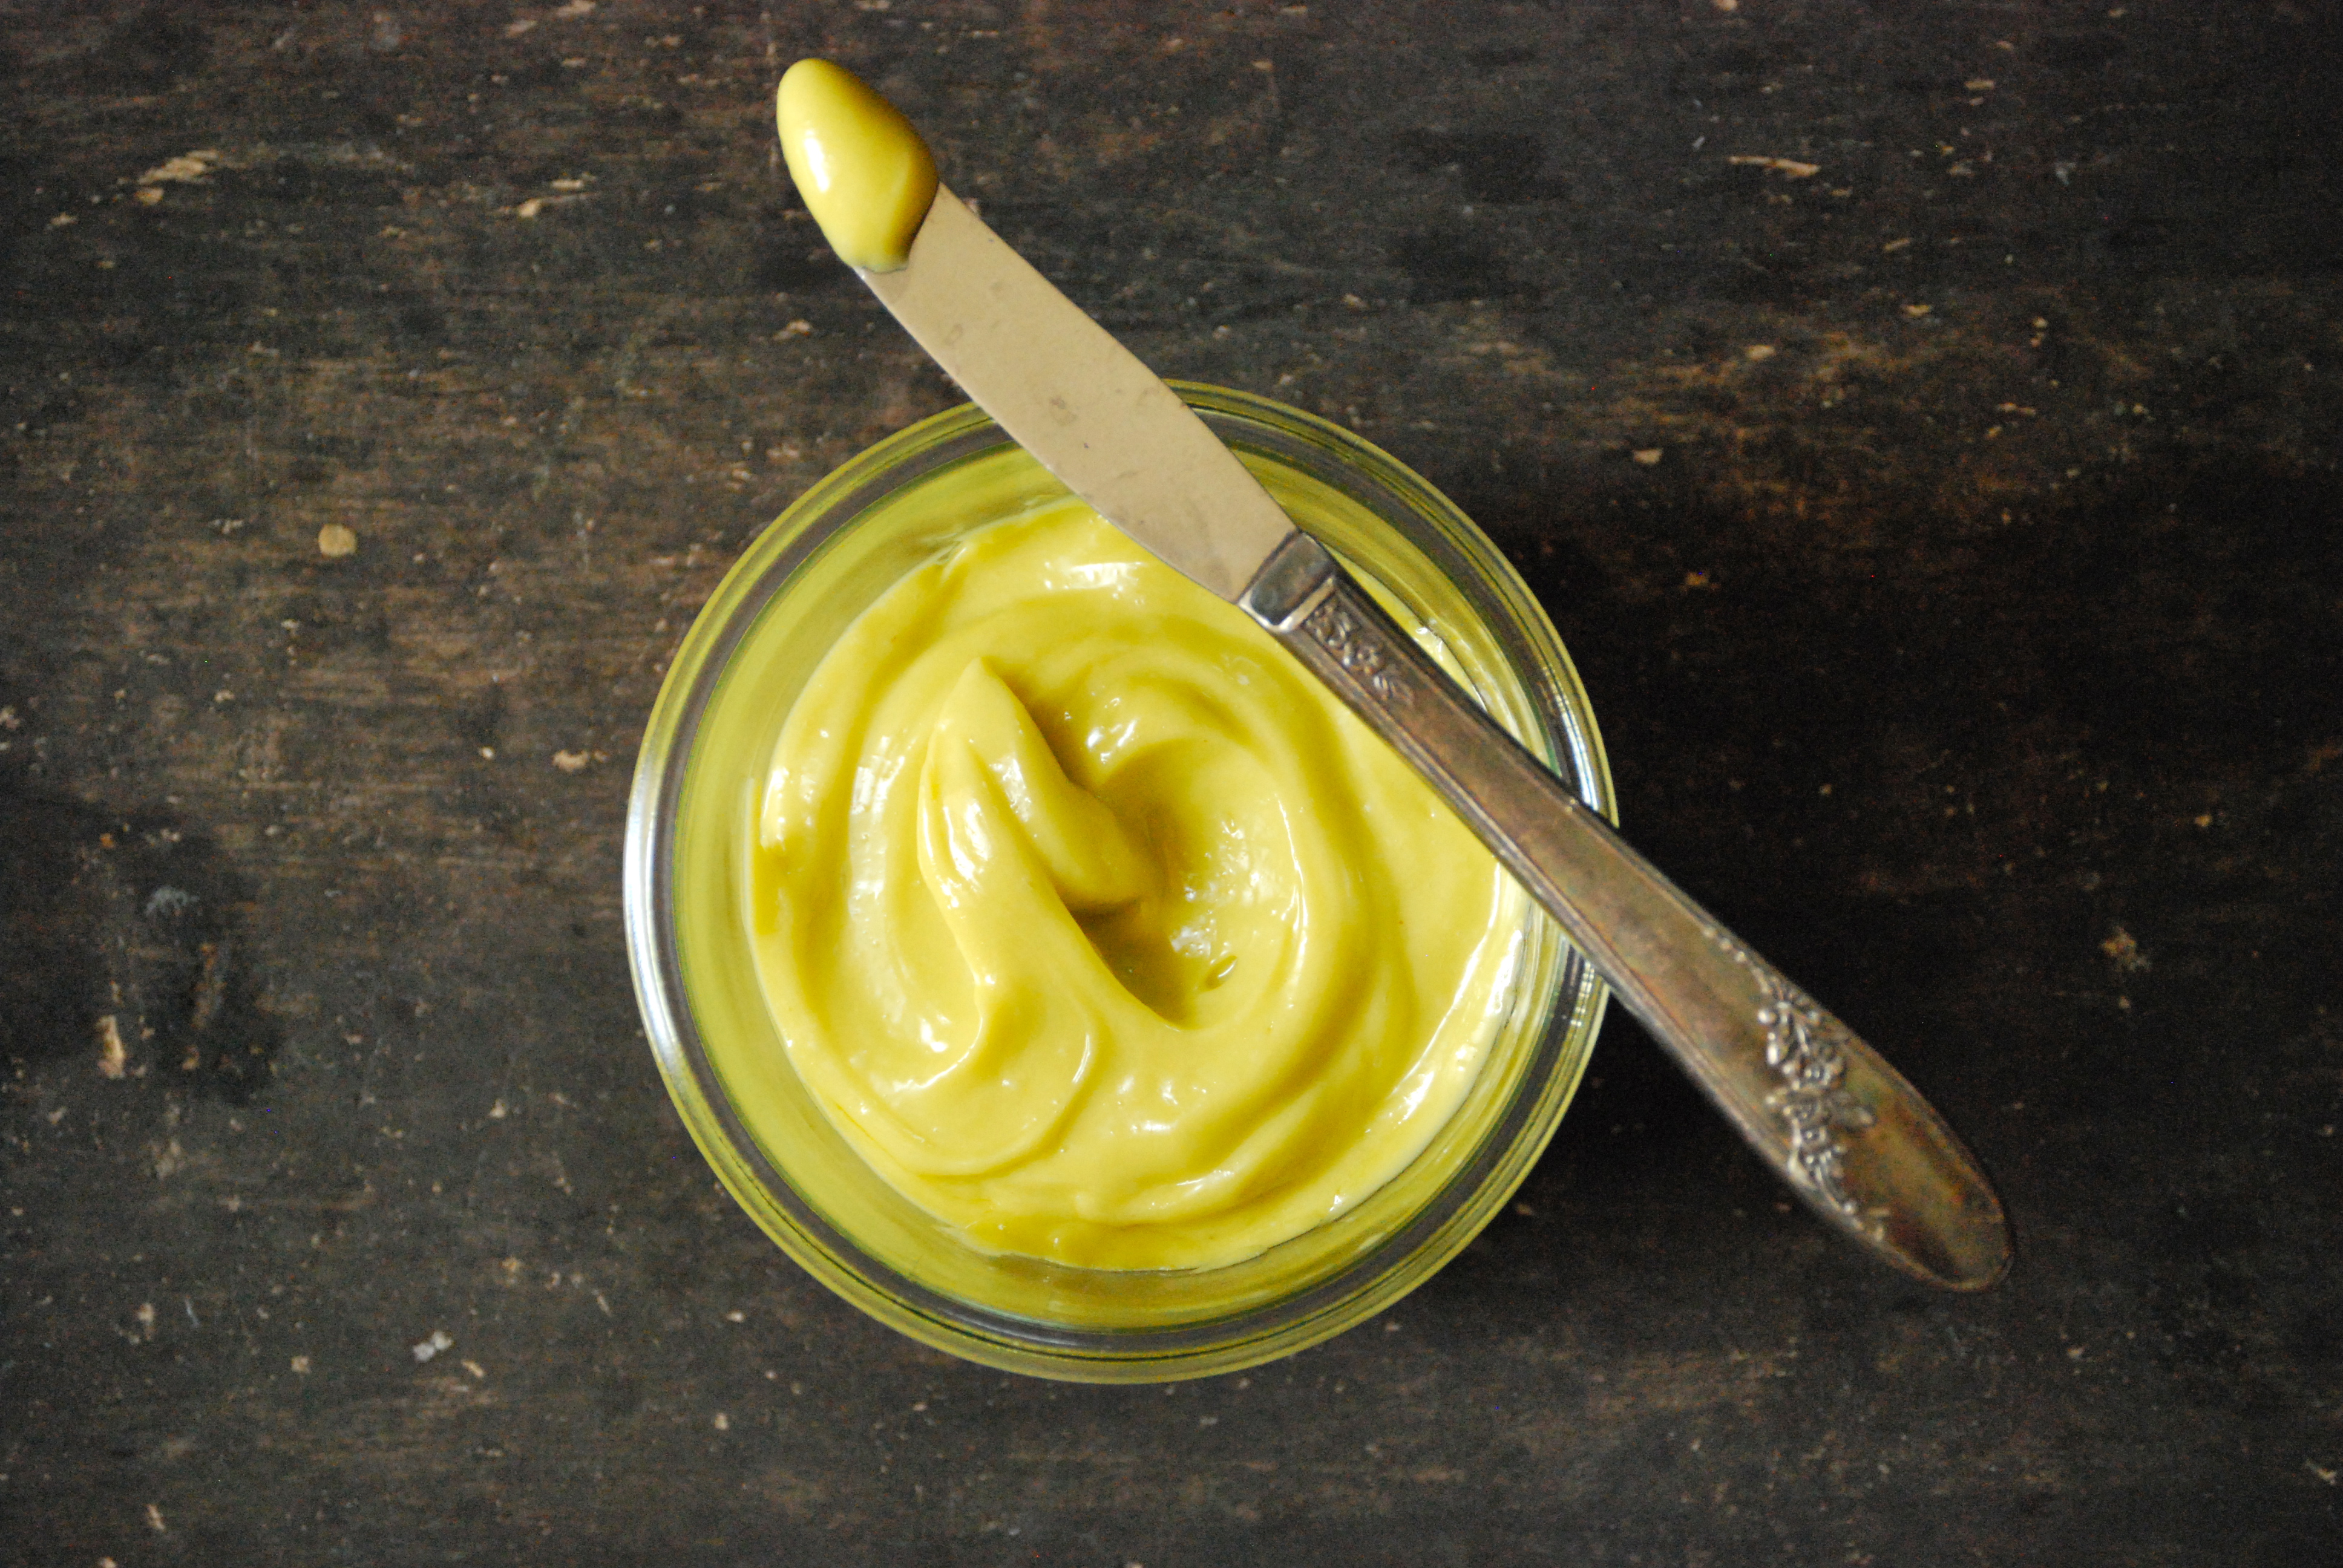
To make the Ginger Sesame Dressing: In a medium-sizd bowl, whisk together all of the ingredients except the olive oil. Then, slowly add the olive oil while continuing to whisk. Set aside until ready to use.
In a large serving bowl or platter, gently combine the roasted butternut squash, brussel sprouts, black rice, and ginger sesame dressing. Taste and season with kosher salt, if necessary. Top with the toasted sesame seeds. Enjoy!
Thanks for stopping by today!
Laurie